Sunday, March 27, 2011

MERINGUE COFFEE CAKE - THE DARING BAKERS

dk-group-1
Where have the last weeks gone? Is it possible that April is knocking on our door and that spring has already arrived?! The end of the month is nearing again, yet it feels as if I baked my last Daring Bakers challenge yesterday and not four weeks ago. I have the impression that I'm perpetuously running after time and can never fully take pleasure in what I'm doing because I can't even enjoy the present moment to the fullest and constantly have to project myself in the future...

Anyway, when I discovered the new DB recipe and found out that two of my favorite foodblogger friends had chosen it I was really thrilled and was looking forward to getting my robust Kitchen Aid working as it sounded very promising! The March 2011 Daring Bakers' challenge was hosted by Ria of "Ria’s Collection" and Jamie of "Life’s a Feast" who challenged us to bake a yeasted "Meringue Coffee Cake".

Meringue Coffee Cake Picnik collage 1 bis
Being somebody with a strong penchant for pastries and anything bready, yeast risen coffee cakes represent the summum of pâtisserie bliss for me. I cannot resist such wonderful treats as they are extremely addictive and dreamlike. As a matter of fact, once I start eating one of those baked goodies you can be sure that I'll finish it in a flash and will not leave it to dry on the countertop (a blasphemy). If you want to make me happy, then consider baking or offering me a yummy rich bread (Panettone, Kougelhopf, Danish Pastries, Stollen, etc...). That'll immediately bring a smile to my lips and improve my mood. There is something so perfect, soothing and comforting about those soul-uplifting bakery items...

Well, speaking of droolworthy delicacies, I must make a confession regarding that subject. Those of you who have been following my blog Rosa's Yummy Yums since a while might be aware that I am an atypical and unique individual who separates herself from the flock, likes being different from the others, loathes what is mainstream, so-called trendy and boringly conventional. In this way, some of my wildest dreams are a far cry from other people's dreams. Mine are mostly food-oriented and say a lot about my enthusiasm for the culinary world as well as my attachment to all things gourmet.

My fantasies are extravagant and rarely transposable into the real world. They are like scenes out of one of Roald Dahl's burlesque, trippy, strange and delirious children's books. For example, I love to imagine that I am in one of the most fantastic, immense and amazing bakeries that can possibly exist, and a bit like the little boy Charlie Bucket in "Charlie And The Chocolate Factory" (minus the eccentric Willy Wonka and his Oompa Loompas) I am free to wander alone around the laboratory as well as the store and gobble anything I fancy. This not being reality, I would have the capacity to swallow as many creamy entremets, flaky croissants, warm pains au chocolat, melt-in-the-mouth Danish pastries, deliciously savory canapés, flavorful pork pate, luxurious ham croissants, heavenly éclairs, fruitilicious tartlets, comforting pies, exquisite cakes, fragrant breads, toothsome candies and exquisite chocolates as I wish. The ultimate orgy! Just thinking about it makes me drool incontrolably and puts me in a state of trance.

You might think that I've gone totally bonkers and lost my mind, but while som
e of you wish to own a luxury car, to possess jewels worth a fortune, to be a star in Holywood or to buy designer clothes (like any other woman I love clothes and jewels, but I could never spend a fortune on them) I prefer to daydream about having the opportunity to go on a quest for rare, gourmet and quality ingredients or be lucky enough to taste the most gorgeous dishes and gastronomic creations that this world has to offer.

As you can see I am incredibly passionate about food. Nothing can make me quite as cheerfuly as when I am in my matchbox-sized kitchen buzzing around like a high-spirited bee frolicking effortlessly from one flower to another as if it were a graceful ballarina dancing with incredible lightness and buoyancy. It is a pastime that I cherish as it keeps me sane and balanced...

Bread baking is a particularly healthy activity that can be compared to meditation or yoga. A certain dose of effort has to be put into the task, but method and concentration are also required. Dough needs love, care and attention in order to give good results. If you don't put your heart into the job, there is a big chance that you'll get a mediocre loaf. But, on the contrary, if you are having a blast then the final product will be perfect as it is quite impossible that things will go wrong.

Eventhough life left me a few psychological scars (death of my English grandmother and of my much cherished cat Fridolin, family harrassment, etc...) lately, I still love preparing delectable chows for my friends, boyfriend and myself as this enterprise relieves the tension, makes me feel good and has a positive effect on my soul.

So, although I am still mourning the passing of my granny and kitty, the prospect of putting together a "Meringue Coffee Cake" filled me with joy. I needed to savagely knead some dough in order to evacuated the sadness, stress, anger and frustration that I have been accumulating since the beginning of this year.

This challenge was ideal for take a break from my worries/sorrows as the fabrication of this sweet bread posed no problem and the whole process went smoothly. I got the job done in a relaxed and calm manner. No hysterical
effusions of a distempered brain were to be noticed and I didn't even pronounce the word "bloody hell" once (something very rare).

The recipe was followed to the letter, but as we were permitted to operate a few changes flavor-wise I decided to incorporate some ground tonka bean (not legal in the US) to the dough and to add orange zest to the filling. I also refrigerated my dough overnight and used more cinnamon than instructed.

Oh, what a divine and exhalirating smell filled the apartment while my "Meringue Coffee Cake" was in the oven! Waiting for it to get fully baked and cooled was a real torture. I craved this beautiful, fluffy, moist, spicy, buttery and nutty brioche so much that I started pacing up and down my place like an agitated tiger in a cage. I felt as desperate as a dog having to sit quietly and watch his master having lunch. Terrible.

Thankfully, the evening came soon enough and I was finally able to sample
that droolworthy coffee cake. Biting into this soft, sweet and scrumptious slice of heaven I reached total zenitude and peace of mind...

This post was submitted to Yeastspotting.

Meringue Coffee Cake Picnik collage 4 bis
~ Meringue Coffee Cake ~

Makes 2 round coffee cakes, each approximately 10 inches in diameter.

Preparation time:
10 - 15 minutes preparation of the dough
8 – 10 minutes kneading
45 – 60 minutes first rise
10 – 15 minutes to prepare meringue, roll out, fill and shape dough
An additional 45 – 60 minutes for second rising
Baking time:
Approximately 30 minutes

Equipment required:

Measuring cups for dry ingredients
Measuring cup for liquid
Measuring spoons
Cutting board and sharp knife for chopping nuts & chocolate if using
2 large mixing bowls
1 small mixing bowl
1 medium mixing bowl for beating egg whites, preferably plastic or metal
1 medium saucepan
Electric mixer or stand mixer
Wooden spoon
Rolling pin
Spatula
Clean kitchen scissors or sharp knife
Plastic wrap & clean kitchen towel
Parchment paper
2 medium-sized baking trays (or 1 large if your oven is large enough)
Cooling racks
Serving platter
Vegetable oil to grease bowl

Meringue Coffee Cake 7 bis
Ingredients "For The "Yeast Coffeecake Dough":
4 Cups (600g/1.5 lbs.) Plain flour
1/4 Cup (55g/2 oz.) Grannulated sugar
3/4 Tsp (5g/¼ oz.) salt
1/4 Tsp Ground tonka bean
1 Package (2 ¼ Tsp/7g/less than an ounce) Active dried yeast
3/4 Cup (180ml/6 fl.oz.) Whole milk
1/4 Cup (60ml/2 fl. oz.) Water
1/2 Cup (135g/4.75 oz.) Unsalted butter, at room temperature
2 Large eggs, at room temperature
Ingredients For The "Filling":
1 Cup (110g/4 oz.) Chopped pecans
2 Tbs (30g/1 oz.) Light brown sugar
2 Tsp Ground cinnamon
Zest of one orange
1 Cup (170g/6 oz.) Semisweet chocolate chips or coarsely chopped chocolate
Ingredients "For The Meringue":
3 Large egg whites, at room temperature
1/4 Tsp Fine sea salt
1/2 Tsp Pure vanilla extract
1/2 Cup (110g/4 oz.) Grannulated sugar
Ingredients For The "Egg Wash":
1 Egg, beaten
Pearl sugar for sprinkling

Meringue Coffee Cake Picnik collage 2 bis
Method "For The "Yeast Coffeecake Dough":
1.
In a large mixing bowl, combine 1 ½ cups (230g) of the flour, the sugar, salt, tonka and yeast.
2. In a saucepan, combine the milk, water and butter and heat over medium heat until warm and the butter is just melted.
3. With an electric mixe r o n low speed, gradually add the warm liquid to the flour/yeast mixture, beating until well blended. Increase mixer speed to medium and beat 2 minutes.
4. Add the eggs and 1 cup (150g) flour and beat for 2 more minutes. Using a wooden spoon, stir in enough of the remaining flour to make a dough that holds together.
5. Turn out onto a floured surface (use any of the 1 ½ cups of flour remaining) and knead the dough for 8 to 10 minutes until the dough is soft, smooth, sexy and elastic, keeping the work surface floured and adding extra flour as needed.
6. Place the dough in a lightly greased bowl, turning to coat all sides. Cover the bowl with plastic wrap and a kitchen towel and let rise until double in bulk, 45 – 60 minutes ( the rising time will depend on the type of yeast you use).
Method For The "Filling":
7. In a small bowl, combine the cinnamon, sugar, zest, chocolate chips and nuts for the filling.
Method For The "Meringue":
8. Once the dough has doubled, make the meringue. In a clean mixing bowl (ideally a plastic or metal bowl so the egg whites adhere to the side - they slip on glass - and you don’t end up with liquid remaining in the bottom) beat the egg whites with the salt, first on low speed for 30 seconds, then increase to high and continue beating until foamy and opaque.
9. Add the vanilla then start adding the ½ cup sugar, a tablespoon at a time as you beat, until very stiff, glossy peaks form.
Method For "Assemling The Coffeecakes":
10. Line 2 baking/cookie sheets with parchment paper.
11. Punch down the dough and divide in half.
12. On a lightly floured surface, working one piece of the dough at a time (keep the other half of the dough wrapped in plastic), roll out the dough into a 51 x 25.5cm (20 x 10-inch) rectangle. 13. Spread half of the meringue evenly over the rectangle up to about 3/4cm (1/2-inch) from the edges.
14. Sprinkle half of your filling evenly over the meringue.
15. Now, roll up the dough jellyroll style, from the long side.
16. Pinch the seam closed to seal.
17. Very carefully transfer the filled log to one of the lined cookie sheets, seam side down.

Meringue Coffee Cake Picnik collage 3 bis
18. Bring the ends of the log around and seal the ends together, forming a ring, tucking one end into the other and pinching to seal.
19. Using kitchen scissors or a sharp knife (scissors are easier), make cuts along the outside edge at 2.5cm (6.3 inch) intervals (make them as shallow or as deep as desired but don’t be afraid to cut deep into the ring). Repeat with the remaining dough, meringue and fillings.
20. Cover the 2 coffee cakes with plastic wrap or a humid towel and allow them to rise again for 45 to 60 minutes.
21. Preheat the oven to 180° C (350° F).
22. Brush the tops of the coffee cakes with the egg wash and sprinkle with pearl sugar.
23. Bake in the preheated oven for 25 to 30 minutes until risen and golden brown (the dough should sound hollow when tapped).
24. Remove from the oven and slide the parchment paper off the cookie sheets onto the table. Very gently loosen the coffee cakes from the paper with a large spatula and carefully slide the cakes off onto cooling racks.
25. Allow to cool completely.


Remarks:
These are best eaten fresh, the same day or the next day.

Serving suggestions:
Just before serving, dust the tops of the coffee cakes with confectioner’s sugar as well as cocoa powder if using chocolate in the filling (if not using pearl sugar).
Eat for breakfast or afternoon tea.

~~~~~~~~~~~~~~~~~~~~~~

Etant donné que je suis en vacance et que je n'ai pas beaucoup de temps pour bloguer, je n'ai malheureusement pas pu faire une traduction française de ce billet et je m'en excuse auprès de tous mes amis lecteurs et blogueurs francophones!

C'est pourquoi je vous suggère de vous rendre sur le blog mentionné ci-dessous. Vous y trouverez cette recette en version française.

Chez Isa de "Les Gourmandises d'Isa" (Canada)

Meringue Coffee Cake Picnik collage 5 bis

Sunday, March 20, 2011

REST IN PEACE FRIDOLIN

King Fridolin 1.2 bis

12.04.1995 - 18.03.2011


This last Friday has been a very sad and traumatizing day for my boyfriend and I...

After having vanquished his terminal tumor in March 2010 (WCB #250 & WCB #251) our beloved soon to be 16 years old Fridolin (aka Kiki, Fridi, Köter, Kikinette, Féfette, Mosquito, Rätli, Äffli, Yammerli, Pinpin, Rabätli, Fledchen, etc...) was finally defeated by a form of cancer which attacked his whole body within a matter of days.

For a whole year he had been totally healthy, running around like a young cat, eating with appetite and showing only signs of vitality. Unfortunately, on the 11th of March his belly suddenly got extremely swollen and his digestive system started not working well anymore. On Tuesday the 15th the veterinary diagnosed a hairball problem and we were relieved to know that he didn't have a more serious problem. Alas, within a few days his condition degraded very fast and he stopped eating, began vomiting fluorescent bile, walked with much difficulty and showed symptoms of neurological disorder. So, on Friday the 18th, we called the vet again. This time his verdict was painstakingly negative and we felt as if our world crumbled down when he pronounced the word "euthanasia". Fridolin was suffering way too much and he had to get released from his pain as soon as possible .

This is how, on this sunny and bright spring afternoon of March our brave little fluffball left this world surrounded by love and light. With all my heart, I pray he has found peace and is in an ever better place now. He derserves it as he was such a courageous, angelic, beautiful and wonderful companion who brought us so much joy and gave us tons of affection.

Fridolin, we are already missing your wet kisses, cuddliness, uniqueness, smooth and lush coat, love-filled eyes, warm company, monkey-like races across the apartment, the sweet perfume of your squeaky-clean fur and the way you danced around our feet when we put on our shoes (we called it the "Schuhtanz/shoe dance").

You were a divine being with a golden soul who was sent to us by the Universe in order to make our life happier and you never complained or was unsatisfied with what we offered you. For that we are very thankful and we hope that you received all the attention you deserved.

Rest In Peace, dear Friend.

Monday, March 14, 2011

EATING ON A BUDGET - THE RAMBLING EPICURE

Beetroot Gratin Close-Up bis USE 1 bis

Rambling Epicure
My second article "13 Ways To Eat On A Budget And Improve Your Health At The Same Time" has been published on The Rambling Epicure. It offers tricks and tips for eating healthily, sustainably and gourmet on a shoestring. You'll also find one of my recipe for a lusciously creamy "Beetroot Gratin". I hope you'll enjoy my work!

Beetroots TO USE bis

Beetroot Fried Egg USE 1 bis

Friday, March 11, 2011

CHOCOLATE TARTLETS & BOOK REVIEW

Chocolate Tartlets Picnik collage 1 bis
BOOK REVIEW - CRITIQUE DE LIVRE

I've always been a sucker for pastries of all kinds and love the way the house is filled with wonderful scents during my baking sessions, so when the Editions Larousse proposed to send me Isidora Popovic's French version of "Popina's Book of Baking"
("Gâteaux Maison", collection Les Authentiques) I was delighted by their kind proposition... /// J'ai toujours eu un faible pour les pâtisseries en tous genres et j'adore la manière dont mon appartement embaume lorsque je prépare des gâteaux, alors quand les Editions Larousse ont proposé de m'envoyer le livre "Gâteaux Maison" d'Isidora Popovic (traduit de l'anglais, collection Les Authentiques) une immense joie m'envahi...

The talented and award-winning Serbian-born Isidora Popovic is the owner of Popina and the baker behind this popular London-based bakery/brand which was founded in 2000. She started with a grant from Prince Charles' Prince's Trust and a stall in London's Portobello Market. Nowadays this bakery's handmade, organic, additive-free, seasonal, products also grace the shelves of many British gourmet food shops. /// La talentueuse et primée serbe est la propriétaire de Popina et se trouve aux commandes de cette pâtisserie/marque londonienne qui fut créée en 2000. Elle a démarré son business grâce à une subvention du Prince Charles' Prince's Trust et commencé avec seulement un stand au Portobello Market. Maintenant, les créations bios, sans additifs et de saison sont aussi vendues dans de nombreux magasins pour gourmets en Angleterre.

Upon leafing through her publication what comes immediately to mind is the variety of treats that is presented within it's pages. There are more than 70 straightforward and mouthwatering sweet as well as savory artisan-style recipes for all tastes (cookies, tarts, cakes & muffins). Most of the delicacies are Anglo-Saxon inspired, but there are also a few Eastern European treats like strudels and böreks. None of the goodies are difficult to make and there are plenty of great ideas to find in her beautifully illustrated bestseller. /// Lorsqu'on feuillette ce livre gourmand et merveilleusement illustré on s'aperçoit immédiatement qu'il contient un grand nombre de recettes variées (70 en tout/cookies, tarts, cakes & muffins), faciles à réaliser et artisanales qui font saliver. La pupart des spécialités présentées sont d'origine anglo-saxonnes, mais il y a aussi un certain nombre de recettes en provenance d'Europe de l'Est (strudels et böreks).

Even if the specialities shared with us are maybe not the most original, I really love the way Isidora added her unique and personal touch to those classics in order to make them even more scrumptious and tempting. Fact is that it is impossible not to be attracted to her gorgeous creations as everything looks and sounds so droolworthy and appealong. /// Les gâteries qu'Isidora Popovic partage avec nous ne sont peut-être pas vraiment originales, mais néanmoins j'aime beaucoup les petites touches personnelles qu'elle ajoute ici et là afin de rendre ces classiques de la pâtisserie US/british encore plus alléchants et tentants.

Chocolate Tartlets Picnik collage 2 bis
I have only been able to test two recipes ("Cranberry and Pecan Cookies" & "Chocolate And Pistachio Tartlets") so far and both turned out impeccably. That cookbook offers so many interesting bakes that I cannot wait to try them all, and especially her "Ginger And Chilli Caramel Biscuits", "Pineapple, Coconut And Lemon Biscuits", "Rhubarb Custard And Crumble Tartlets", "Nectarine And Summer Berry Tart", "Chocolate And Pistachio Tartlets", "Chocolate And Chestnut Tart", "Very Chocolate Cake", "Chocolate And Hazelnut Strudel", "Double Orange Truffle Brownies, "Stilton And Celery Bites", "Honey-Roast Parsnip, Carrot And Shallot Tart" and "Roast Potato And Spring Onion Tartlets" & "Cheese Burek". "Popina's Book Of Baking" ("Gâteaux Maison") is awesome and will rejoice both beginner and experimented hobby bakers alike.

As you can imagine choosing a recipe to blog about wasn't an leasurely task as I had bookmarked many pages and did not know where to start. After having hesitated for a while I finally decided to make Isidora's "Chocolate And Pistachio Tartlets" as they seemed to be particularly luscious and promising. Just what I needed in order to satiate my craving for lush cocoa-based desserts (spring always makes me lust after chocolate)!

The tartlets were slightly time-consuming to produce, but the recipe's steps were easy. No violent swearing or pan-banging was to be heard and it showed in the final result. Their sexy aspect was extremely satisfying and they provided the most voluptuous of pleasures.

At the bottom of each "Chocolate And Pistachio Tartlet" lays a succulent shortcrust pastry that was exquisitely flaky, buttery and which's light bitterness as well as saltiness balanced wonderfully the overall sweetness of that . In their center a soft génoise was embedded, providing airy smoothness. As if that was not decadent enough the tartlets were glazed with a luxurious dark ganache and sprinkled with pistachios. Divine!

Chocolate Tartlets 2 bis
~ Chocolate & Pistachio Tartlets ~
Recipe adapted from the book "Gâteaux Maison" by Isidora Popovic, Éditions Larousse 2011.

Makes 8x9-10cm (3.7-inches) tartlets.

Ingredients For the "Chocolate Shortcrust Pastry":
225g All-purpose flour
1 Tsp Fine sea salt

25g Cocoa powder (unsweetened)
125g Unsalted butter, cut into small cubes
85g Light brown sugar
1 Big egg
Ingredients For the "Chocolate Génoise":
70g Light brown sugar
1 Big egg
55g All-purpose flour
1/2 Tsp Baking powder
2 Tsps Cocoa powder (unsweetened)
10g Unsalted butter
35g Dark chocolate (70%), chopped
Ingredients For The "Chocolate Ganache":
50g Dark chocolate (70%), finely chopped
50g Milk chocolate, finely chopped
(I used dark chocolate instead)
150g Double cream (35% fat)
1 Handful pistacchios, chopped


Method For the "Chocolate Shortcrust Pastry":
1. Using a stand mixer, mix together the flour, salt, cocoa, butter and the sugar until you obtain a sand-like mixture (coarse meal).
2. Add the egg and continue mixing until the dough has just started to hold together.
3. Remove the dough from the bowl of the stand mixer and shape it into a ball of pastry.
4. Put the pastry on a floured surface and roll it to a thickness of 3-4mm (0.11-013 inches).
5. Preheat the oven to 180° C (350° F).
6. Butter 8 tartlet molds and line them with the pastry. Trim the edges. Put in the fridge.

Chocolate Tartlets Picnik collage 3 bis
Method For The "Choco late Ganache":
7. In a medium bowl, mix together the sugar and the egg. Using an electric hand mixer or stand mixer, beat until the mixture becomes pale and light.
8. Incorporate the flour, baking powder and cocoa.
9. Using a bain-marie, melt the butter and chocolate together, then incorporate this mixture to the previous mixture.
10. Add 2 Tsps water and mix well.
11. Remove the tartlets from the fridge and garnish each one of them with 1 1/2 Tbs chocolate génoise.
12. Bake for 15 minutes.
13. Remove from the oven and let cool on a wire rack for 10 minutes.
Method For The "Chocolate Ganache":
14. Put both chocolates in a medium bowl and bring the cream to a boil (at medium temperature without forgetting to stir from time to time).
15. Pour the cream over the chocolate and mix well until you get a thick shiny ganache.
16. Pour the ganache (equally) over the tartlets and sprinkle with the pistachios.
17. Place the tartlets in the fridge.

Remarks:
If you wish you can make a ganache with exclusively dark chocolate or white chocolate.

For a coffee version of those tartlets you can also add 1 Tsp powder coffee to the water (warm) that is used for the chocolate génoise and incorporate 1/2 Tsp powder coffee to the cream that is used for making the choco
late ganache (dark or white).

Serving suggestions:
Serve cold with whipped cream and accompany with a
good coffee, ice coffe or a glass of ice cold milk.

~~~~~~~~~~~~~~~~~~~~~

Chocolate Tartlets Picnik collage 5 bis
~ Tartelettes Au Chocolat Et Aux Pistaches ~
Recette adaptée du livre "Gâteaux Maison" par Isidora Popovic, Éditions Larousse 2011.

Pour 8 tartes de 9-10cm de diamètre.

Ingrédients Pour La "Pâte Brisée Au Chocolat":
225g de Farine blanche
1 CC de Sel de mer fin
25g de Cacao en poudre (non-sucré)
125g de Beurre non-salé, coupé en petits cubes
85g de Sucre brun clair
1 Oeuf
Ingrédients Pour La "Génoise Au Chocolat":
70g de Sucre brun clair
1 Oeuf
55g de Farine blanche
1/2 CC de Poudre à lever
2 CC de Cacao en poudre
10g de Beurre non-salé
35g de Chocolat noir (70%), haché
Ingrédients Pour La "Ganache Au Chocolat":
50g de Chocolat noir (70%), finement haché
50g de Chocolat au lait, finement haché (je l'ai remplacé par du chocolat à 70% de cacao)
150g de Crème double (35% mat. grasses)
1 Poignée de Pistaches, hachées

Méthode Pour "Pâte Brisée Au Chocolat":
1. Dans un robot électrique, mixer ensemble la farine, le sel, le cacao, le beurre et le sucre brun jusqu'à obtention d'une consistence sableuse.
2. Incorporer l'oeuf et continuer à mélanger afin que la pâte se lie.
3. Retirer la pâte du robot et former une boule.
4. Poser la pâte sur un plan de travail légèrement fariné et l'étaler au rouleau à pâtisserie sur une épaisseur 3-4mm.
5. Préchauffer le four à 180° C (350° F).
6. Garnir 8 moules à tartelettes préalablement beurrés avec la pâte, puis couper les bords qui dépassent. Mettre au frigo.

Chocolate Tartlets Picnik collage 4 bis
Méthode Pour "Génoise Au Chocolat":
7. Dans un bol moyen, travailler le sucre et l'oeuf au fouet électrique jusqu'à obtention dans mélange jaune pâle.
8. Incorporer la farine, la poudre à lever et le cacao.
9. Faire fondre le beurre et le chocolat au bain-marie, puis les incorporer à la première préparation.
10. Ajouter 2 CS d'eau et bien mélanger.
11. Sortir les fonds de tarte du frigo, puis garnir chacun avec 1 1/2 CS de génoise au chocolat.
12. Cuire pendant 15 minutes.
13. Retirer du four et faire refroidir sur une grille pendant 10 minutes.
Méthode Pour La "Ganache Au Chocolat":
14. Mettre les chocolats dans un bol moyen puis porter la crème à ébullition dans une casserole (à feu doux en remuant régulièrement).
15. Verser la crème dans le bol et bien mélanger à l'aide d'un fouet afin d'obtenir une ganache onctueuse.
16. Répartir la ganache sur la génoise et parsemer de pistaches.
17. Mettre au frigo.

Remarques:
Si vous désirez, vous pouvez aussi préparer la ganache exclusivement avec du chocolat noir ou du chocolat blanc.
Pour des tartelettes au café, il vous est aussi possible d'ajouter 1 CC de café soluble à l'eau (que vous aurez chauffé) de la génoise et d'incorporer 1/2 CC de café soluble dans la crème pour la ganache au chocolat noir ou blanc.

Idées de présentation:
Servir les tartelettes froides avec de la crème fouettée et un bon café, un café glacé ou un verre de lait froid.

Chocolate Tartlets Picnik collage 6 bis

Friday, March 4, 2011

TARTINE BAKERY'S PUMPKIN PIE - RIP NANA

Pumpkin Pie Picnik collage 3 bis
Today, I wish to dedicate my post to my beloved English grandmother Jean Margaret Robinson (née Cutts, 13.09.1927-18.02.2011) who passed away peacefully on Friday the 18th of February 2011 at the age of 84, nearly two years after my grandfather death. She was the last of my grandparents and my only link to England, the country where my heart belongs and my second home (I have dual nationality).

I might not have had a very close or deep relationship with her, and although still w
onder what she thought of me or if she loved me (unfortunately, the members of my family have never been known for expressing or showing their feelings) she has had a big influence on me as she was an admirable cook and baker who always delighted everybody with her divine creations. Eventhough she was not the attentionate, generous and present grandmother I dreamt of having, I will always remember her for being a remarkable person when it came to handling the pots and pans or to whip up the most palatable Sunday roast.

I particularly respect and thank my Nan for having been extremely talented in the kitchen and for being my culinary guide. She was a person
who showed me what traditional British food is supposed to taste like, whose cooking skills I have always wanted to acquire and whom I considered an authority in all things gourmet. She was clearly gifted in that domain (not only though - she also mastered other arts like painting, knitting, working with silver, etc...). I am so glad she indirectly motivated me to develop my craftiness for all things food-related. I really hope that from the heaven's above my granny is happy to see that I have surpassed her as a cook/baker and she is pleased with the adult I have become...

Unfortunately we have not spent much time together. My grandma was never enclined to sh
are a moment of complicity with granddaughter. She rarely showed me how to prepare food and hated having me "in her feet" when she was busy making dishes or baking cakes. In those moments, my grandmother didn't want to have a kid around her.

The only memory I have of me actually baking with my granny is when I beg
ged her to make "Coffee Kisses" cookies with me. As I had a little tantrum and whined a lot, Nana reluctantly gave way to my wish and accepted to show me how to prepare that divine treat. She didn't know that more than 20 years later I'd be blogging about that exceptional event and fondly cherishing that memory...
Pumpkin Pie Picnik collage 1 bis
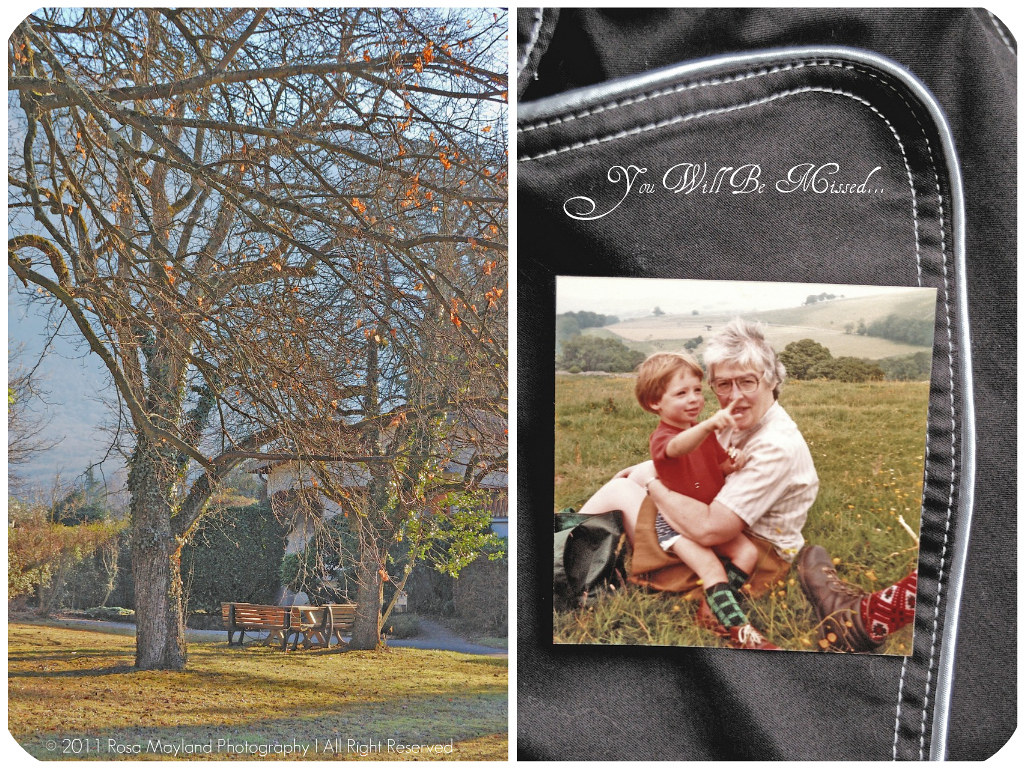
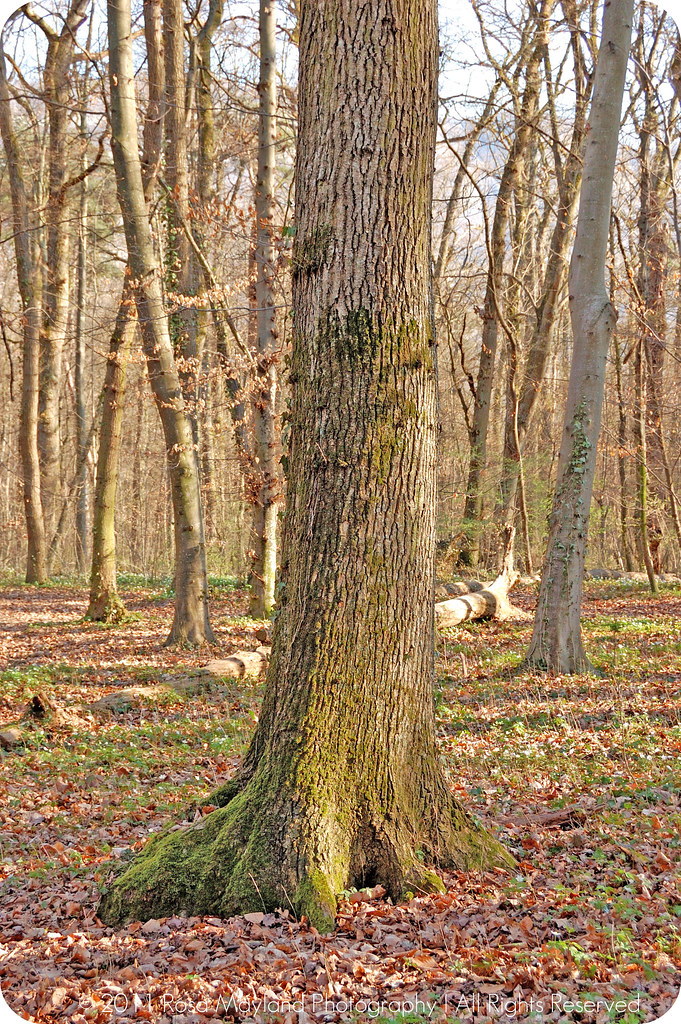
~ My grandmother and I, Derbyshire summer 1980 ~

RIP Nan.
I would have been extremely happy to hear you say "I love you"
or that you were proud of me,
but sadly I always waited for a sign of recognitions from you.
It is such a pity so many words were unspoken...
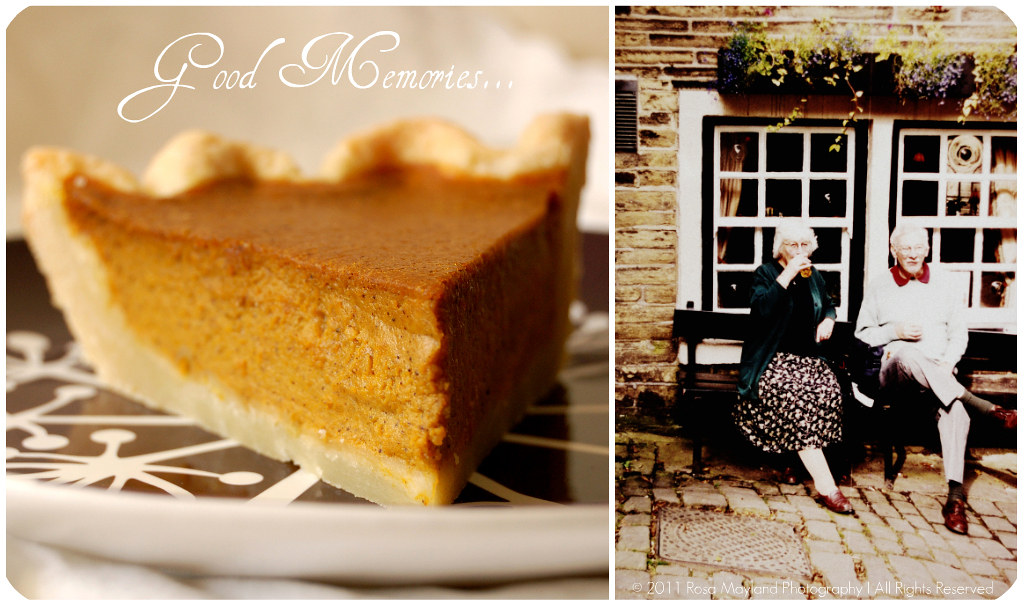
Anyway, I wish to thank you for all the good memories.
Love & kisses.
Rosa xxx

~~~~~~~~~~~~~~~~~~~~~~

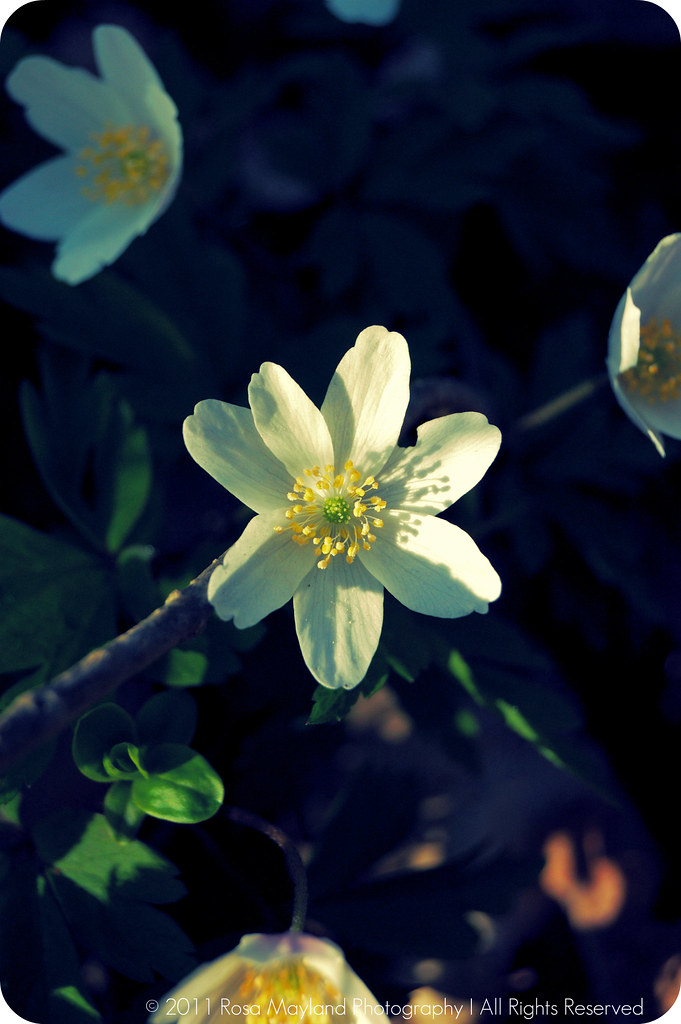
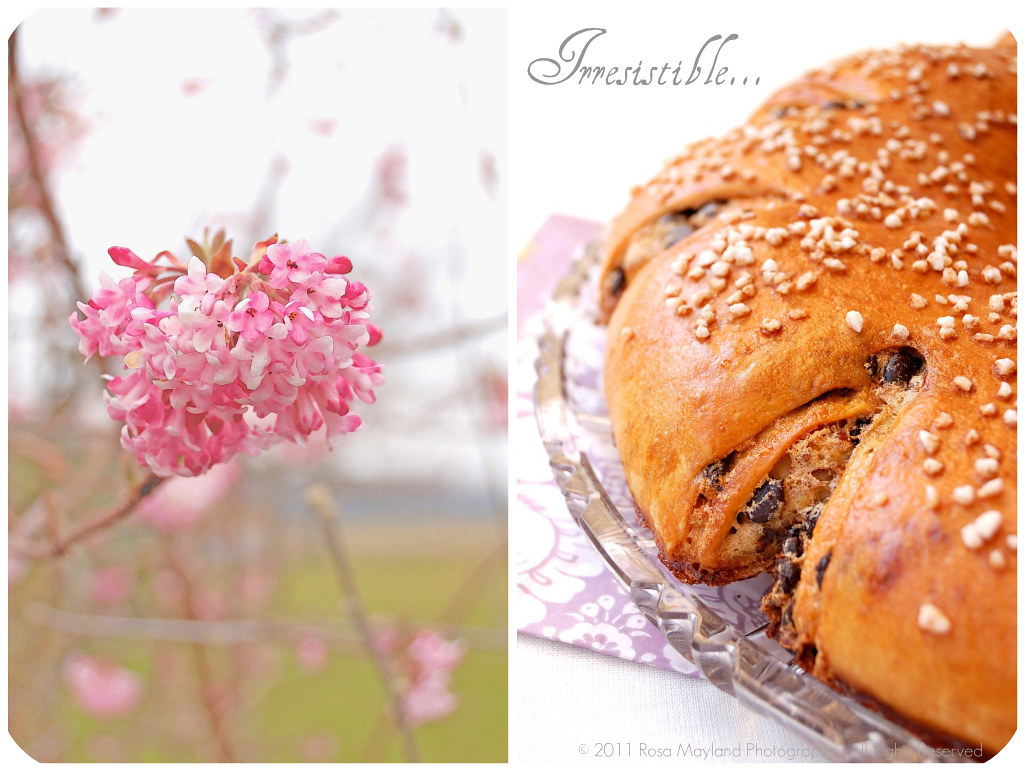
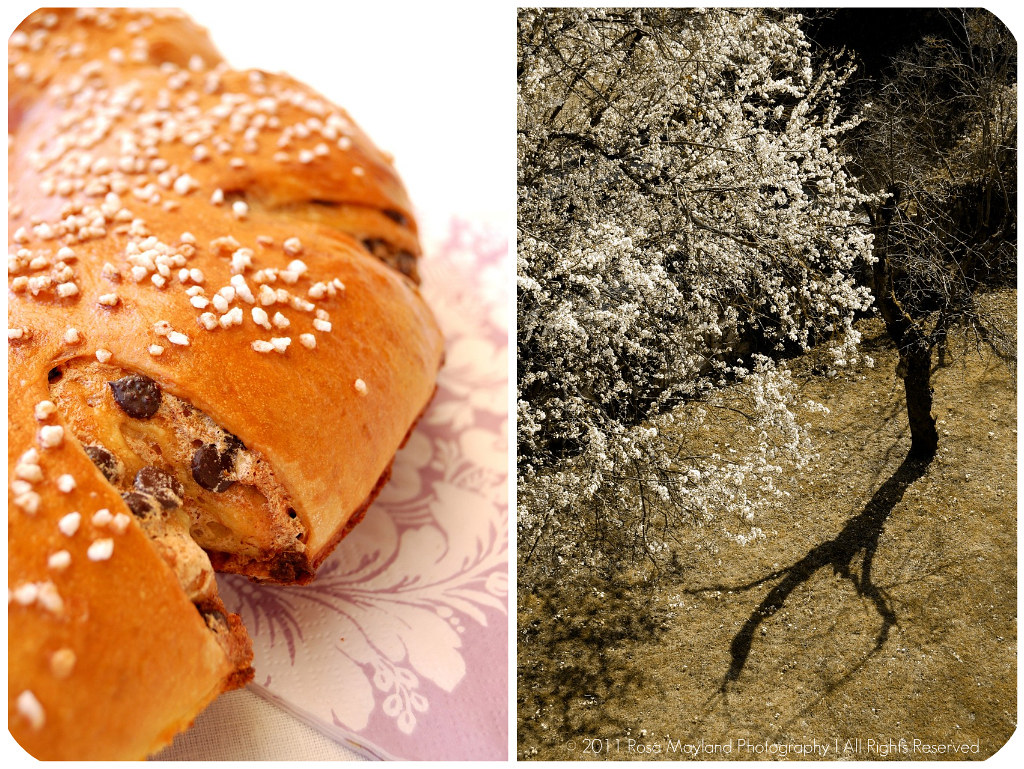
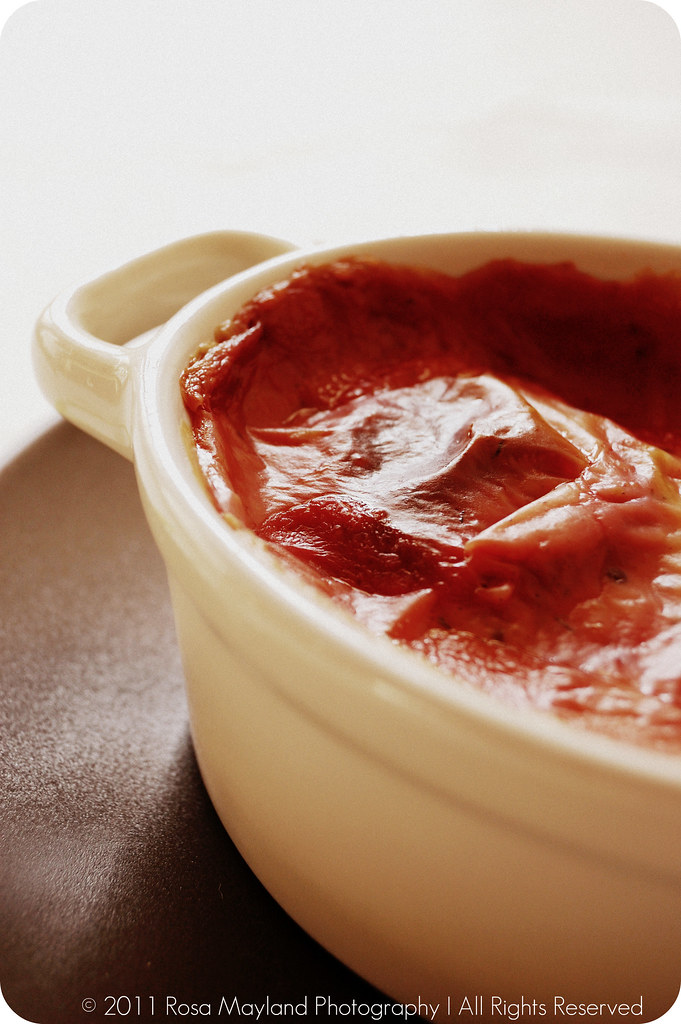
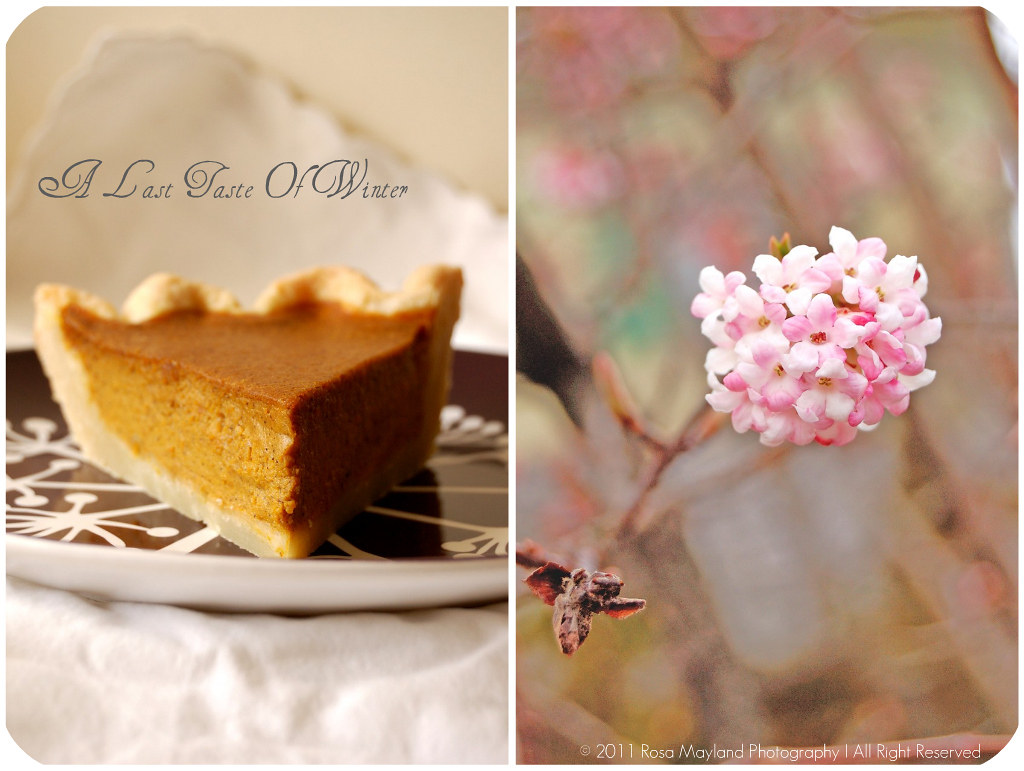
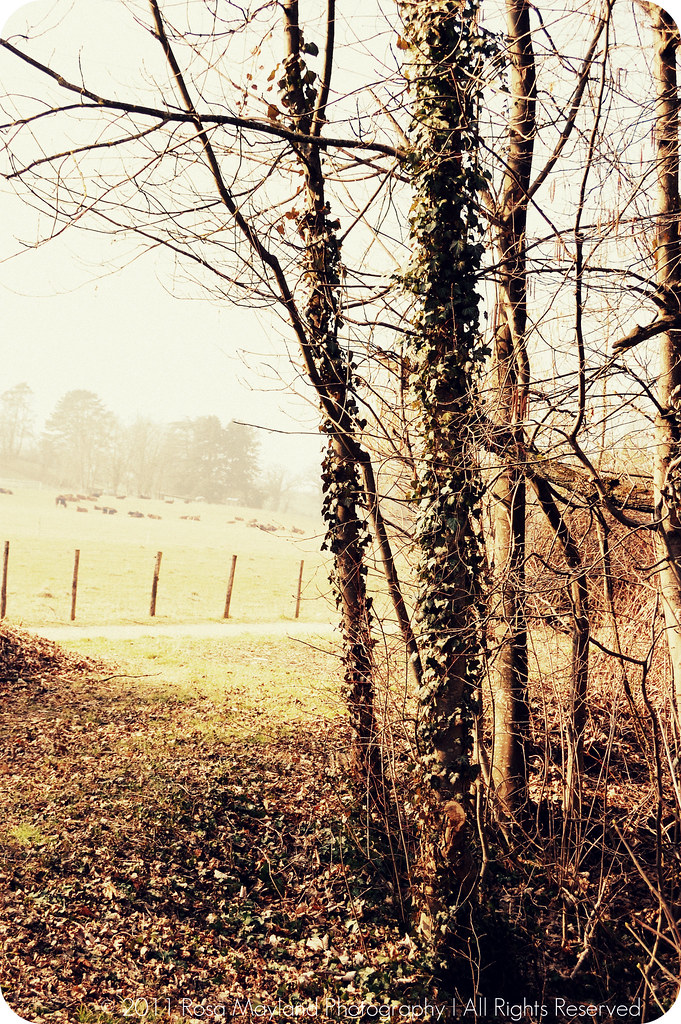
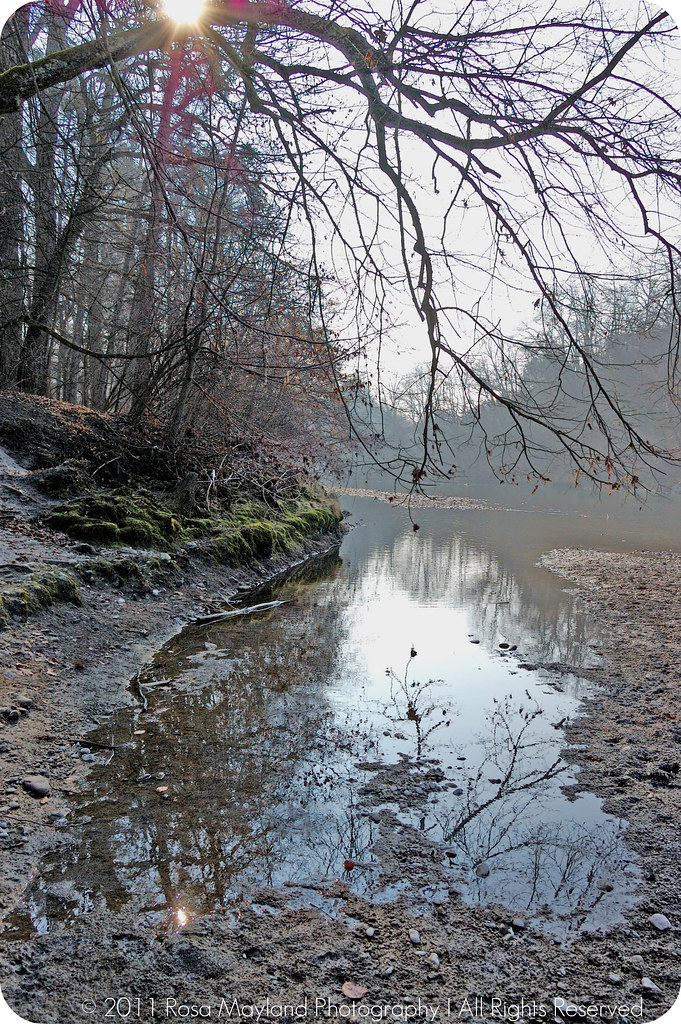
My post being about endings and new beginnings, it is all natura
lly that I will present a recipe which marks the conclusion of wintertime and the commencement of spring. By baking the last "Pumpkin Pie" of the cold season, it is my way of celebrating the circle of life, the endless passing of time and the complimentarity of life and death.

Last October I bought a few pumpkins to decorate my balcony table. They have kept very well and were exposed there until last week. Now that the nights are less cold and the days are a lot warmer, they have started to rot so as I hate to throw away food I decided to use my two small Japanese chestnut pumpkins ("Potimarron" in French) in order to put together a classic American "Pumpkin Pie".

As a child I was not keen on eating my mother's "Pumpkin Tarts" ("Tarte A La Courge", the Swiss equivalent of "Pumpkin Pie"), yet now I am very fond of that speciality. I remember that Fridays were officially called "tart days". A time of the week I particularly looked forward to as the weekend was very close (though I had to go to school on Saturday mornings, till 12pm) and we got to eat yummy stuff then.

My mother's
seasonal tarts were always greeted with much excitement, but the only time I was a little less than thrilled by what was awaiting us at the dinner table was when "Pumpkin Tart" was on the menu. One of the reason why I had a certain aversion for that treat is because the pumpkin used wasn't the kind you'd make sweet desserts with, but rather savory dishes. It had too much of a vegetable flavor to be enjoyable. The other reason is that my parents were never big fans of hyper spicy pastries (my mother only incorporated a little nutmeg and cinnamon to her filling) and unlike Americans, they especially disliked using cinnamon with a heavy hand. So even if her tart was made with quality produce (pumpkins from the market) and double cream it lacked a bit of oomph as the filling was not as luscious and rich-tasting as the one of the US "Pumpkin Pie"...

Now that I bake my own "Pumpkin Pies" I can fully enjoy that confection and play around with aromas. A few years ago I blogged about my own adaptation of a recipe I found in the book "Culinaria US" (please forgive the bad picture!) and while it is quite flawless it doesn't mean that I am not interested in trying other recipes. After all I am a foodie who cannot stop being in search of perfection.

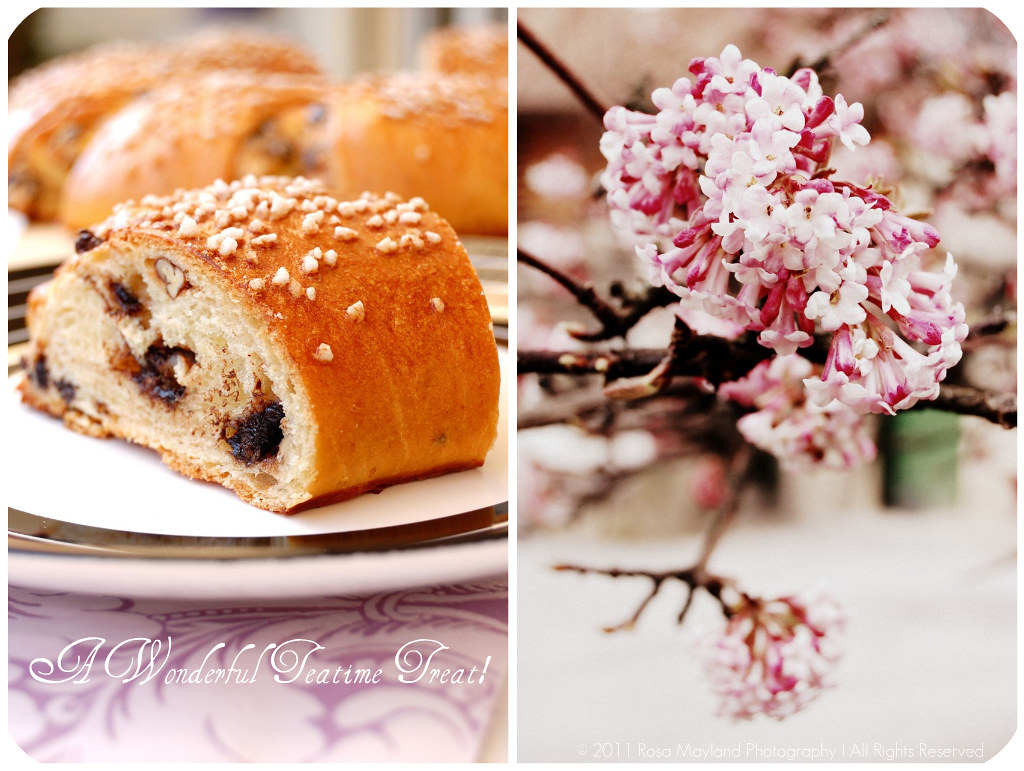
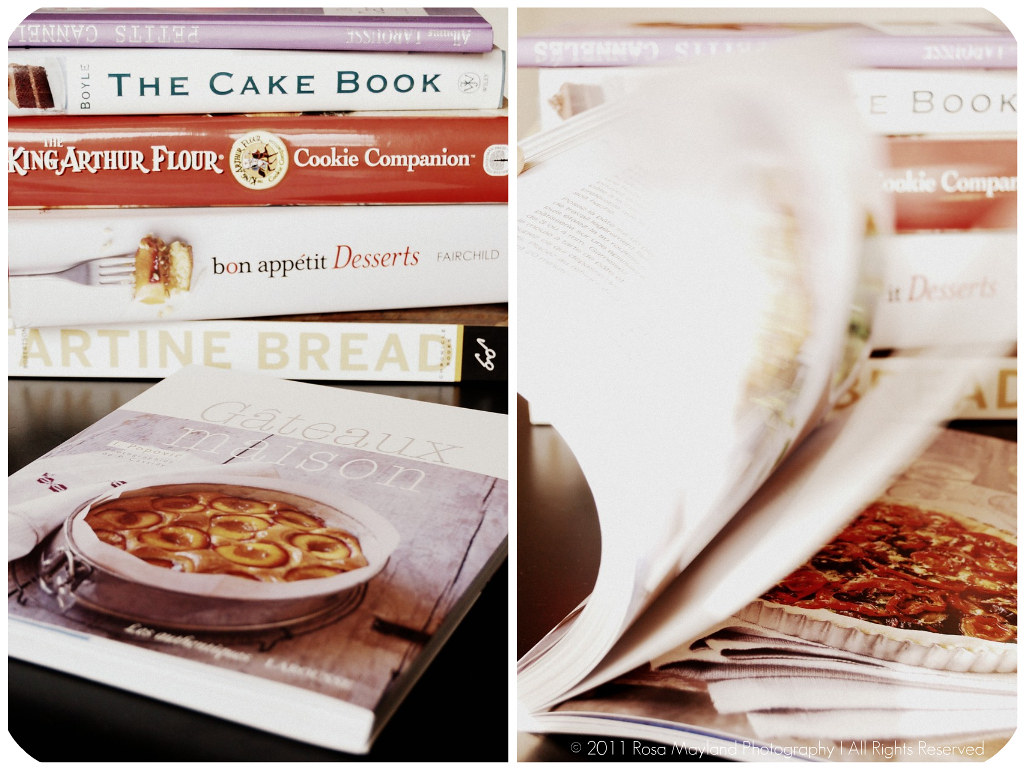
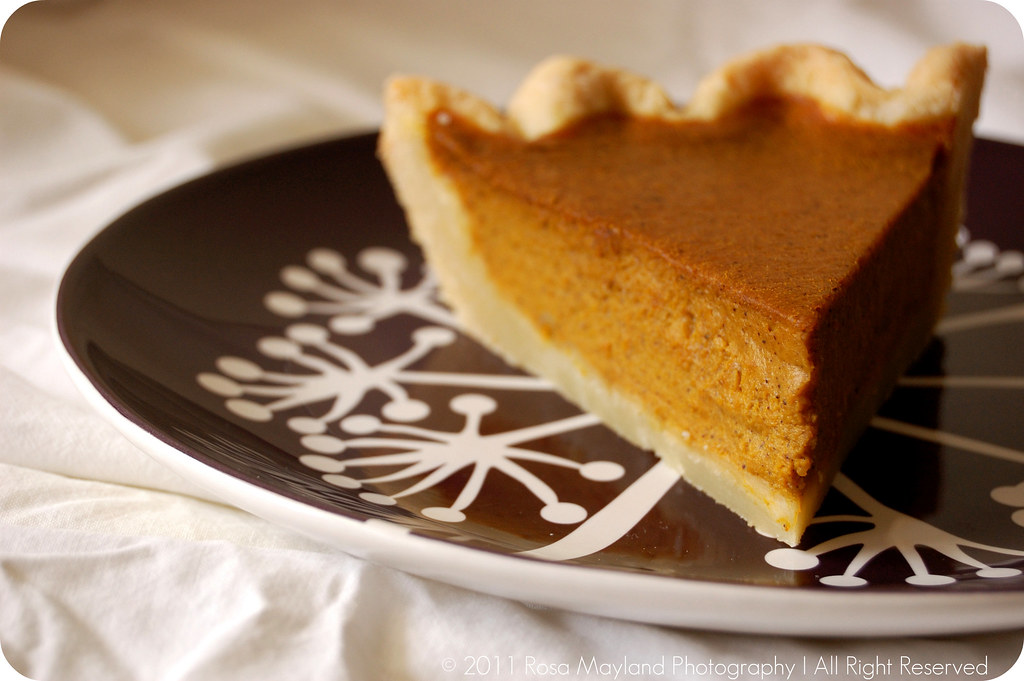
So, after having eyed an attractive "Pumpkin Pie" recipe in my new "Tartine" cookbook, I decided to see what it was worth. Well, I wasn't deceived by the end result as my boyfriend and I had no problem polishing off the pie dish within the next 48 hours.

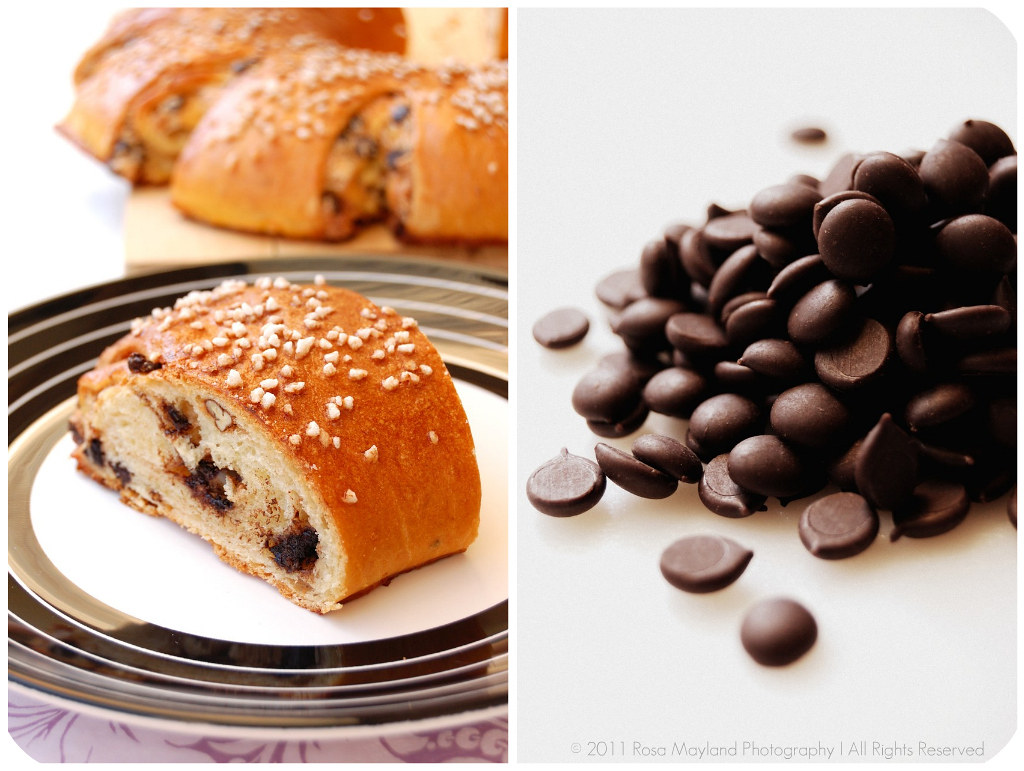
As usual, I adapted it to my taste and replaced
the brandy by rum, incorporated more salt to the pastry and added some additional cinnamon to the filling. Needless to say that Tartine Bakery's "Pumpkin Pie" was divine. It was not overly sweet, lusciously custardy, delightfully spicy, pleasantly earthy, wonderfully moist and had a refined flavor as well as a marvelously flaky and buttery pastry. In spite of being gorgeous I must point out that I might surely add a pinch of allspice to the filling the next time I bake this pie...

Pumpkin Pie 6 bis
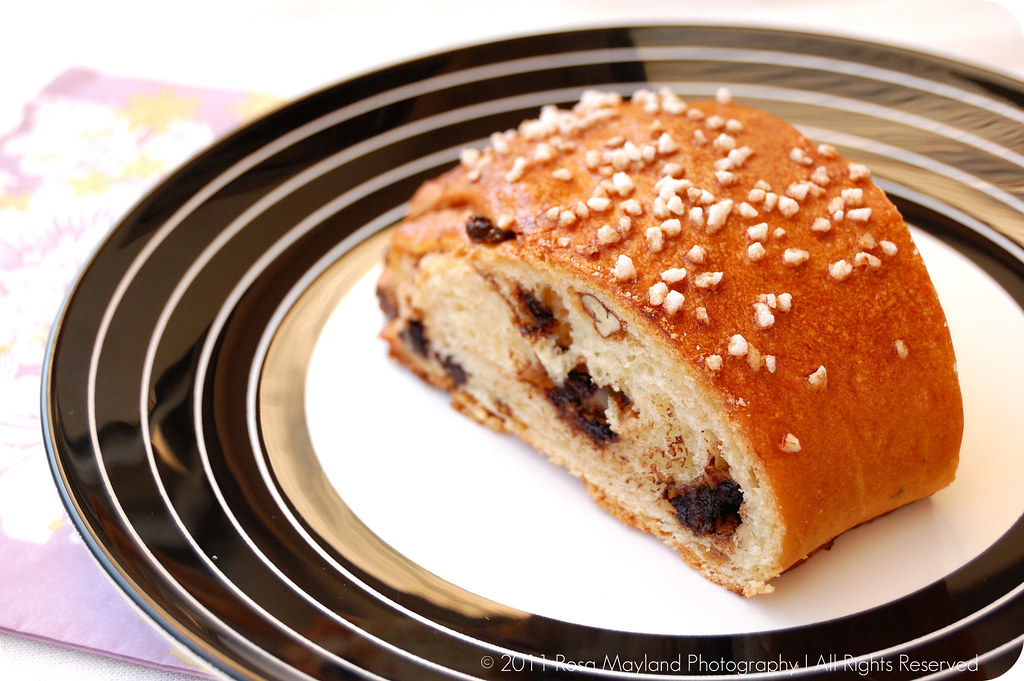
~ Tartine's Pumpkin Pie ~

Recipe adapted from the book "Tartine" by Elisabeth Prueitt and Chad Robertson.

Makes a 25cm (10-inch) pie.

Ingredients For The "Flaky Pie Crust":
1 1/2 Tsp Fine sea salt
2/3 Cup (150ml) Ice cold water
3 Cups + 2 Tbs (455g) All-purpose flour
1 Cup + 5 Tbs (300g) Chilled butter, cut into small cubes
Ingredients For The "Pumpkin Filling":
2 Cups (510g) Pumpkin purée
3 Large egg
1 Large yolk
1 Cup (250ml) Double cream (35% fat)
2 Tbs Rum
1/2 Cup (100g) Light brown sugar
1 1/2 Tsp Ground cinnamon
1 Tsp Ground ginger
A pinch Ground cloves
A pinch Freshly grated nutmeg
A pinch Freshly ground black pepper
1 Tsp Fine sea salt

Method for the "Flaky Pie Crust":
1. Place the flour and salt in a big bowl.
2. Add the butter.
3. Using a pastry blender, cut the butter into the flour until you obtain a mixture ressembling coarse sand.
4. Pour the water over the crumbly mixture. Stir and toss with the help of a knive until the dough starts to come together.
5. Continue mixing (very gently) until you obtain a ball of dough which is not completely smooth. 6. On a floured surface, divide pastry in two, shape into a 2.5cm (1-inch) thick disk and wrap in plastic film.
7. Put in the fridge and let rest for about 2 hours or overnight.
8. Roll out one of the disks on a lightly floured surface to a thickness of 0.3cm (1/8 inch thickness) and from the center toward the edge in all directions, without forgetting to lift and rotate the pastry a quarter turn every now and then.
9. Once your pastry is a circle 1 1/2 inches larger than the tart pan, carefully transfer it to the buttered pan (folding in half, if necessary).
10. Ease it into the bottom and sides of the pan and pressing into place. Trim the edge with a knife.
11. Prick the bottom of the pastry with a fork, line with baking paper and fill with pie weights or dry beans.
12. Preheat the oven to 190° C (375° F).
13. Bake blind until the surface of the dough looks dry and has no opaque areas left, about 20 minutes.
14. Remove from the oven and remove the paper as well as the weights/beans, then return the shell to the oven for an extra 2-5 minutes (if the center starts to rise, gently pierce with a knife tip).
15. Let cool completely on a wire rack before filling.

Pumpkin Pie Picnik collage 5 bis
Method For The "Pumpkin Filling":
1. Preheat the oven to 160°C (325°F).
2. In a medium bowl, whisk together the pumpkin purée, whole eggs, egg yolk, cream and rum until smooth.
3. Add the the sugar, spices and salt. Mix until well blended.
4. Pour the filling into the pie shell and bake for about 1 hour, or until the pie is just set but the center is ever so slightly jiggly (the filling continues to set as it cools).
5. Cool completely on a wire rack.

Remarks:
Make sure that you pumpkin purée is not too wet. Cook it a bit longer to let the liquid evaporate or place in a sieve overnight in order to get rid of the excess moisture.
If you wish you cxan replace the rum by brandy, cognac, whisky or sherry.
You can add a little more sugar to the filling if you find that it is not sweet enough.

Serving suggestions:
Serve at room temperature with whipped cream.

~~~~~~~~~~~~~~~~~~~~~~

Pumpkin Pie Picnik collage 6 bis
~ Jean & Roy in front of a pub somewhere in Derbyshire in 1998 ~

~ Pumpkin Pie Selon Tartine Bakery ~


Recette adaprée du livre "Tartine" par Elisabeth Prueitt and Chad Robertson.

Pour un pie de 25cm de diamètre.

Ingrédients Pour la "Pâte Brisée":
1 1/2 CC de Sel de mer fin
150ml d'Eau très froide
455g de Farine blanche
300g de Beurre très froid, coupé en petits cubes
Ingrédients Pour La "Garniture":
510g de Purée de potimarron
3 Gros oeufs
1 Jaune d'oeuf
250ml de Crème double (35% de mat. grasses)
2 CS de Rhum
100g de Sucre brun clair
1 1/2 CC de Cannelle en poudre
1 CC de gingembre en poudre
Une pincée de Clous de girofles en poudre
Une pincée de Noix de muscade fraîchement râpée
Une pincée de Poivre noir fraîchement moulu
1 CC de Sel de mer fin
Méthode Pour la "Pâte Brisée":
1. Dans un grand bol, mélanger la farine au sel.
2. Ajouter le beurre.
3. A l'aide d'un malaxeur à pâtisserie, couper le beurre dans la farine jusqu'à obtention d'une mixture ressemblant un crumble.
4. Incorporer l'eau et mélanger à l'aide d'un couteau de table.
5. Continuer à mélanger (délicatement) jusqu'à ce que vous obteniez une boule de pâte (pas trop homogène tout de même).
6. Sur une surface farinée, diviser la pâte en deux portions égales e t les former un deux disques de 2.5cm d'épaisseur, puis les emballer avec du film plastique.
7. Les mettre au frigo (2 heures au minimum ou une nuit).
8. Sur une surface farinée étaler (en allant du centre en direction des bords et en rotatant la pâte de temps en temps) un des disques de pâte à une épaisseur de 0.3cm.
9. Une que que vous aurez obtenu un cercle de pâte de 33cm (plus grand que le moule), le transférer délicatement dans le moule.
10. Garnir le moule avec la pâte et couper les bords.
11. Piquer le fond du pie avec une fourchette, Protéger la pâte piquée avec une feuille de papier sulfurisé découpée à la dimension voulue et remplir avec des billes de cuisson ou des haricots.
12. Préchauffer le four à 190° C.
13. Cuire à blanc pendant 20 minutes, ou jusqu'à ce que la surface de la pâte soit sèche et n'ait plus de zones opaques.
14. Sortir la pâte du four et retirer le papier avec les poids, puis la remettre au four pour 2-5 minutes supplémentaires (si le centre gonfle, piquer la pâte avec la pointe d'un courteau).
5. Laisser refroidir sur une grille avant de remplir avec la garniture.

Pumpkin Pie Picnik collage 2 bis
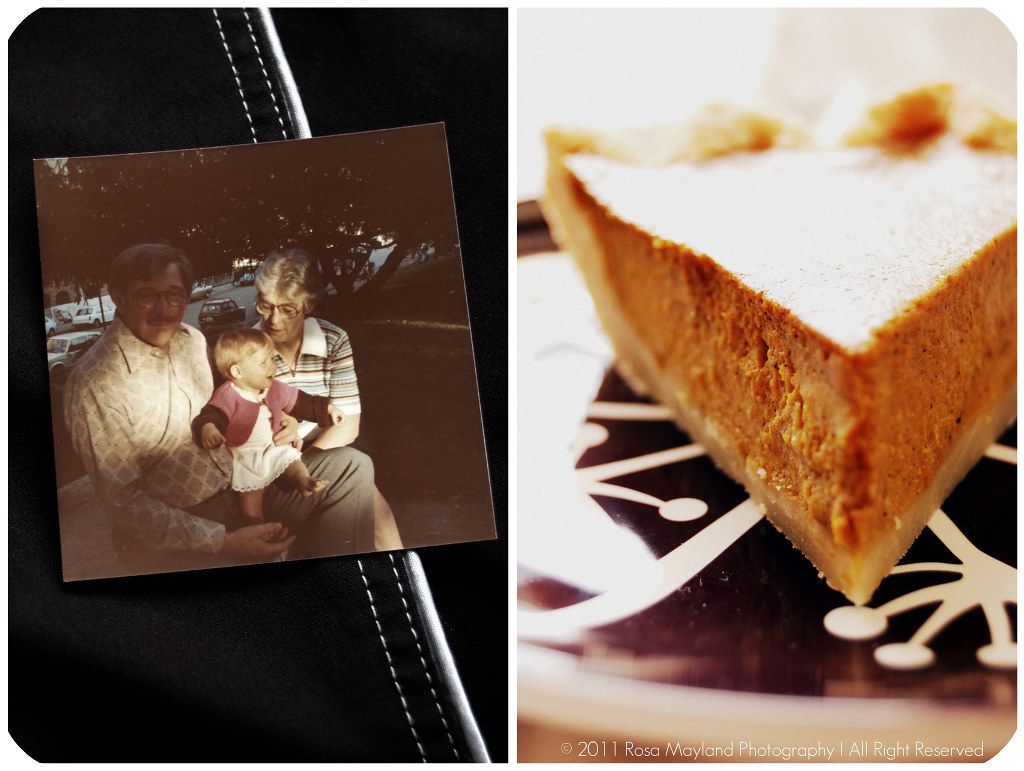
~ My grandfather, my grandmother & I, Geneva 1978 ~

Méthode Pour La "Garniture":

1. Préchauffer le four à 160°C.
2. Dans un bol moyen, battre ensemble la purrée de potimarron les oeufs, le jaune d'oeuf, la crème et le rhum afin d'obtenir une masse homogène.
3. Ajouter le sucre, les épices et le sel. Bien incorporer.
4. Verser la garniture dans le moule et cuire pendant 1 heure, ou jusqu'à ce que la garniture soit un peut tremblotante en son centre (elle continuera à se solidifier pendant q u'elle refroidira).
5. Laisser refroidir sur une grille.

Remarques:
Votre purrée de potimarron doit être assez épaisse et ne pas contenir de liquide. Afin de réduire la quantité de liquide, cuire la purrée jusqu'à ce que le liquide se soit évaporé ou mettre la purrée dans une passoire et laisser égoutter pendant toute une nuit.
Vous pouver remplacer le rhum par du sherry, whisky, du brandy ou du co gnac.
Si la garniture n'est pas assez sucrée, il vous est possible d'ajouter plus de sucre.

Idées de présentation:
Servir à température ambiante avec de la crème fouettée.

Pumpkin Pie Picnik collage 4 bis