Showing posts with label Daring Bakers. Show all posts

Sunday, March 27, 2011

MERINGUE COFFEE CAKE - THE DARING BAKERS

dk-group-1
Where have the last weeks gone? Is it possible that April is knocking on our door and that spring has already arrived?! The end of the month is nearing again, yet it feels as if I baked my last Daring Bakers challenge yesterday and not four weeks ago. I have the impression that I'm perpetuously running after time and can never fully take pleasure in what I'm doing because I can't even enjoy the present moment to the fullest and constantly have to project myself in the future...

Anyway, when I discovered the new DB recipe and found out that two of my favorite foodblogger friends had chosen it I was really thrilled and was looking forward to getting my robust Kitchen Aid working as it sounded very promising! The March 2011 Daring Bakers' challenge was hosted by Ria of "Ria’s Collection" and Jamie of "Life’s a Feast" who challenged us to bake a yeasted "Meringue Coffee Cake".
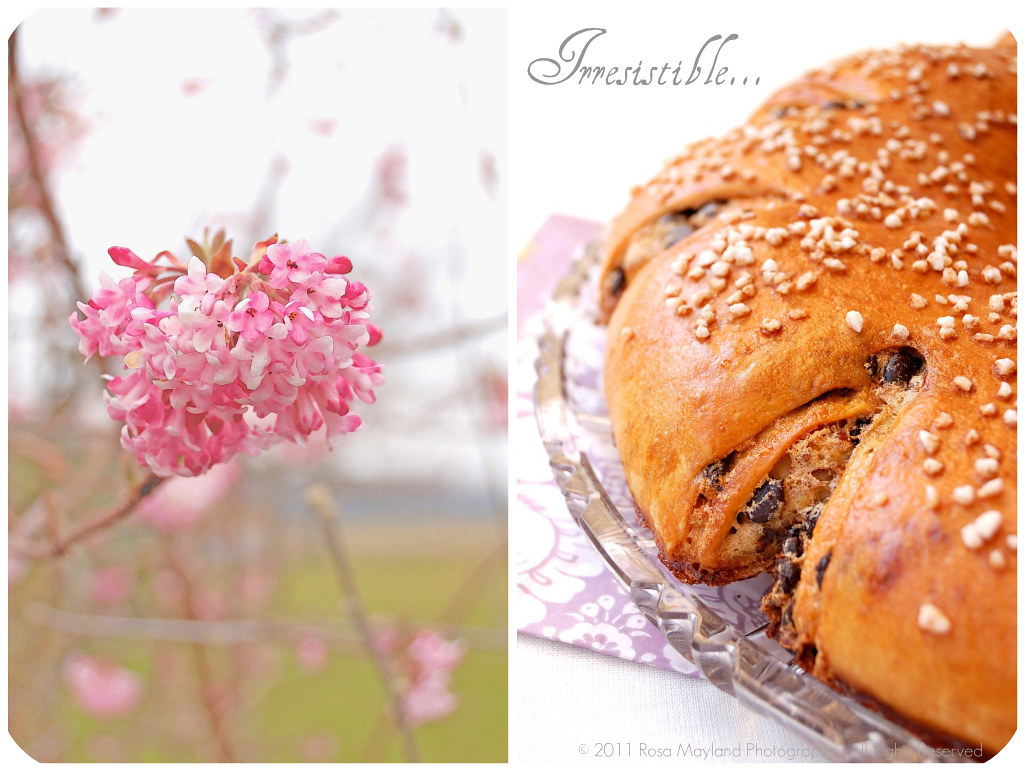
Meringue Coffee Cake Picnik collage 1 bis
Being somebody with a strong penchant for pastries and anything bready, yeast risen coffee cakes represent the summum of pâtisserie bliss for me. I cannot resist such wonderful treats as they are extremely addictive and dreamlike. As a matter of fact, once I start eating one of those baked goodies you can be sure that I'll finish it in a flash and will not leave it to dry on the countertop (a blasphemy). If you want to make me happy, then consider baking or offering me a yummy rich bread (Panettone, Kougelhopf, Danish Pastries, Stollen, etc...). That'll immediately bring a smile to my lips and improve my mood. There is something so perfect, soothing and comforting about those soul-uplifting bakery items...

Well, speaking of droolworthy delicacies, I must make a confession regarding that subject. Those of you who have been following my blog Rosa's Yummy Yums since a while might be aware that I am an atypical and unique individual who separates herself from the flock, likes being different from the others, loathes what is mainstream, so-called trendy and boringly conventional. In this way, some of my wildest dreams are a far cry from other people's dreams. Mine are mostly food-oriented and say a lot about my enthusiasm for the culinary world as well as my attachment to all things gourmet.

My fantasies are extravagant and rarely transposable into the real world. They are like scenes out of one of Roald Dahl's burlesque, trippy, strange and delirious children's books. For example, I love to imagine that I am in one of the most fantastic, immense and amazing bakeries that can possibly exist, and a bit like the little boy Charlie Bucket in "Charlie And The Chocolate Factory" (minus the eccentric Willy Wonka and his Oompa Loompas) I am free to wander alone around the laboratory as well as the store and gobble anything I fancy. This not being reality, I would have the capacity to swallow as many creamy entremets, flaky croissants, warm pains au chocolat, melt-in-the-mouth Danish pastries, deliciously savory canapés, flavorful pork pate, luxurious ham croissants, heavenly éclairs, fruitilicious tartlets, comforting pies, exquisite cakes, fragrant breads, toothsome candies and exquisite chocolates as I wish. The ultimate orgy! Just thinking about it makes me drool incontrolably and puts me in a state of trance.

You might think that I've gone totally bonkers and lost my mind, but while som
e of you wish to own a luxury car, to possess jewels worth a fortune, to be a star in Holywood or to buy designer clothes (like any other woman I love clothes and jewels, but I could never spend a fortune on them) I prefer to daydream about having the opportunity to go on a quest for rare, gourmet and quality ingredients or be lucky enough to taste the most gorgeous dishes and gastronomic creations that this world has to offer.

As you can see I am incredibly passionate about food. Nothing can make me quite as cheerfuly as when I am in my matchbox-sized kitchen buzzing around like a high-spirited bee frolicking effortlessly from one flower to another as if it were a graceful ballarina dancing with incredible lightness and buoyancy. It is a pastime that I cherish as it keeps me sane and balanced...

Bread baking is a particularly healthy activity that can be compared to meditation or yoga. A certain dose of effort has to be put into the task, but method and concentration are also required. Dough needs love, care and attention in order to give good results. If you don't put your heart into the job, there is a big chance that you'll get a mediocre loaf. But, on the contrary, if you are having a blast then the final product will be perfect as it is quite impossible that things will go wrong.

Eventhough life left me a few psychological scars (death of my English grandmother and of my much cherished cat Fridolin, family harrassment, etc...) lately, I still love preparing delectable chows for my friends, boyfriend and myself as this enterprise relieves the tension, makes me feel good and has a positive effect on my soul.

So, although I am still mourning the passing of my granny and kitty, the prospect of putting together a "Meringue Coffee Cake" filled me with joy. I needed to savagely knead some dough in order to evacuated the sadness, stress, anger and frustration that I have been accumulating since the beginning of this year.

This challenge was ideal for take a break from my worries/sorrows as the fabrication of this sweet bread posed no problem and the whole process went smoothly. I got the job done in a relaxed and calm manner. No hysterical
effusions of a distempered brain were to be noticed and I didn't even pronounce the word "bloody hell" once (something very rare).

The recipe was followed to the letter, but as we were permitted to operate a few changes flavor-wise I decided to incorporate some ground tonka bean (not legal in the US) to the dough and to add orange zest to the filling. I also refrigerated my dough overnight and used more cinnamon than instructed.

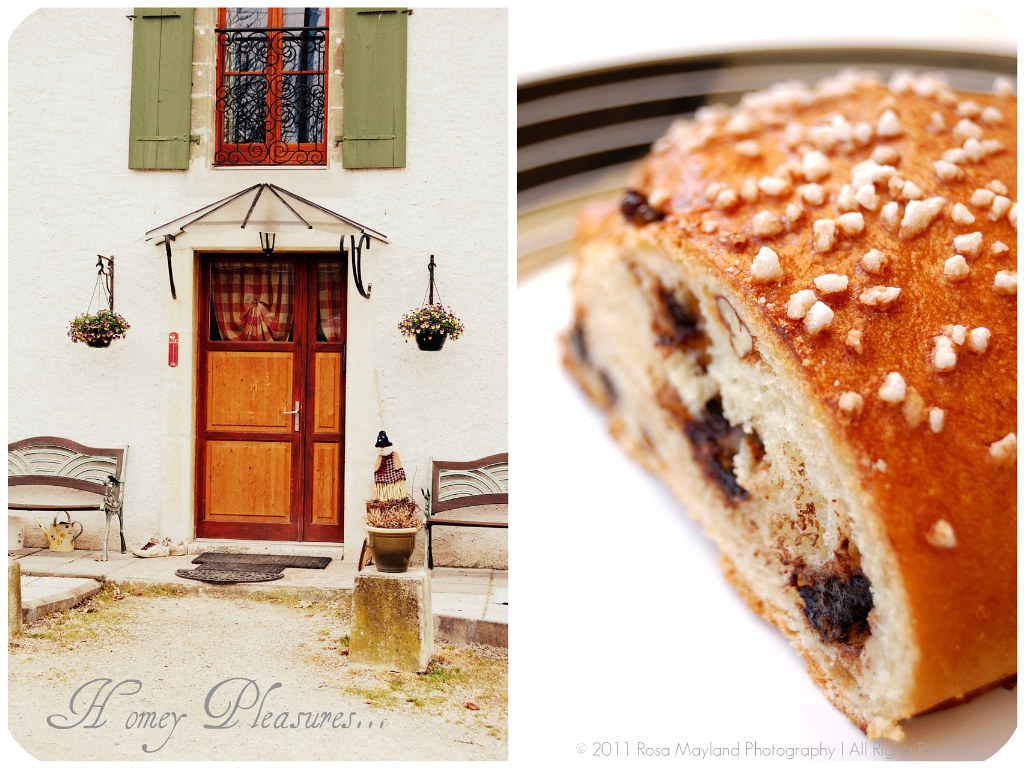
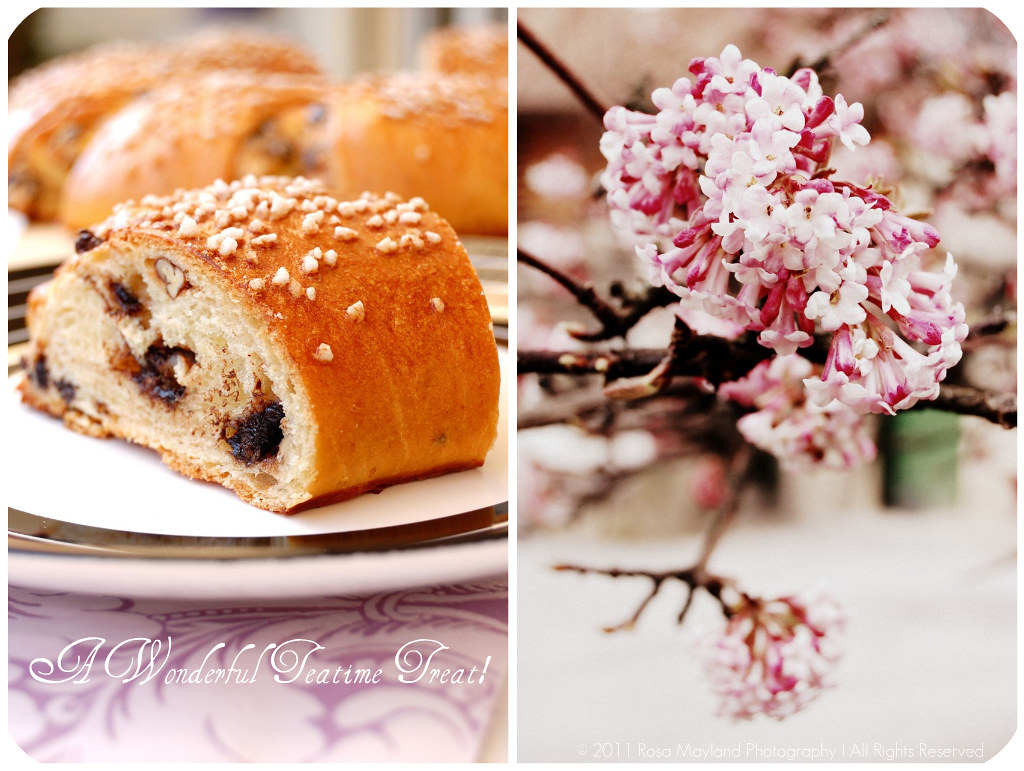
Oh, what a divine and exhalirating smell filled the apartment while my "Meringue Coffee Cake" was in the oven! Waiting for it to get fully baked and cooled was a real torture. I craved this beautiful, fluffy, moist, spicy, buttery and nutty brioche so much that I started pacing up and down my place like an agitated tiger in a cage. I felt as desperate as a dog having to sit quietly and watch his master having lunch. Terrible.

Thankfully, the evening came soon enough and I was finally able to sample
that droolworthy coffee cake. Biting into this soft, sweet and scrumptious slice of heaven I reached total zenitude and peace of mind...

This post was submitted to Yeastspotting.
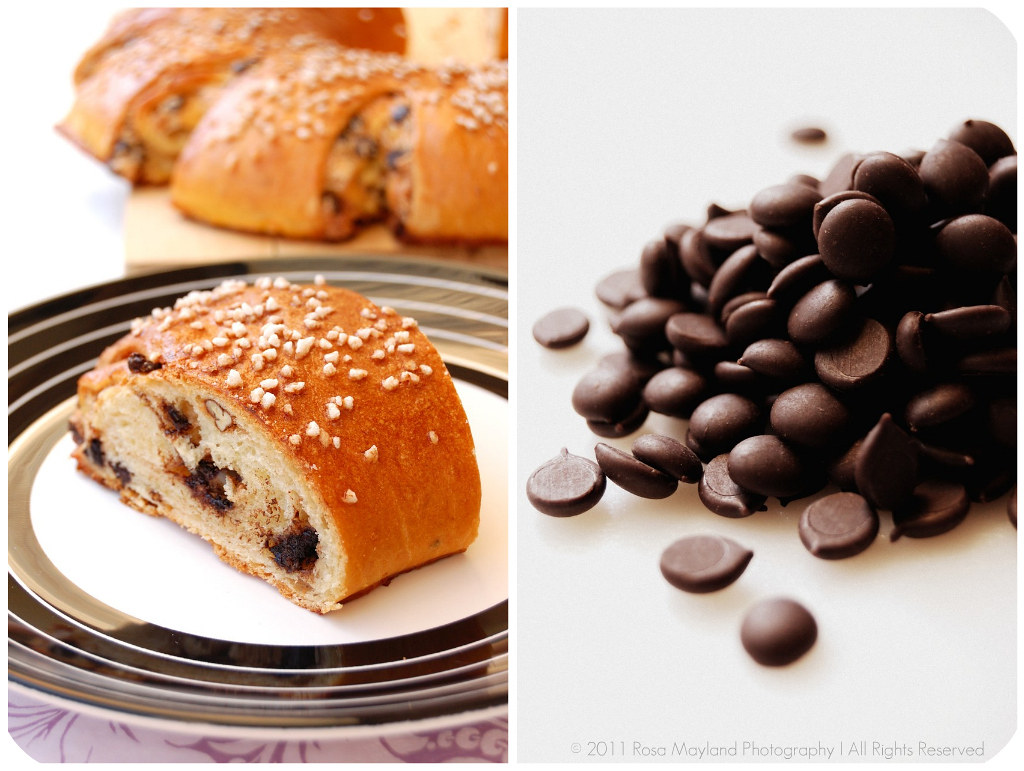
Meringue Coffee Cake Picnik collage 4 bis
~ Meringue Coffee Cake ~

Makes 2 round coffee cakes, each approximately 10 inches in diameter.

Preparation time:
10 - 15 minutes preparation of the dough
8 – 10 minutes kneading
45 – 60 minutes first rise
10 – 15 minutes to prepare meringue, roll out, fill and shape dough
An additional 45 – 60 minutes for second rising
Baking time:
Approximately 30 minutes

Equipment required:

Measuring cups for dry ingredients
Measuring cup for liquid
Measuring spoons
Cutting board and sharp knife for chopping nuts & chocolate if using
2 large mixing bowls
1 small mixing bowl
1 medium mixing bowl for beating egg whites, preferably plastic or metal
1 medium saucepan
Electric mixer or stand mixer
Wooden spoon
Rolling pin
Spatula
Clean kitchen scissors or sharp knife
Plastic wrap & clean kitchen towel
Parchment paper
2 medium-sized baking trays (or 1 large if your oven is large enough)
Cooling racks
Serving platter
Vegetable oil to grease bowl
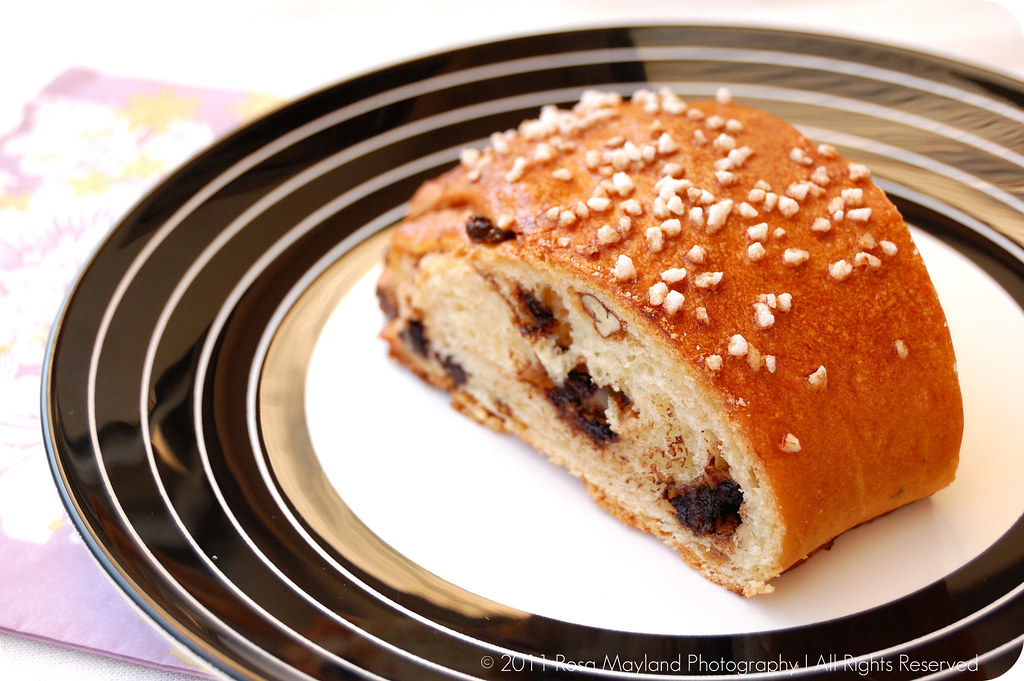
Meringue Coffee Cake 7 bis
Ingredients "For The "Yeast Coffeecake Dough":
4 Cups (600g/1.5 lbs.) Plain flour
1/4 Cup (55g/2 oz.) Grannulated sugar
3/4 Tsp (5g/¼ oz.) salt
1/4 Tsp Ground tonka bean
1 Package (2 ¼ Tsp/7g/less than an ounce) Active dried yeast
3/4 Cup (180ml/6 fl.oz.) Whole milk
1/4 Cup (60ml/2 fl. oz.) Water
1/2 Cup (135g/4.75 oz.) Unsalted butter, at room temperature
2 Large eggs, at room temperature
Ingredients For The "Filling":
1 Cup (110g/4 oz.) Chopped pecans
2 Tbs (30g/1 oz.) Light brown sugar
2 Tsp Ground cinnamon
Zest of one orange
1 Cup (170g/6 oz.) Semisweet chocolate chips or coarsely chopped chocolate
Ingredients "For The Meringue":
3 Large egg whites, at room temperature
1/4 Tsp Fine sea salt
1/2 Tsp Pure vanilla extract
1/2 Cup (110g/4 oz.) Grannulated sugar
Ingredients For The "Egg Wash":
1 Egg, beaten
Pearl sugar for sprinkling
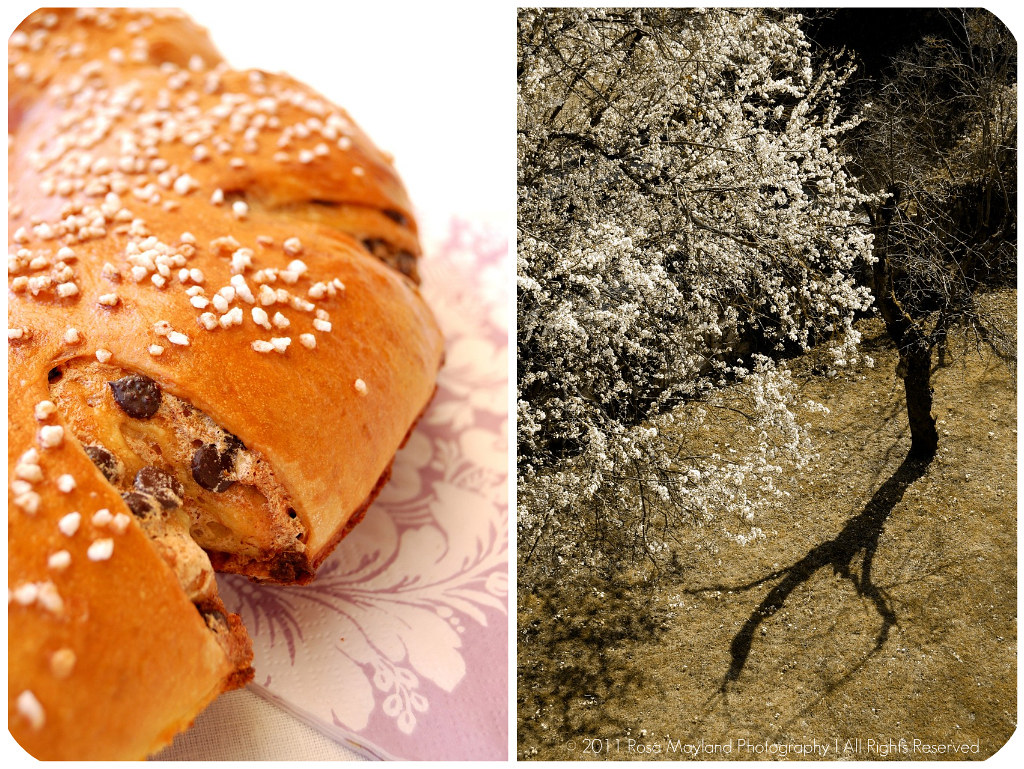
Meringue Coffee Cake Picnik collage 2 bis
Method "For The "Yeast Coffeecake Dough":
1.
In a large mixing bowl, combine 1 ½ cups (230g) of the flour, the sugar, salt, tonka and yeast.
2. In a saucepan, combine the milk, water and butter and heat over medium heat until warm and the butter is just melted.
3. With an electric mixe r o n low speed, gradually add the warm liquid to the flour/yeast mixture, beating until well blended. Increase mixer speed to medium and beat 2 minutes.
4. Add the eggs and 1 cup (150g) flour and beat for 2 more minutes. Using a wooden spoon, stir in enough of the remaining flour to make a dough that holds together.
5. Turn out onto a floured surface (use any of the 1 ½ cups of flour remaining) and knead the dough for 8 to 10 minutes until the dough is soft, smooth, sexy and elastic, keeping the work surface floured and adding extra flour as needed.
6. Place the dough in a lightly greased bowl, turning to coat all sides. Cover the bowl with plastic wrap and a kitchen towel and let rise until double in bulk, 45 – 60 minutes ( the rising time will depend on the type of yeast you use).
Method For The "Filling":
7. In a small bowl, combine the cinnamon, sugar, zest, chocolate chips and nuts for the filling.
Method For The "Meringue":
8. Once the dough has doubled, make the meringue. In a clean mixing bowl (ideally a plastic or metal bowl so the egg whites adhere to the side - they slip on glass - and you don’t end up with liquid remaining in the bottom) beat the egg whites with the salt, first on low speed for 30 seconds, then increase to high and continue beating until foamy and opaque.
9. Add the vanilla then start adding the ½ cup sugar, a tablespoon at a time as you beat, until very stiff, glossy peaks form.
Method For "Assemling The Coffeecakes":
10. Line 2 baking/cookie sheets with parchment paper.
11. Punch down the dough and divide in half.
12. On a lightly floured surface, working one piece of the dough at a time (keep the other half of the dough wrapped in plastic), roll out the dough into a 51 x 25.5cm (20 x 10-inch) rectangle. 13. Spread half of the meringue evenly over the rectangle up to about 3/4cm (1/2-inch) from the edges.
14. Sprinkle half of your filling evenly over the meringue.
15. Now, roll up the dough jellyroll style, from the long side.
16. Pinch the seam closed to seal.
17. Very carefully transfer the filled log to one of the lined cookie sheets, seam side down.
Meringue Coffee Cake Picnik collage 3 bis
18. Bring the ends of the log around and seal the ends together, forming a ring, tucking one end into the other and pinching to seal.
19. Using kitchen scissors or a sharp knife (scissors are easier), make cuts along the outside edge at 2.5cm (6.3 inch) intervals (make them as shallow or as deep as desired but don’t be afraid to cut deep into the ring). Repeat with the remaining dough, meringue and fillings.
20. Cover the 2 coffee cakes with plastic wrap or a humid towel and allow them to rise again for 45 to 60 minutes.
21. Preheat the oven to 180° C (350° F).
22. Brush the tops of the coffee cakes with the egg wash and sprinkle with pearl sugar.
23. Bake in the preheated oven for 25 to 30 minutes until risen and golden brown (the dough should sound hollow when tapped).
24. Remove from the oven and slide the parchment paper off the cookie sheets onto the table. Very gently loosen the coffee cakes from the paper with a large spatula and carefully slide the cakes off onto cooling racks.
25. Allow to cool completely.


Remarks:
These are best eaten fresh, the same day or the next day.

Serving suggestions:
Just before serving, dust the tops of the coffee cakes with confectioner’s sugar as well as cocoa powder if using chocolate in the filling (if not using pearl sugar).
Eat for breakfast or afternoon tea.

~~~~~~~~~~~~~~~~~~~~~~

Etant donné que je suis en vacance et que je n'ai pas beaucoup de temps pour bloguer, je n'ai malheureusement pas pu faire une traduction française de ce billet et je m'en excuse auprès de tous mes amis lecteurs et blogueurs francophones!

C'est pourquoi je vous suggère de vous rendre sur le blog mentionné ci-dessous. Vous y trouverez cette recette en version française.

Chez Isa de "Les Gourmandises d'Isa" (Canada)
Meringue Coffee Cake Picnik collage 5 bis

Sunday, February 27, 2011

PANNA COTTA WITH OATMEAL FLORENTINES - DARING BAKERS

dk-group-1
When the Daring Bakers deadline approaches I always tend to reflect on how weeks pass incredibly fast and it never fails to surprise me to see that it is impossible to have a grip on it. For fun I decided to count the number of challenges I have accomplished since I joined this group at the end of 2007 (first DB post). It was with much pride that I discovered I have been a faithfull member of the Daring Bakers since 3 years and 5 monthes. Until now I have made 42 treats under high-pressure, spent countless hours in the kitchen sweating and cursing, never skipped one event and as I'm the queen of last-minute baking sprees I was never able to get started before the last moment, thus increasing my overall stess like crazy....

Although it is an activity I enjoy it is sometimes difficult to find the time to bake for the Daring Bakers
as the recipes are time-consuming and the weeks go by at light speed. Not forgetting that the post-baking process (taking pictures and writing my posts) cannot be done hastily and demands efforts, at least not in my case. This hobby is quite exhausting and the work we have to provide is generally arduous. One has to be creative, concentrated and well-organize, plan things in advance and have a clear mind in order to succeed. You really have to be a passionate baker to carry out the tasks as it requires skills and lots of determination.

Florentines & Panna Cotta Picnik collage 4 bis
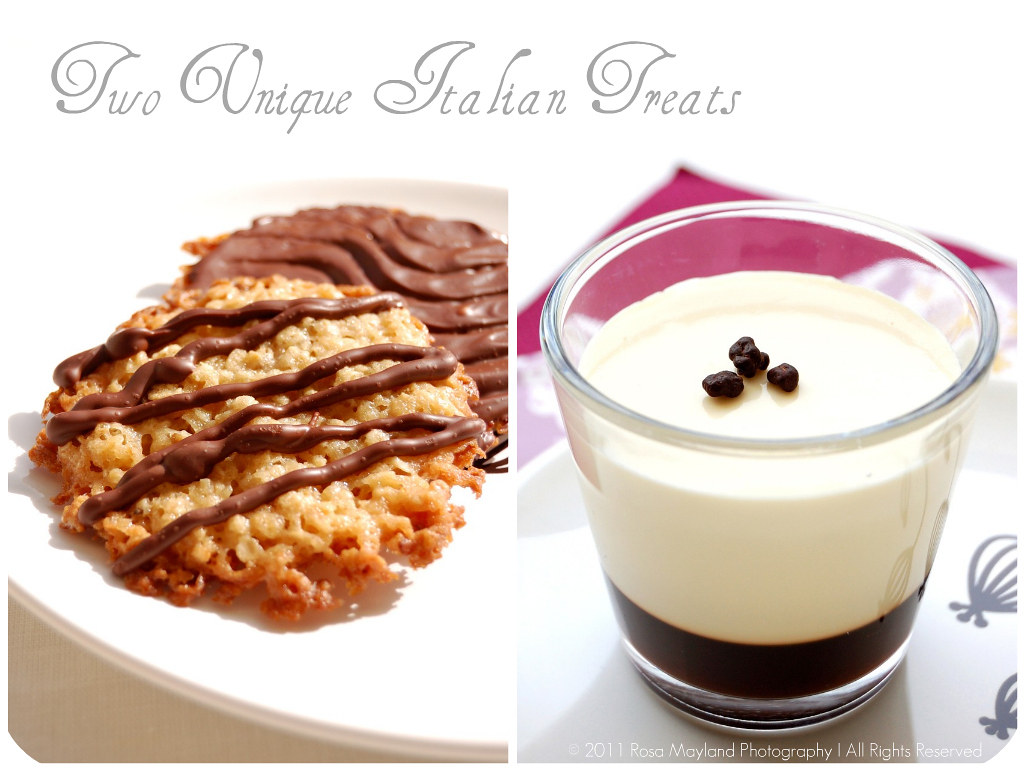
The February 2011 Daring Bakers' challenge was hosted by Mallory from "A Sofa in the Kitchen" who chose to challenge everyone to make "Panna Cotta" from a Giada De Laurentiis recipe and Nestlé "Florentine Cookies". As you can see, this month's trial was thankfully not intimidating at all and the recipes were no backbreakers. Although it was the first time that I prepared both specialities I was unusually laidback and enjoyed baking casually without breaking into a cold sweat. A first for me!

"Panna Cotta" and "Florentine Cookies" are two Italian delicacies which are very popular with foodies all around the world. The first dessert item hails from Piemont (northern part of the country), but can be found everywhere in Italy. "Panna Cotta" means "cooked cream". It's origin is unclear yet there are theories that suggest that in the mountainous regions unsweetened cream (to which was incorporated fish gelatine made with the bones) was eaten with plain, fresh fruits or hazelnuts (sugar was added to the preparation only lately). Similar versions can be found in Greece/Turkey (Kazan Dibi), Finland (Hedelmärahka) and France (Blanc-Manger). The second goodie is accredited to Austrian bakers, but it owe's it's origin from Florence in Tuscany. Those wonderful round lace biscuits are traditionally confectioned with nuts (generally sliced almonds), candied fruits (orange, cherries, lemon etc...), caramel and chocolate.

I must admit that I was a little skeptical and not really thrilled at the idea of using a Nestlé recipe because I am really not a big fan of this big multinational corporation considering the fact that their methods are far from being the most sustainable (deforestation/palm oil) or humane (baby milk), that what they produce is far too industrial for my taste (junk/plastic/additive-ladden food - yuck!) and not healthy, and that they literally "eat" other enterprises, destroy their soul (what made them unique) and the quality of the original products (for example Cailler Chocolates, Cereal Partner's Shredded Wheats & Rowntrees' After Eights are really less good than when they were not made by Nestlé - and the list goes on unfortunately). I thought that we would rather be making a more artisinal and traditional recipe created by a professinal pâtissier (I mean, aside from being the "guru" of processed food, Nestlé is surely not an authority in the "real" food domain - nothing Slow-Foodish about them).

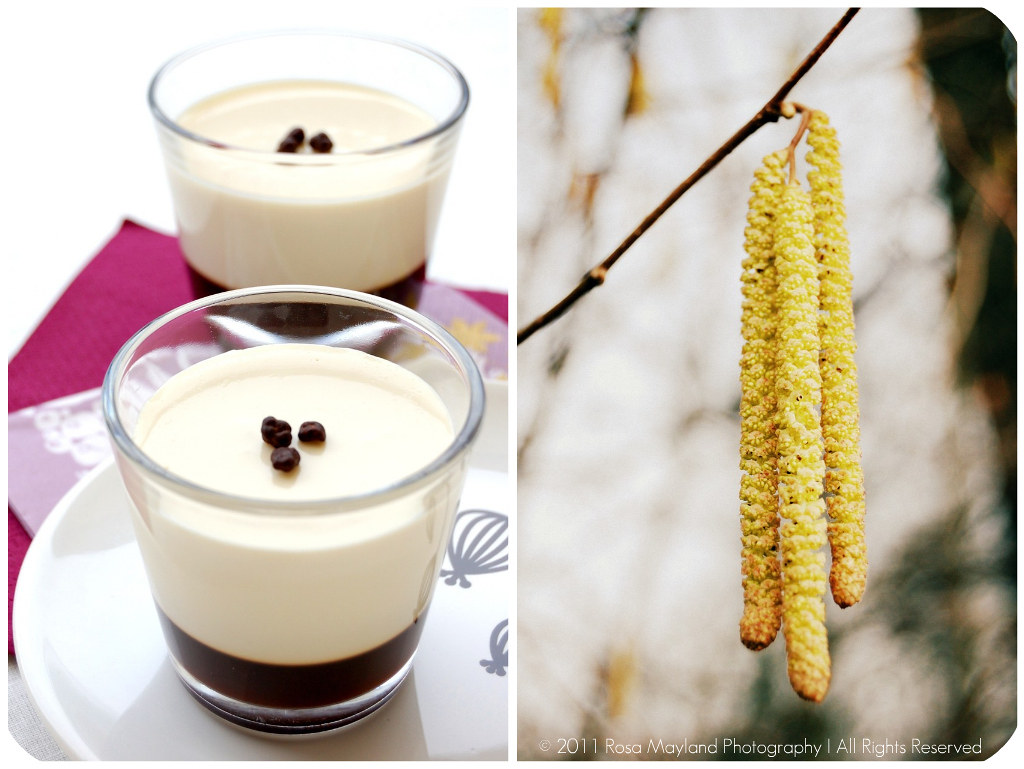
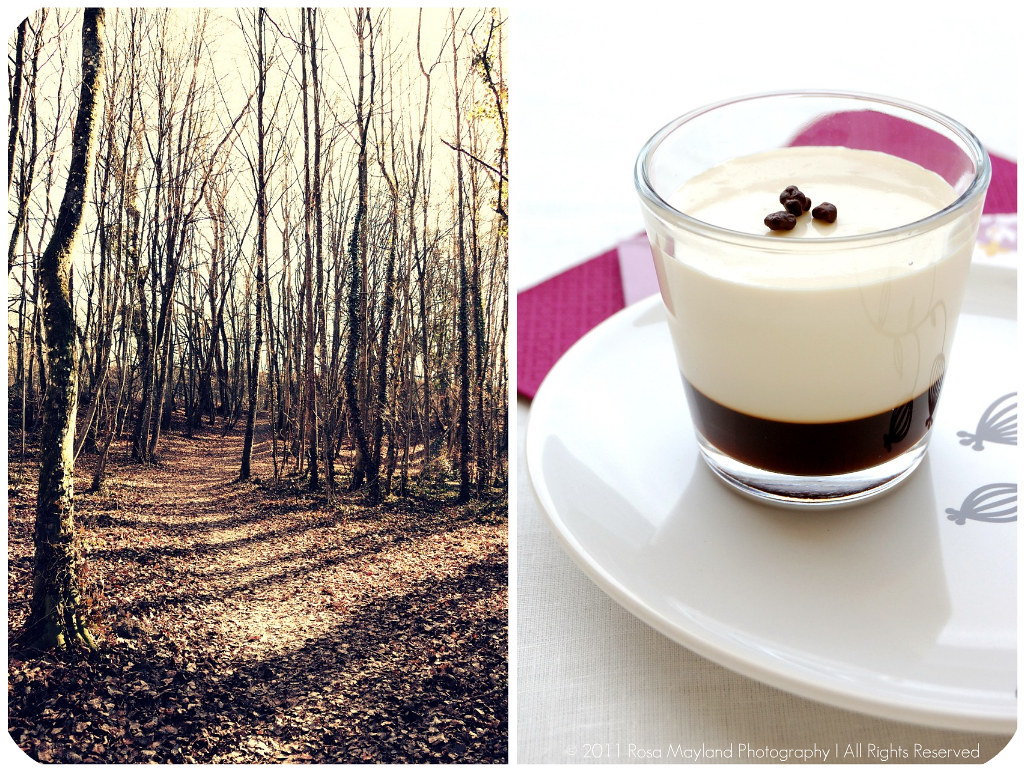
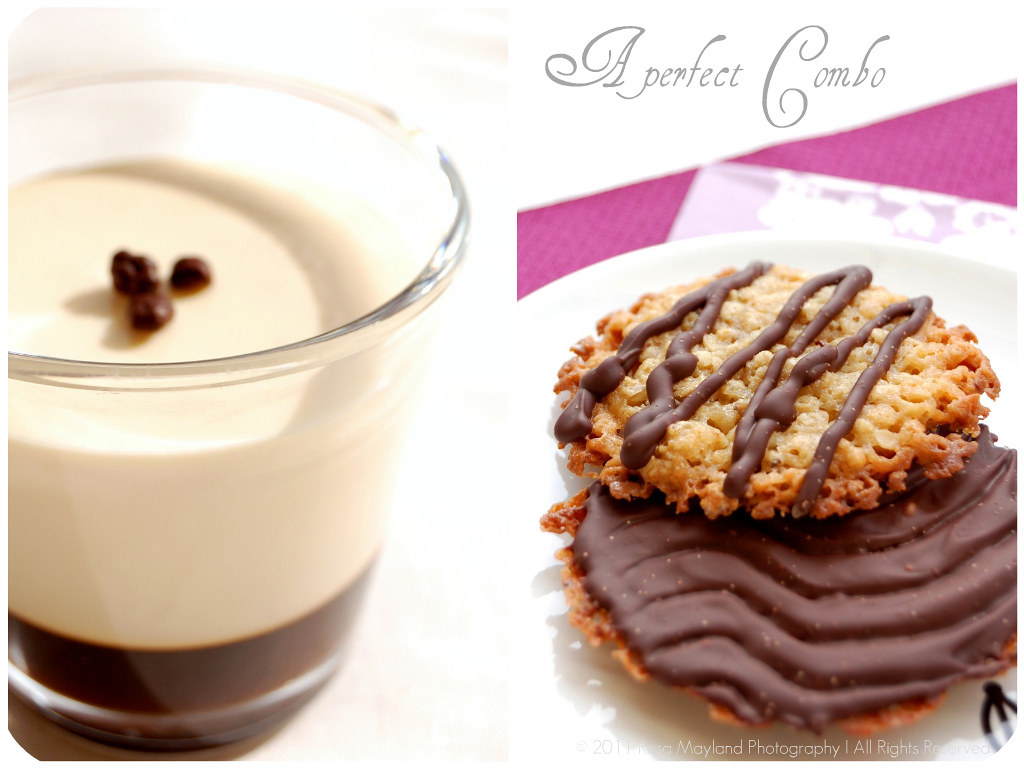
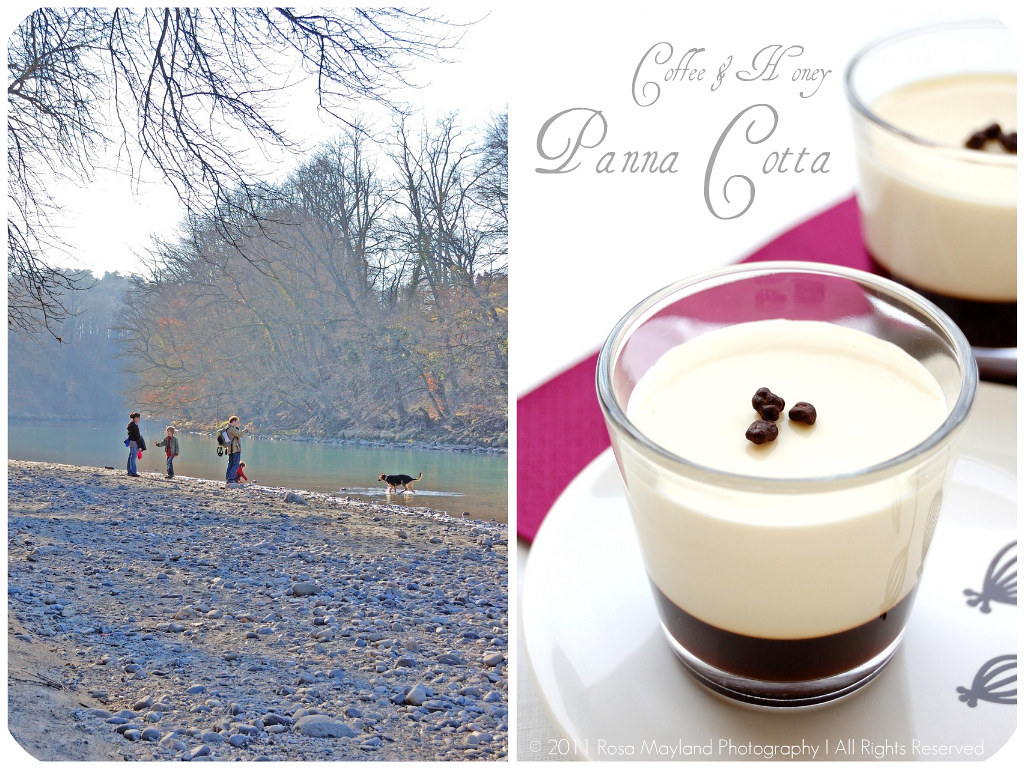
Anyway, despite a few hiccups when it came to the wetness of the dough (I had to add more flour in order for them to not spread out too much - maybe it had to do with the fact that I didn't use corn syrup), the "Florentine Cookies" turned out pretty well and I have to confess that they were deliciously crunchy, addictively chewy as well as oaty. Giada De Laurentiis' "Honey Panna Cotta" were just flawless, creamy, silky, voluptuous, refreshing, delicately flavored, subtly sweet as well as luscious. The Gourmet Magazine "Coffee Jelly" layer at the bottom of each verrine added a delightfully bitter and seductive toasty note to the "Panna Cotta". A perfect contrast which makes this dreamlike pudding more adult and uplifts it's somewhat faint aromas by bringing character and punch to the whole.

"Panna Cotta" will definitely grace my table again as it is very versatile, refined, yet extremely easy to put together. Even my personal tester (boyfriend) who is not in very good terms with jelly thought that it was terrific. And as we are big oatmeal lovers the "Florentine Cookies" had a short life span. The ultimate dessert combination!


Florentines & Panna Cotta Picnik collage 1 bis
~ Florentine Cookies & Vanilla Coffee Panna Cotta ~

Preparation time:
• 20-25 minutes to prepare the Panna Cotta - at least 6 hours to chill
• 20-25 minutes to prepare the cookies 6-8 minutes to bake

Equipment required:
• Small mixing bowl

• Two medium sized heavy bottom pot or saucepan
• Wooden spoon and/or whisk
• Glasses or ramekins - something to pour and serve your Panna Cotta in
• Measuring cups
• Measuring spoons
• Silpat or wax paper or parchment paper
• Baking sheet
• Small bowl

~~~~~~~~~~~~~~~~~~~~~~

Florentines & Panna Cotta Picnik collage 3 bis
Giada's Panna Cotta

Recipe by Giada De Laurentiis.

Ingredients:
1 Cup (240ml) Whole milk
1 Tbs (one packet/15ml/7g/¼oz) Unflavored powdered gelatin
3 Cups (720 ml) Whipping cream (35% butterfat)

1/3 Cup (80ml) Honey (strongly flavored - pine tree for example)
1 1/2 Pure vanilla extract
1 Tbs (15ml/15g/½oz) Granulated sugar

A pinch of salt

Method:
1. Pour the milk into a bowl or pot and sprinkle gelatin evenly and thinly over the milk (make sure the bowl/pot is cold by placing the bowl/pot in the refrigerator for a few minutes before you start making the Panna Cotta).
2. Let stand for 5 minutes to soften the gelatin.
3. Pour the milk into the saucepan/pot and p
lace over medium heat on the stove. Heat this mixture until it is hot, but not boiling, about five minutes (I whisk it a few times at th is stage).
4. Next, add the cream, honey, vanilla, sugar, and pinch of salt.

5. Making sure the mixture doesn't boil, continue to heat and stir occasionally until the sugar and honey have dissolved 5-7 minutes.
6. Remove from heat, allow it to sit for a few minutes to cool slightly. Then pour into the glass or ramekin.
7. Refrigerate at least 6 hours or overnight.
8. Add garnishes and serve.

~~~~~~~~~~~~~~~~~~~~~~

Florentines & Panna Cotta Picnik collage 5 bis
Coffee Gelée For The Panna Cotta

Adapted from this recipe in Gourmet Magazine

Ingredients:
2 Cups (480ml) Good quality brewed coffee

1/4 Cup (60 ml) Hot water + 2 Tbs (30ml) Cold water
1/2 Cup (120ml/115g/4oz) Granulated sugar
1 1/2 Tsps (7½ml/3½g/1/8oz) Unflavored powdered gelatin
2 Tsps (10ml) Pure vanilla extract

Method:
1. Place granulated sugar and 1/4 c. hot water in a small saucepan.
2. Bring to a boil, stir until the sugar has dissolved.

3. Sprinkle gelatin over 2 Tablespoons cold water and let it soften 2 minutes or so.
4. Stir the coffee, sugar, hot water, and vanilla into a small metal bowl, add gelatin mixture and stir well until gelatin has dissolved.
5. Pour into a glass (bottom) or over the panna cotta.

Note:

If pouring over Panna Cotta, be sure that this mixture is no longer hot, it will melt
Panna Cotta if it is, let it come to room temperature.

~~~~~~~~~~~~~~~~~~~~~~

Florentines & Panna Cotta Picnik collage 2 bis
Nestle Florentine Cookies

Recipe from the cookbook “Nestlé Classic Recipes”, and their website.

Makes about 2 1/2 - 3 dozen sandwhiched Florentine cookies.

Ingredients:

2/3 Cup (160ml/150g/5.3oz) Unsalted butter
2 Cups (480ml/160g/5 2/3oz) Quick oats

1 Cup (240ml/230g/8oz) Granulated sugar
2/3 cup (160ml/95g/3⅓oz) Plain (all purp
ose) flour
1/4 Cup (60ml) Dark corn syrup
1/4 Cup (60ml) Whole milk
1 Tsp (5 ml) Pure vanilla extract
A pinch of salt
1 1/2 Cups (360ml/250g/9oz) Dark or milk chocolate


Method:
1. Preheat oven to moderately hot 190° C (375° F).
2. Prepare your baking sheet with silpat or parchment paper.
3. Melt butter in a medium saucepan, then remove from the heat.
4. To the melted butter add oats, sugar, flour, corn syrup, milk, vanilla, and salt. Mix well.
5. Drop a tablespoon full, three inches (75mm) apart, onto your prepared baking sheet.
6. Flatten slightly with the back of your tablespoon, or use a spatula.

7. Bake in preheated oven for 6-8 minutes, until cookies are golden brown.
8. Cool completely on the baking sheets.
9. While the cookies are cooling melt your chocolate until smooth either in a double boiler, or a bowl that fits atop a saucepan filled with a bit of water (make sure the water doesn't touch the bottom of the bowl).
10. Peel the cookies from the silpat or parchment and place face down on a wire rack set over a sheet of wax/parchment paper (to keep counters clean).
11. Spread a tablespoon of chocolate on the bottom/flat side of your cookie, sandw
iching another (flat end) cookie atop the chocolate.

Remarks:
You can also choose not to sandwich yours, in which case, drizzle the tops with c
hocolate (over your wax paper).

~~~~~~~~~~~~~~~~~~~~~~

Etant donné que je suis en vacance et que je n'ai pas beaucoup de temps pour bloguer, je n'ai malheureusement pas pu faire une traduction française de ce billet et je m'en excuse auprès de tous mes amis lecteurs et blogueurs francophones!

C'est pourquoi je vous suggère de vous rendre sur le blog mentionné ci-dessous. Vous y trouverez cette recette en version française.

Chez Isa de "Les Gourmandises d'Isa" (Canada)

Florentines & Panna Cotta Picnik collage 6 bis

Friday, January 28, 2011

LEMON & PASSIONFRUIT ENTREMET - THE DARING BAKERS

dk-group-1
It makes me really angry to NEVER be able to finish my challenges before the deadline. I always promise myself to start early, yet I am by no means able to commit to it. So, this is the reason why I consistently embark on my baking adventure at the very last minute and put myself under a lot of stress. I've come to the conclusion that it is the way I function. Unfortunately, stress will everlastingly be a part of my personality...

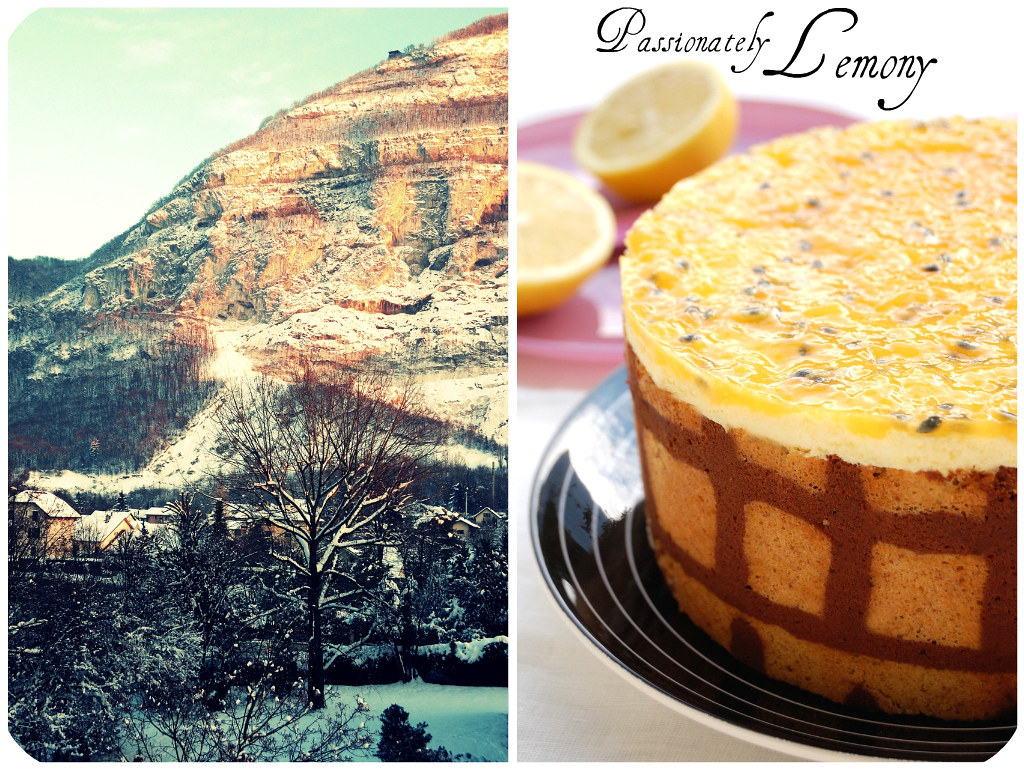
The January 2011 Daring Bakers’ challenge was hosted by Astheroshe of the blog "Accro". She chose to challenge everyone to make a "Biscuit Joconde Imprime" to wrap around an "Entremets" dessert.

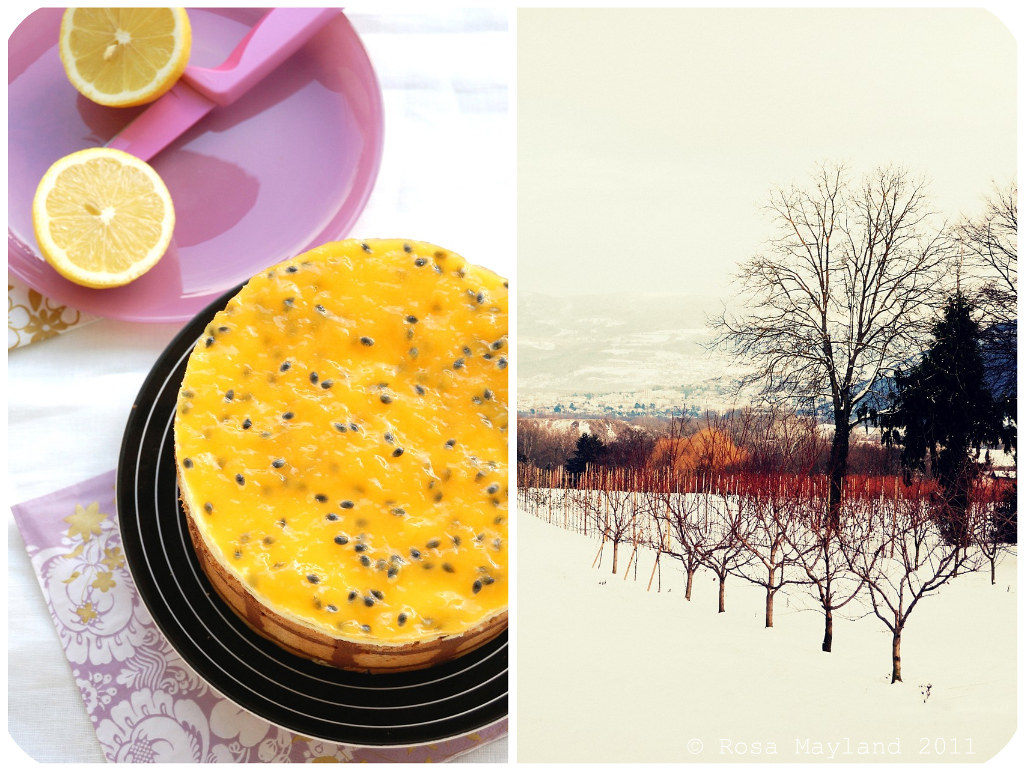
Entremet Lemon Picnik collage 4 bis
This cold ornate dessert usually has many different layers of cake, mousse (Bavarian cream mousse or simple mousse) and is decorated with either jelly, whipped cream or a fruit coulis. It is one of my favorite sweet courses especially when it is of the chocolaty or fruity (lime, lemon, passionfruit, mango, raspberry, etc...) kind. I particularly like the dainty looks, elaborate details, freshness, lightness and exquisiteness of "Entremets".

At home we regularly ate those refined treats. My mother was not the type of hobby-baker who enjoyed preparing complex goods, she was more a person who liked to keep things uncomplicated. Baking like a pâtissier was never one of her aims. She didn't want to wander out of her comfort zone and wasn't as curious food-wise as me. Luckily for us my father happened to work just a few meters away from a very good "pâtisserie-boulagerie" (how convenients LOL) and came back home at least once a week (before he retired, he was one of their most faithful customers and also bought croissants on a daily basis) with luscious confections which we goobbled voraciously.

The day before his buying spree my father made sure to ask us what we wanted in order for him to place an order early the next morning. I remember that the prospect of eating Confiserie Ducret's amazing creations filled me with the highest joy. I can't recall how many times I ordered their gorgeous millefeuilles filled with three rich chocolate truffle mousses (black, milk & white) and their ambrosial mango or raspberry mini "Entremets". Heavenly and dreamlike, unless you remember that this might have been one of the reasons why you weren't exactly the thinnest girl at school (thankfully, I have lost those extra pounds now)...

Well, although I was looking forward to
devour my "Lemon & Passionfruit Entremet", I somehow was not too excited at the prospect of putting it together as even if I'm an audacious person in the kitchen, I'm not exactly the kind of girl who is passionate about all things technical. This challenge's difficulties were concentrated on our ability to draw patterns with the cocoa paste, have measuring abilities and cut our cake with extreme precision. That is exactly everything I hate to do. It makes me panic as I know that I'm not the best in that domain and have no patience for such exercizes!

Anyway, apart from slightly burning my joconde cake (the recipe had certain flaws - the baking temperature and the amount of time during which the cake has to stay in the oven are wrong) which resulted in a not very flexible cake wrappers that tended to break every time I tried to line the mold, the whole process wasn't really as complicated as I imagined. I started baking at 7pm and ended the challenge by 9h30pm. Not a bad timing considering the fact that it was the first time that I baked an "Entremet" and had to continually wash the dishes, pans and make space in my kitchen since it is as small as a rat's hole.

What intense physical activity and mental pressure! I can tell you that after those hours of strainous spinning around the place like a wheel, working like a mad woman on speed and praying the gods of success to not let me down I was wrecked and not capable of funtioning anymore.

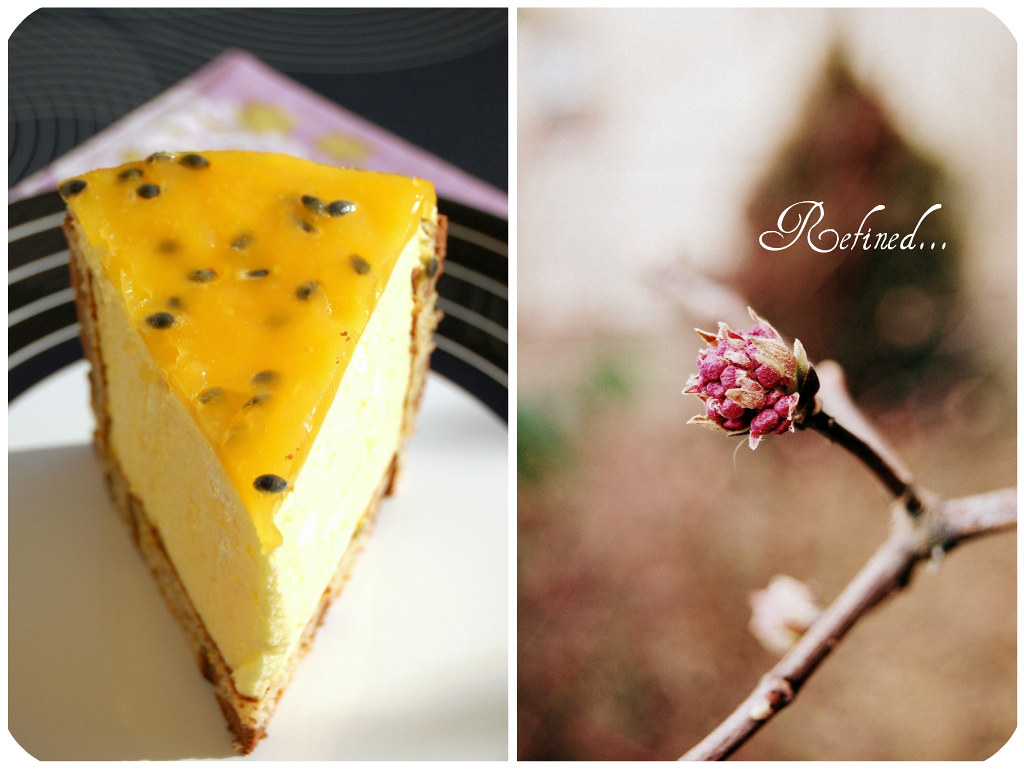
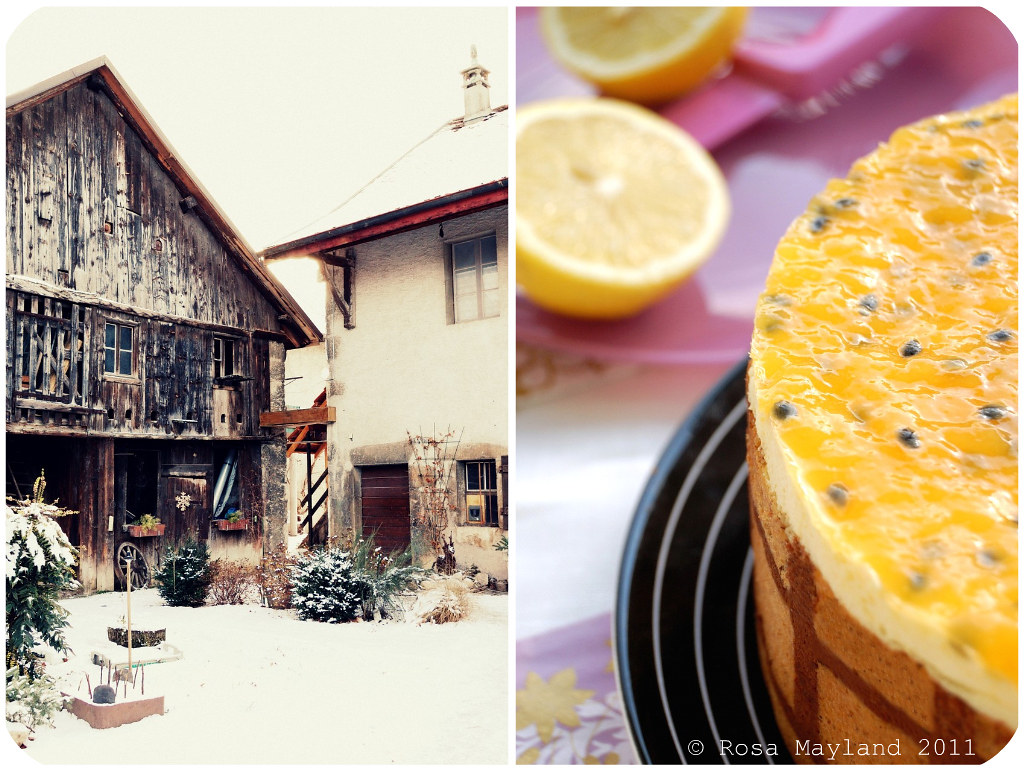
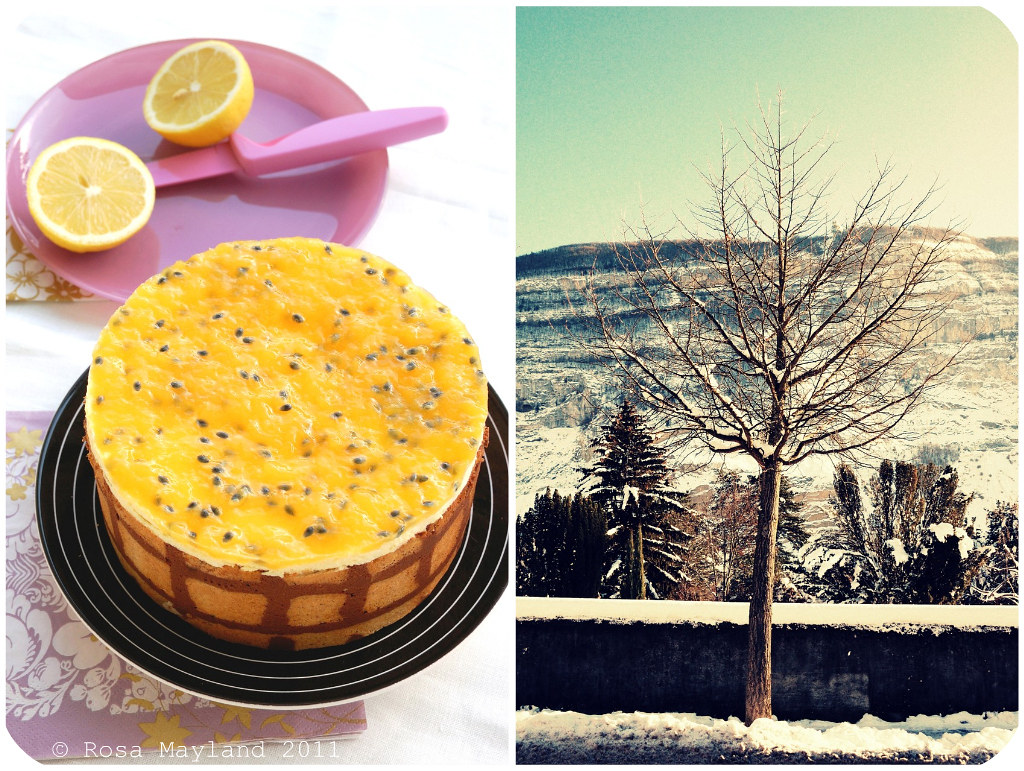
Thankfully, the heavens above didn't let me down nor did my "Lemon & Passionfruit Entremet" which turned out to look surprisingly presentable even if it had a few tears here and there. Overall I was satisfied with my creation as not only was it an eyepleaser, but also a delight for the tastebuds.

This "Lemon & Passionfruit Entremet" has a blissfull texture and taste. The joconde cake is pleasantly spongy and nutty, the mousse filling is mindblowingly airy, light and intensely lemony, and the passionfruit jelly topping is constrastingly firm and exhaliratingly fragrant. A combination that cannot fail to bring a smile on the saddest of faces or to uplift the most depressed of souls!

entremet Lemon Picnik collage 5 bis
~ Lemon & Passionfruit Entremet ~
Recipe by
Chef John O. from The International Culinary School in Atlanta, Georgia USA.

Yields 1x 15cm diameter entremet .

Preparation time:

It takes about 2h30 to 3h30 (2h for the joconde and 30min - 1h30 for the filling).

Equipment required:

. Silpat
. 1/2 Baking sheets or a 13” x 18” jelly roll sheet (rimmed baking sheet)
. Mixer (optional)
. Bowls
. Knives
. Offset spatula
. Regular spatula
. Pastry comb (optional)
. Rulers
. Spring form pan
. Biscuit cutter (or ring mold, or cut PVC pipe, or whatever else you can think of to use as a mold for individual desserts)
. Torte/entremets mold/Springform pan/ Trifle dish (for larger desserts)
. Cling wrap . Parchment paper
. Gel, paste or liquid food coloring (optional)

~~~~~~~~~~~~~~~~~~~~~~

Entremet Lemon Picnik collage 1 bis
JOCONDE SPONGE

For one 33x46cm (13inchx8inch) jelly roll pan.

Ingredients:
3/4 Cup (3oz/85g) Almond flour/meal (You can also use hazelnut flour, just omit the butter) 1/2 Cup + 2 Tbs (2 2/3oz/75g) Confectioners' sugar
1/4 Cup (1 oz/25g) Cake flour
3 Large Eggs (about 5 1/3oz/150g)
3 Large Egg whites (about 3oz 90g)
2 1/2 Tsp (1/3oz/10g) White granulated/castor sugar or superfine sugar
2 Tbs (1oz/30g) Unsalted butter, melted

Method:
1. In a clean mixing bowl whip the egg whites and white granulated sugar to firm, glossy peeks. 2. Reserve in a separate clean bowl to use later.
3. Sift almond flour, confectioner’s sugar, cake flour. (This can be done into your dirty egg white bowl.)
4. On medium speed, add the eggs a little at a time. Mix well after each addition. Mix until smooth and light. (If using a stand mixer use blade attachment. If hand held a whisk attachment is fine, or by hand. )
5. Fold in one third reserved whipped egg whites to almond mixture to lighten the batter. Fold in remaining whipped egg whites. Do not over mix.
6. Fold in melted butter.
7. Reserve batter to be used later.

~~~~~~~~~~~~~~~~~~~~~~

Entremet Sunset copy 1.1 bis
PATTERERNED JOCONDE - DECOR PASTE

Yields one 33x46cm (13inchx8inch) jelly roll pan (I made the half).

Ingredients:
7 Tbs (3.5oz/100g) Unsalted butter, softened
3/4 Cups + 3/4 Tbs (3.5oz/100g) Confectioners' sugar
3.5 Large Egg whites (about 3.5oz/100g)
5/4 Cup (3.8oz/110g) Cake flour
Food coloring gel, paste or liquid

COCOA Décor Paste Variation:
Reduce cake flour to 3oz/85g.
Add 1oz/30g cocoa powder.
Sift the flour and cocoa powder together before adding to
creamed mixture.

Directions:
1. Cream butter and sugar until light and fluffy. (Use stand mixer with blade, hand held mixer, or by hand.)
2. Gradually add egg whites. Beat continuously.
3. Fold in sifted flour.
4. Tint batter with coloring to desired color, if not making cocoa variation.

~~~~~~~~~~~~~~~~~~~~~~

Entremet Lemon Picnik collage 2 bis
PREPARING THE JOCONDE - HOW TO MAKE PATTERNS

Method:
1. Use a piping bag. Pipe letters, or polka dots, or a piped design. If you do not have a piping bag. Fill a ziplock bag and snip off corner for a homemade version of one piping bag.
2. Slide the baking sheet with paste into the freezer. Freeze hard. Approx 15 minutes.
3. Remove from freezer. Quickly pour the Joconde batter over the design. Spread evenly to completely cover the pattern of the Décor paste.
4. Bake at 400ºF /200ºC until the joconde bounces back when slightly pressed, approx. 10-15 minutes. You can bake it as is on the upside down pan. Yes, it is a very quick bake, so watch carefully
5. Cool. Do not leave too long, or you will have difficulty removing it from mat.
6. Flip cooled cake on to a powdered sugared parchment paper. Remove silpat. Cake should be right side up, and pattern showing! (The powdered sugar helps the cake from sticking when cutting.)

~~~~~~~~~~~~~~~~~~~~~~

Entremet Lemon Half copy bis
PREPARING THE MOLD FOR THE ENTREMET & LINING IT

Method:
1. A biscuit cutter/ cookie cutter- using cling wrap pulled tightly as the base and the cl
ing covering the outside of the mold, placed on a parchment lined very flat baking sheet.
2. Line the inside with a curled piece of parchment paper overlapping.

3. Decide how thick you want your “Joconde wrapper”. Traditionally, it is 1/2 the height of your mold. This is done so more layers of the plated dessert can be shown. However, you can make it the full height.
4. Once your height is measured, then you can cut the cake into equal strips, of height and length. (Use a very sharp paring knife and ruler.)
5. Make sure your strips are cut cleanly and ends are cut perfectly straight. Press the cake strips inside of the mold, decorative side facing out. Once wrapped inside the mold, overlap your ends slightly. You want your Joconde to fit very tightly pressed up to the sides of the mold. Then gently push and press the ends to meet together to make a seamless cake. The cake is very flexible so you can push it into place. You can use more than one piece to “wrap “your mold, if one cut piece is not long enough. (I I lined the base of my entremet with Joconde cake.)
6. The mold is done, and ready to fill.

Note:
If not ready to use. Lay cake kept whole or already cut into strips, on a flat surface, wrap in parchment and several layers of cling wrap and freeze.

~~~~~~~~~~~~~~~~~~~~~~

LEMON MOUSSE & PASSIONFRUIT JELLY

Method:
I filled my entremet with 1 quantity "Lemon Mousse" and added a layer of "Passionfruit Jelly" that I made with 4 passionfruits (emptied), 2 Tbs lemon juice, 2 Tbs castor sugar (mix all three ingredients together) and 2 sheets jelly (softened in cold water, strained, melted over very low heat and added to the fruit mixture which you can leave pour over the mousse - refrigerate the entremet in order to solidify the jelly).

~~~~~~~~~~~~~~~~~~~~~~

Etant donné que je suis en vacance et que je n'ai pas beaucoup de temps pour bloguer, je n'ai malheureusement pas pu faire une traduction française de ce billet et je m'en excuse auprès de tous mes amis lecteurs et blogueurs francophones!

C'est pourquoi je vous suggère de vous rendre sur le blog mentionné ci-dessous. Vous y trouverez cette recette en version française.

Chez Isa de "Les Gourmandises d'Isa" (Canada)

Entremet Lemon Picnik collage 3 bis

Friday, December 24, 2010

DRESDNER CHRISTSTOLLEN - THE DARING BAKERS

dk-group-1
The end of the month is here again and the moment has come for all of us Daring Bakers devotees to uncover a secret we have kept well-hidden for a few weeks. Of course, contrarily to most of my zealous colleagues and as it is my habit, I made my challenge at the very last moment (a special wink goes to Jamie at "Life's A Feast"!). This time though I executed it without stress despite the fact that Xmas was getting closer every day and I still had a lot to prepare...

The 2010 December Daring Bakers’ challenge was hosted by Penny of "Sweet Sadie’s Baking" who chose to challenge Daring Bakers’ to make a "Dresdner Chris
tstollen". She adapted a friend’s family recipe and combined it with information from friends, techniques from Peter Reinhart’s book and Martha Stewart’s demonstration.

Stollen Picnik-Collage 3 bis
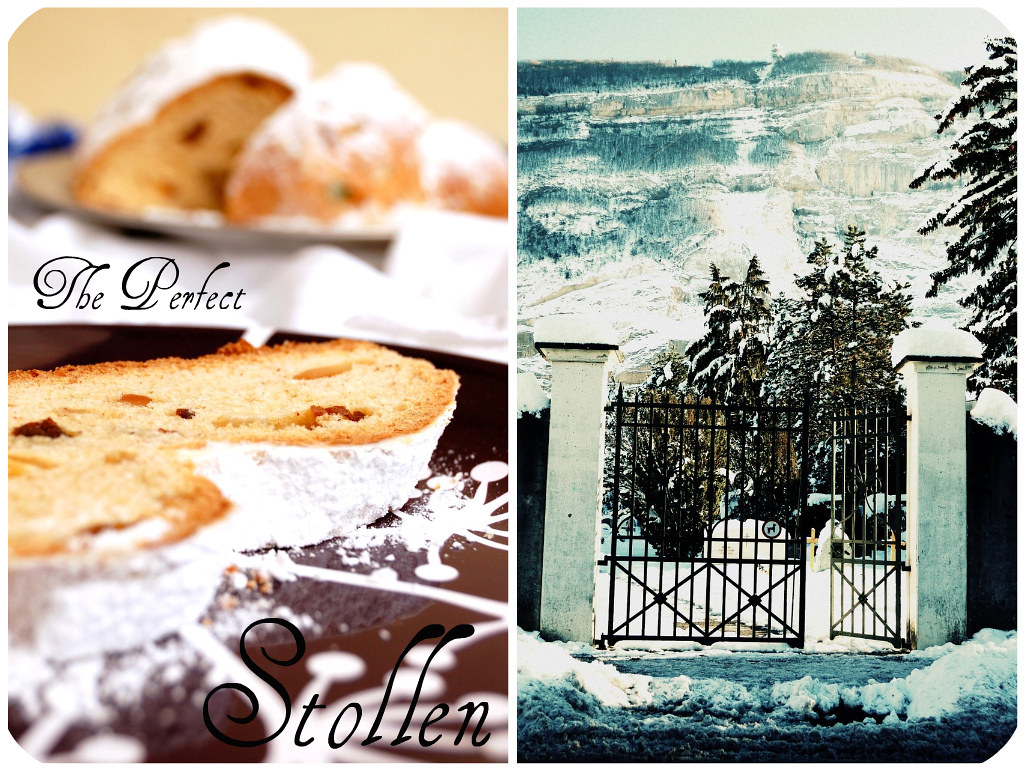
"Dresndner Christstollen" is a bread-like fruitcake made with yeast, water, milk, flour, butter, salt, eggs, rum, vanilla, orange essence, orange and lemon zests, candied orange peel, candied citrus peel, raisins, cinnamon and sometimes also cardamom as well as marzipan. This traditional German speciality which is a little similar to the Italian "Panettone" or the Dutch "Kerststol" can be traced back to 1474. It is usually eaten during the Christmas holidays, hence the religious-oriented name (it is also called "Weihnachtsstollen", meaning "Christmas Stollen" in English). Originally it was called "Dresdner Striezel" - "Striezel" coming from the word "Strüzel" or "Stroczel", meaning "awaken" because it was an early-baked loaf of bread. It's unique shape is meant to represent the baby Jesus wrapped in swaddling clothes.

Germans baked "Stollen" loaves to honor princes and church dignitaries, and to sell at fairs and festivals. The very first of them were confectioned without milk or butter because the Catholic church didn't allow these ingredients during Advent. It was only until the mid 17th century that a papal proclamation allowed bakers to finally add milk and butter.

Nowadays it is still as popular as in the past. Although "Dresdner Christstollen" doesn't have roots in Switzerland we nontheless consume tons of that festive treat during the end of year festivities. It is so widely spread that you can buy it from every store and you'll find it on most tables. At home we always ate "Stollen", so now I cannot imagine celebrating Yuletide without serving that ambrosial goodie. It is so Xmas-like. Therefore, when I heard that we were asked to bake a "Stollen" for the December challenge I was really excited about that project and really looked forward to tasting the homemade version as until now I have never had the opportunity to make my own.

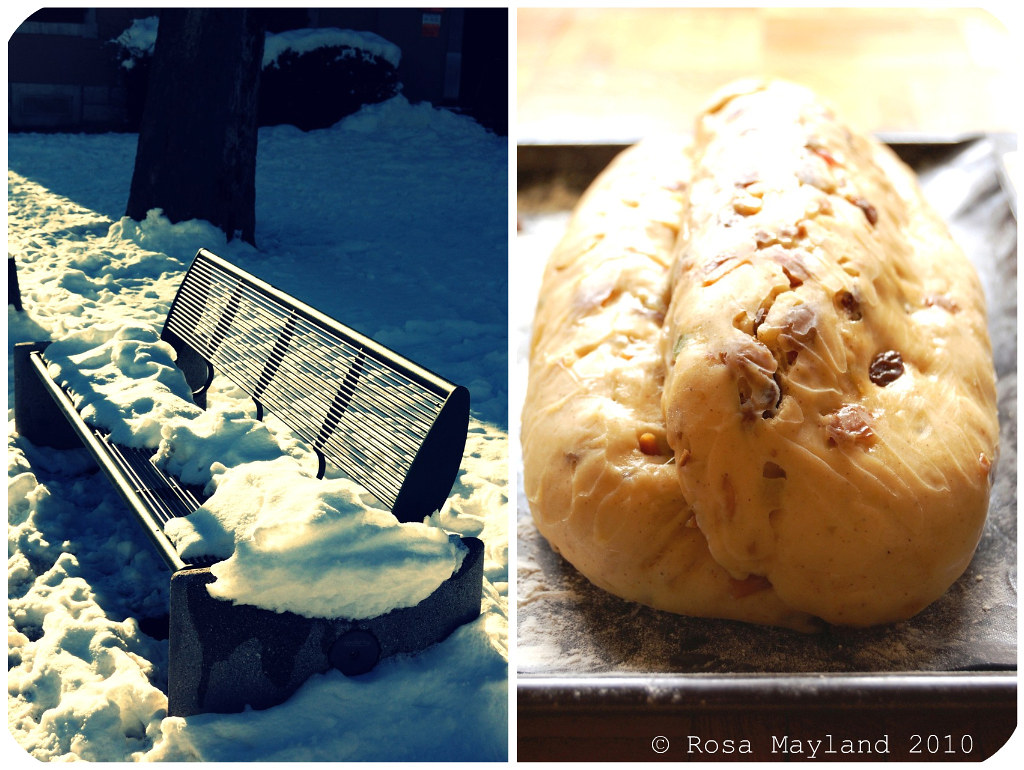
I more or less followed the recipe to the letter. I chose not to use candied cherries, but added a few more raisins. As I thought that almond flakes might totally disappear in the dough and would pass unnoticed if used in that form I decided to add slivered almond instead which I toasted. I also filled one of my loaves with some marzipan. Being a traditionalist, I absolutely wanted to shape my "Dresdner Christstollen" the classic way and didn't have the desire to give it the appearance of a wreath.

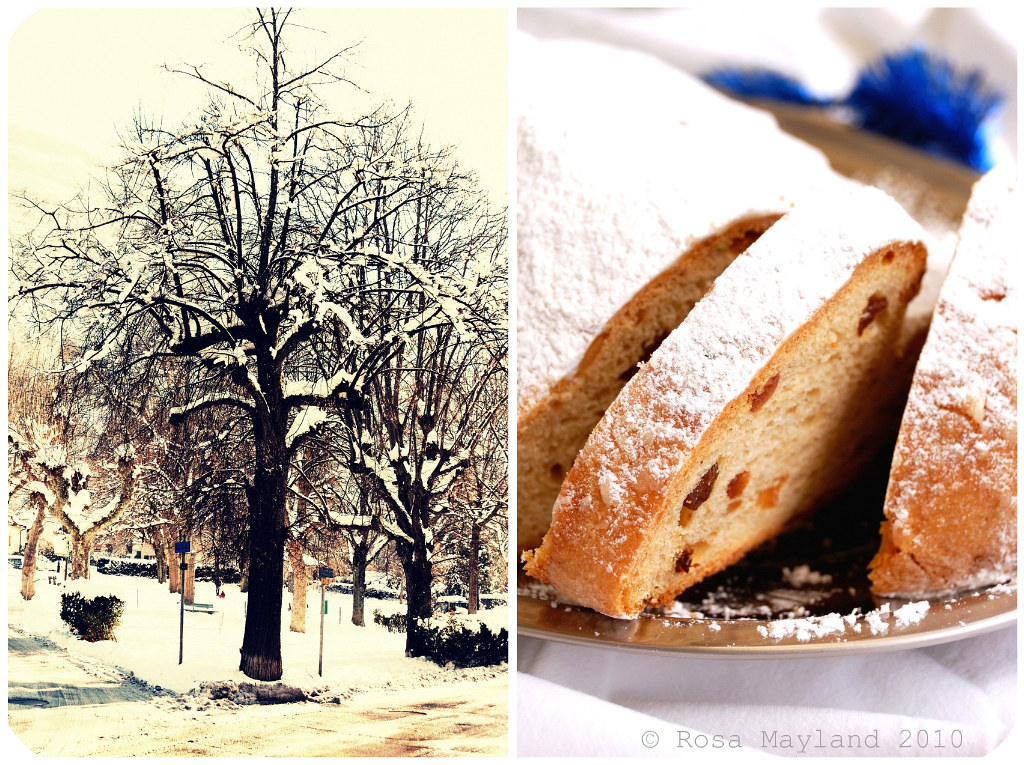
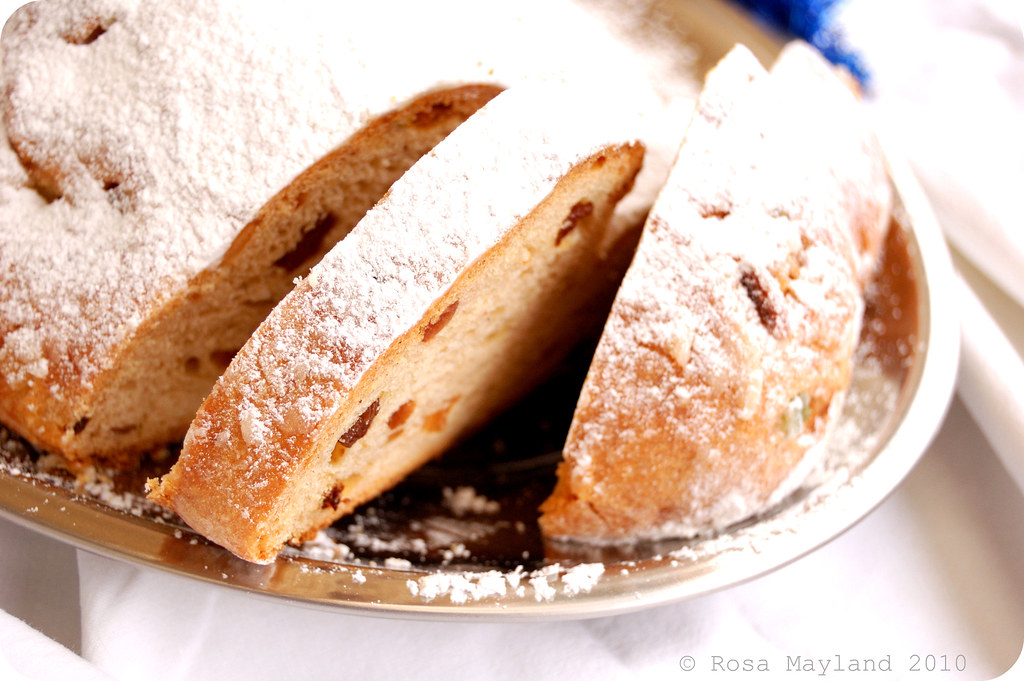
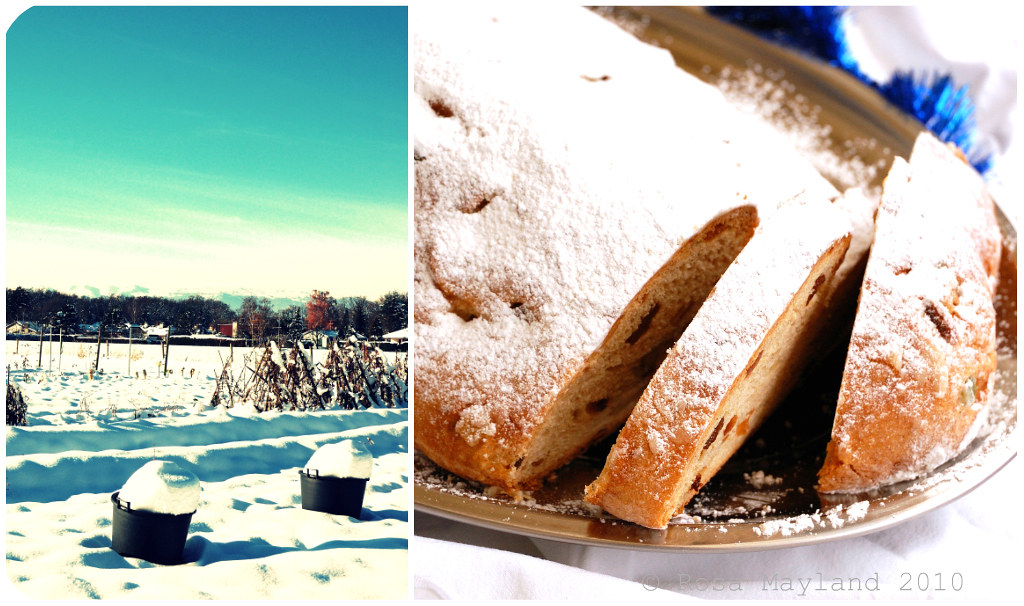
The result was highly satisfying. The recipe gave me two mammoth loaves that looked perfect and tasted just out of this world. My "Dresdner Christstollen" had just the right texture too. It was neither too heavy nor too light, the inside was pleasantly moist and melt-in-the-mouth and and the crust was super soft (there was nearly no difference with the inside). Flavor-wise they were exactly the way they should be: intensely fragrant, with delicate boozy, buttery, orangy, lemony, cinnamony and nutty notes, not to forget that thanks to the overnight proofing they also had a slightly sourdoughy aroma that was extremely pleasurable. There is only one negative remark I'll make though. In my opinion, the "Stollen" could have contained more raisins and mixed peel as I found there were a tad not enough fruits...

This homemade "Dresdner Christstollen" is so much better than store-bought ones and a lot cheaper, so I highly recommend you to get off your asses and start baking if you love this European delicacy!

Stollen Picnik-Collage 4 bis
~ Christmas Stollen ~
Recipe adapted from Penny's German friend who bakes Stollen every year, Peter Reinhart's "Bread Baker’s Apprentice" and Martha Stewart.

Makes two traditional shaped Stollen loaves.
Serves 10-12 people


Preparation time:
The following times are approximate. I suggest you gat
her and scale/weigh/measure (mise en place) all your ingredients before you begin mixing.

• Approximately 1 hour first stage – then rest overnight or up to 3 days
• 2 hours to warm up after refrigeration
• 15 minutes shaping

• 2 hours proofing
• 30-45 minutes baking Equipment required:

• Mixer with dough hook or strong arms and hands
• Mixing bowl
• Bowl to soak raisins

• Small saucepan
• Sheet of plastic or plastic wrap to cover when proofing

• Bench or pastry scraper (very handy for cutting dough and also cleaning work surface)
• Rolling pin
• Dough whisk can be handy but not necessary
• Pastry Brush
• A scale is really important to have when making bread so I strongly advise you to get one. You do not have to have on
e though. (would make a good Christmas gift!)
• Sheet Pan or round Pizza pan
• Parchment Paper Stollen Wreath


Ingredients:
1/4 Cup (60ml) Lukewarm water (110º F/43º C)
2 packages (4 1/2 Tsps/14 grams/1/2oz) Active dry yeast
1 Cup (240ml) Milk
10 Tbs (140g) Unsalted butter (can use salted butter)
5½ Cups (27oz/770g) All-purpose flour (Measure
flour first, then sift + extra for dusting)
½ Cup (115g) Castor sugar
¾ Tsp (4.5g) Sea salt (if using salted butter there is no need to alter this salt measurement)
1 Tsp (6g) Gropund cinnamon
3 Large eggs, lightly beaten
Grated zest of 1 lemon and 1 orange

2 Tsps Pure vanilla extract
1 Tsp Lemon extract or orange extract
3/4 Cup (4 ¾oz/135g) Mixed peel
1 Cup (6oz/170g) Firmly packed raisins
3 Tbs (45ml) Dark rum
12 Red glacé cherries, roughly chopped (optional)
1 Cup (3.5oz/100g) Slivered almonds, lightly toasted

Melted unsalted butter for coating the wreath
Confectioners sugar for dusting wreath

Note:
If you don’t want to use alcohol, double the lemon or orange extract or you could use the juice
from the zested orange.

Stollen 3 bis
Method For Making The "Dough":
1. In a small bowl, soak the raisins in the rum (or in the orange juice from the zested orange) and set aside.

2. Pour 1/4 cup (60 ml) warm water into a small bowl, sprinkle with yeast and let stand 5 minutes. Stir to dissolve yeast completely.
3. In a small saucepan, combine 1 cup (240 ml) milk and 10 tablespoons (150 ml) butter over medium - low heat until butter is melted. Let stand until lukewarm, about 5 minutes.
4. Lightly beat eggs in a small bowl and add lemon and vanilla extracts.
5. In a large mixing bowl (4 qt/4 liters or in the bowl of an electric mixer with paddle attachment), stir together the flour, sugar, salt, cinnamon, orange and lemon zes
ts.
6. Then stir in (or mix on low speed with the paddle attachment) the yeast/wate
r mixture, eggs and the lukewarm milk/butter mixture (This should take about 2 minutes. It should be a soft, but not sticky ball).
7. When the dough comes together, cover the bowl with either plastic or a tea cloth and let rest for 10 minutes.
8. Add in the mixed peel, soaked fruit and almonds and mix with your hands o
r on low speed to incorporate. Here is where you can add the cherries if you would like (Be delicate with the cherries or all your dough will turn red!).
9. Sprinkle flour on the counter, transfer the dough to the counter, and begin kneading (or mixing with the dough hook) to distribute the fruit evenly, adding additional flour if needed (The dough should be soft and satiny, tacky but not sticky). Knead for approximately 8 minutes/6 minutes by machine (The full six minutes of kneading is needed to distribute the dried fruit and other ingredients and to make the dough have a reasonable bread-dough consistency. You can tell when the dough is kneaded enough – a few raisins will start to fall off the dough onto the counter because at the beginning of the kneading process the dough is very sticky and the raisins will be held into the dough but when the dough is done it is tacky which isn't enough to bind the outside raisins onto the dough ball.).
10. Lightly oil a large bowl and transfer the dough to the bowl, rolling around to coat it with the oil. Cover the bowl with plastic wrap.

11. Put it in the fridge overnight (The dough becomes very firm in the fridge since the butter goes firm, but it does rise slowly… The raw dough can be kept in the refriger ator up to a week and then baked on the day you want.).

Stollen Picnik-Collage 5 bis
Shaping the Dough and Baking the Wreath:
1. Let the dough rest for 2 hours after taking out of the fridge in order to warm slightly.
2. Line a sheet pan with parchment paper.
3. Punch dough down,
divide it into two pieces.
4. Pat into ovals.
5. For traditional stollen shape (video 1 & video 2),
on a floured working surface roll out the dough to an oblong shape about 3 cm (1 1/5 inch) thick (The long sides should be bulging.). Fold in the long sides of the dough on top of each other. Now push in the dough lengthwise with your hands forming a stollen shape. Place the Stollen on your baking sheet.
6.
Brush the dough with melted butter and cover loosely with plastic wrap.
7. Proof for approximately 2 hours at room temperature, or until about 1 1/2 times its original size.
8. Preheat oven to moderate 180°C (350° F) with the oven rack on the middle shelf.
9. Bake the stollen for 20 minutes, then rotate the pan 180 degrees for even baking and continue to bake for 20 to 30 minutes (The bread will bake to a dark mahogany color, should register 190°F/88°C in the center of the loaf, and should sound hollow when thumped on the bottom.). 10. Transfer to a cooling rack and brush the top with melted butter while still h ot.
11. Immediately tap a layer of powdered sugar over the top through a sieve or sifter.
12. Wait for 1 minute, then tap another layer over the first (The bread should be coated generously with the powdered sugar.
Coat the stollen in butter and icing sugar three times, since this many coatings helps keeps the stollen fresh - especially if you intend on sending it in the mail as Christmas presents! The more rum and the more coatings of butter and sugar you use the longer it will store. The following is for the recipe as written and uses the 45 mls of rum and two coatings of butter and icing sugar.).
13. Let cool at least an hour before serving.

Storing:
When completely cool, store in a plastic bag or leave it out uncovered overnight to dry out slightly, German style.
The stollen tastes even better in a couple of days.


Serving suggestions:
Stollen is delicious with butter and a cup of tea.

It toasts superbly and can be used to make bread pudding.

Stollen Picnik-Collage 1 bis

~~~~~~~~~~~~~~~~~~~~~~


Etant donné que la recette est un peu longue, je n'ai malheureusement pas pu faire une traduction française de ce billet et je m'en excuse auprès de tous mes amis lecteurs et blogueurs francophones!

C'est pourquoi je vous suggère de vous rendre sur le blog mentionné ci-desso us. Vous y trouverez cette recette en version française.

Recette pour le "Dresdner Christstollen" sur les deux blogs canadiens suivants:
Chez Isa de "Les Gourmandises d'Isa" (Canada)
Chez Vibi de "La Casserole Carrée" (Canada)


Stollen Picnik-Collage 2 bis