Showing posts with label Tartlets. Show all posts

Friday, April 29, 2011

MAPLE MOUSSE & MAHLAB TARTLETS - DARING BAKERS

dk-group-1
In our frenetic world we tend to take things for granted and forget to be thankful for what we have no matter how little or big. We are so trapped in our routine, stressful daily life and modern style of living-induced problems that we have lost the true meaning of life. Our materialistic ways makes us assume that everything is due to us and that it is normal to be able to acquire anything we desire without thinking of the consequences. We never take the time to realize how lucky we are to have the opportunity to live on this wonderful planet and to profit from all the riches it has to offer...

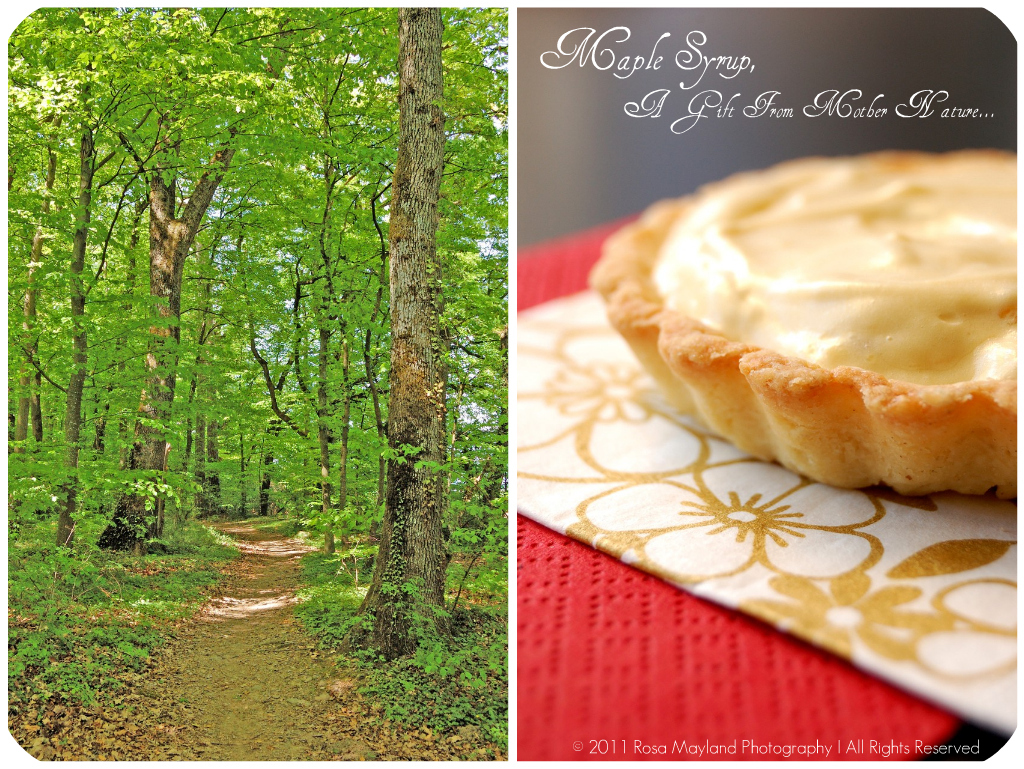
Our relationship with nature has waned so much that it is nearly inexistent and we no longer revere Mother Earth as our so-called primitive ancestors did long before our mind became corrupt by our quest for power and the accumulation of goods. By destroying the link to our surroundings and behaving like mere "parasites" instead of being in harmony with the universe and respecting our environment, we have created our own downfall.

Those folks which we like to consider as "barbarians" and "uncivilized savages" were in fact a lot wiser than us who are supposed to be the illusively titled "evolved homo-sapiens". Let's not forget that they were true ecologists thousands of years ago. We have absolutely not invented this movement at all, all the contrary.
Maple Tartlets Picnik collage 2 bis
"Everything on the earth has a purpose, every disease an herb to cure it, and every person a mission. This is the Indian theory of existence."
- Mourning Dove Salish 1888-1936

In the past, people saw Nature as being a manifestation of the Almighty Power (not necessarily God, but the force behind all things) and therefore admired it and treated it with the utmost respect. The entirety of what graced our globe had its place (nature is very balance focussed), reason for existing and humans didn't try to change this order of things.

In our times society sees things very differently and acts selfishly. After centuries of taking without giving and raping the Earth as if we had the supreme right to pillage everything according to our will, we are starting to understand that we no longer can ransack our "terra firma" without paying the price for our greediness and irresponsability.

"When all the trees have been cut down, when all the animals have been hunted, when all the waters are polluted, when all the air is unsafe to breathe, only then will you discover you cannot eat money."
- Cree Prophecy

Now that the world is polluted and that Nature is rebelling, we are forced to rethink our behaviour and stop believing that we can act like gods. We have become conscious that nothing is free, that all forms of existence deserve to be considered with deference as we live in a place of great beauty and wonder, and that at the end humanity will not have the last word. Men are doomed to disappear if the continue destroying their patrimony, but earth, just like a phoenix, will always be reborn of its ashes.

We a
re just travellers that have been accepted on board, temporary guests in these bodies and on this planet. We own nothing from birth till death, but owe a lot. Earth will never cease to exist with our without us...

~~~~~~~~~~~~~~~~~~~~~~
Maple Tartlets Picnik collage 6 bis
Plastic Verrine supplied by Restauranware.com (plastic plates & catering supplies).

We live in an era where travelling is easy and export-import represents the base of our economy. We are spoilt with all kinds
of exotic foods that hail from various far away lands. Supermarkets stalls are chock-a-block full of articles which were difficult to find even in the second half of the last century (50's-80's) and we are so accustomed to having effortless access to them that we are rarely aware of how lucky we are...

People are enclined to not care about where their food comes from or to learn more about the origin of the produces they purchase. They are totally detached from reality. It is for that reason that certain children are driven to believe that milk is made by a machine, that they don't recognize common vegetables and fruits or that they cannot associate meat to animals. For example, we all use litres of maple syrup, but how many have much knowledge about this liquid gold? Well, let me enlighten you a little.

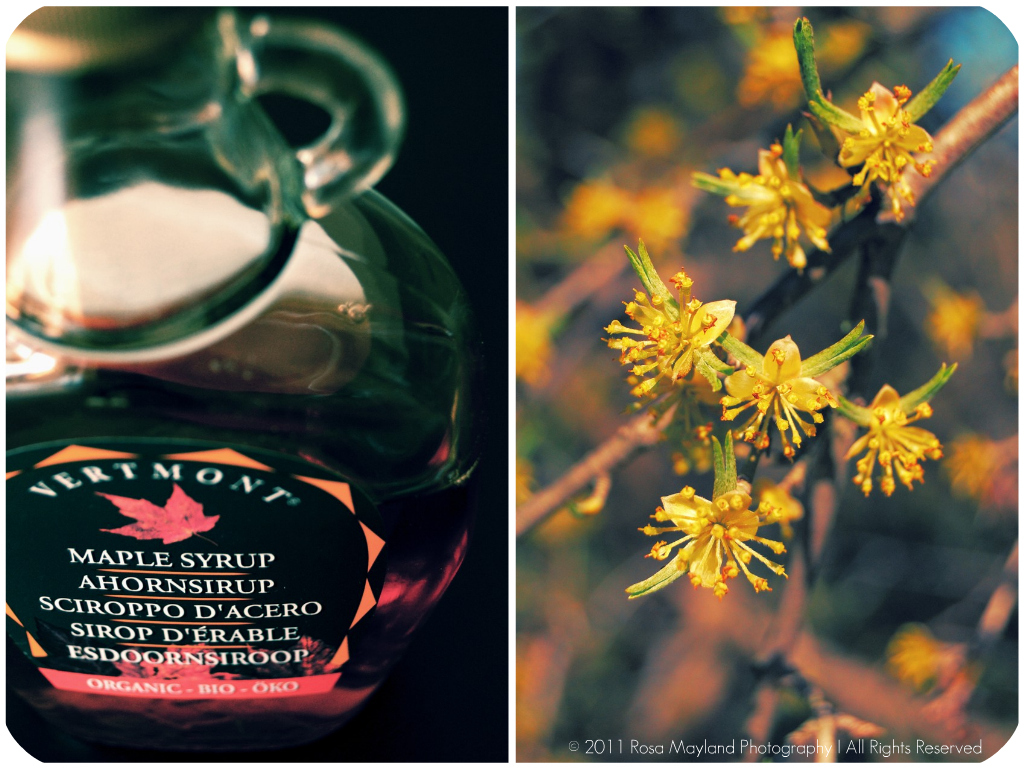
Maple syrup is a 100% natural syrup made with the sap of sugar, red, black or Manitoba maple trees from Canada (Quebec, mainly but Ontario, Nova Scotia, New Brunswick, Prince Edward Island, Manitoba and Saskatchewan as well) and USA (Vermont is the biggest producer, then there is New York, Maine, Wisconsin, Ohio, New Hampshire, Michigan, Pennsylvania, Masachusetts and Connecticut). On a smaller scale, maple syrup is also produced in South Korea and Japan.

Its origins can be traced back to the early Amerindians
living in the northeastern part of North America. They were the first to have produced "sweet water" and who recognized its nutritional qualities (a big source of sucrose, potassium, calcium, zinc and manganese). The Europeans settlers were shown how to harvest the sap and adopted this ancestral technique from the Native Americans.

Nowadays, the production methods are basically the same as during the colonization. People start to collect the sap in early spring when it begins to flow. V-shaped incisions are made in the tree trunks and then metal spouts or plastic tubes are placed in the holes to drain out the precious juices into buckets or a large central container to which a few trees are linked. Once the sap has been recuperated it is brought to the sugar shack where it is boiled in a big kettle positioned over an open fire, so that most of the water evaporates in order to obtain a thickish syrup.

MAple Tartlets Picnik collage 4 bis
Maple syrup is graded according to scales based on its density and translucence. In Canada there exists three grades containing several color classes (#1 - Extra Light or AA, Light or A and Medium or B, #2 - Amber or C and #3 - Dark or D) and in the US there are two major grades only, the first one being broken into three sub-categories (Grade A - Light Amber/Fancy, Medium Amber and Dark Amber & Grade B). In order to qualify as maple syrup, this sweet liquid must contain at least 66% sugar. Canada is the largest producer. It makes more than 80 percent of the world's maple syrup, thus producing about 26,500,000 litres every year.

Unfortunately, there exists many deplorable imitations too. Those "Maple-flavored" syrups contain maple, but also other less expensive and unnatural ingredients such as high fructose corn syrup that is perfumed with an industrial aroma. Yuck!

This wonderful gift of nature can be used in a multitude of manners. Most often it is eaten with pancakes, waffles, crumpets, oatmeal (porridge) and French toast, but at the same time, it can be employed in savory dishes (marinade, baked beans or BBQ sauces), as a substitute for sugar (applesauce, candied sweet potatoes, winter squash, pies, breads, cakes, candy, tea, coffee, fudge and milkshakes) or to flavor desserts as well as baked goods (mousse, panna cotta, biscuits, fritters, ice cream and cereals). A very versatile and unique ingredients that tastes heavenly. Its wonderful warm hints of caramel with overtones of toffee make it an exquisite, irresistible and must have item that should be found in any kitchen!

So, when I discovered that the April 2011 Daring Bakers’ challenge, hosted by Evelyne of the blog "Cheap Ethnic Eatz", was all about maple syrup, I was delighted by the idea. Evelyne chose to challenge everyone to make a "Maple Mousse" in an edible container. That sounded promising even if I must say that I didn't find it to be as adventurous as I would have wished it to be (maybe I have become a blasé "experienced" baker who is in need of riskier and more off the beaten track challenges - I still have to learn a lot, but I feel that I have to take it a step further).

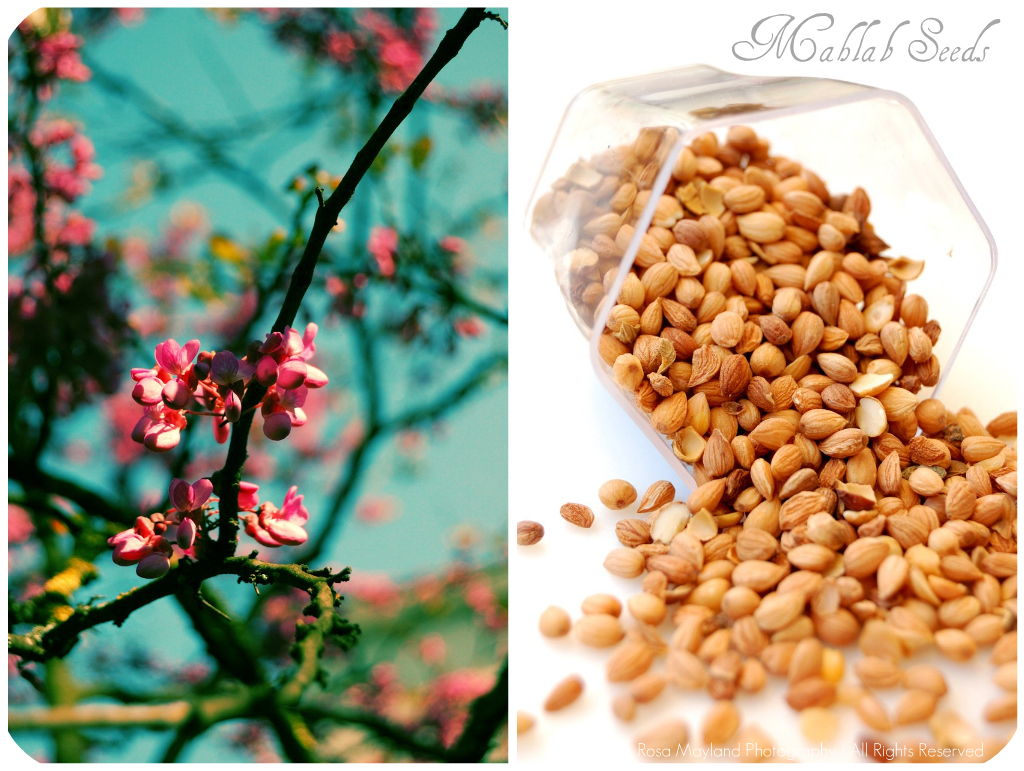
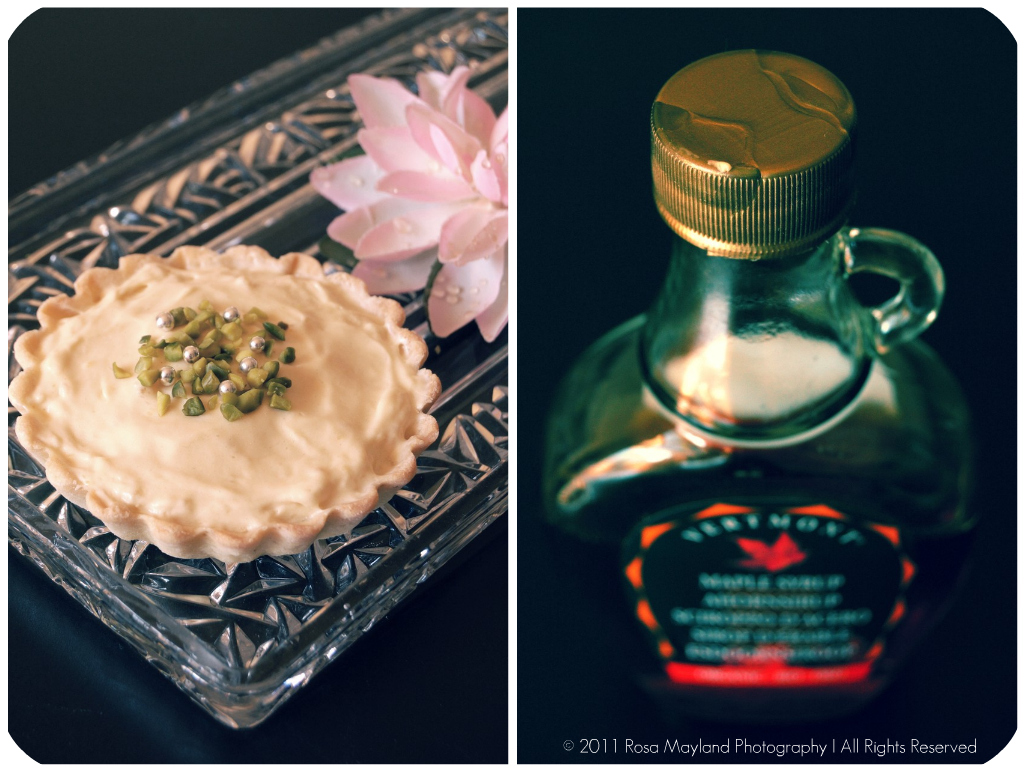
As I didn't have much time left to make anything too elaborated before the deadline, I opted for "Maple Mousse & Mahlab Tartlets". I was sure that the mousse would be the ideal filling for my sweet tartlet shells and that the refined flavor of mahlab (a Mediterranean and Middle Eastern aromatic spice made with the seeds of the St Lucie cherries) would blend perfectly with that of the maple syrup.

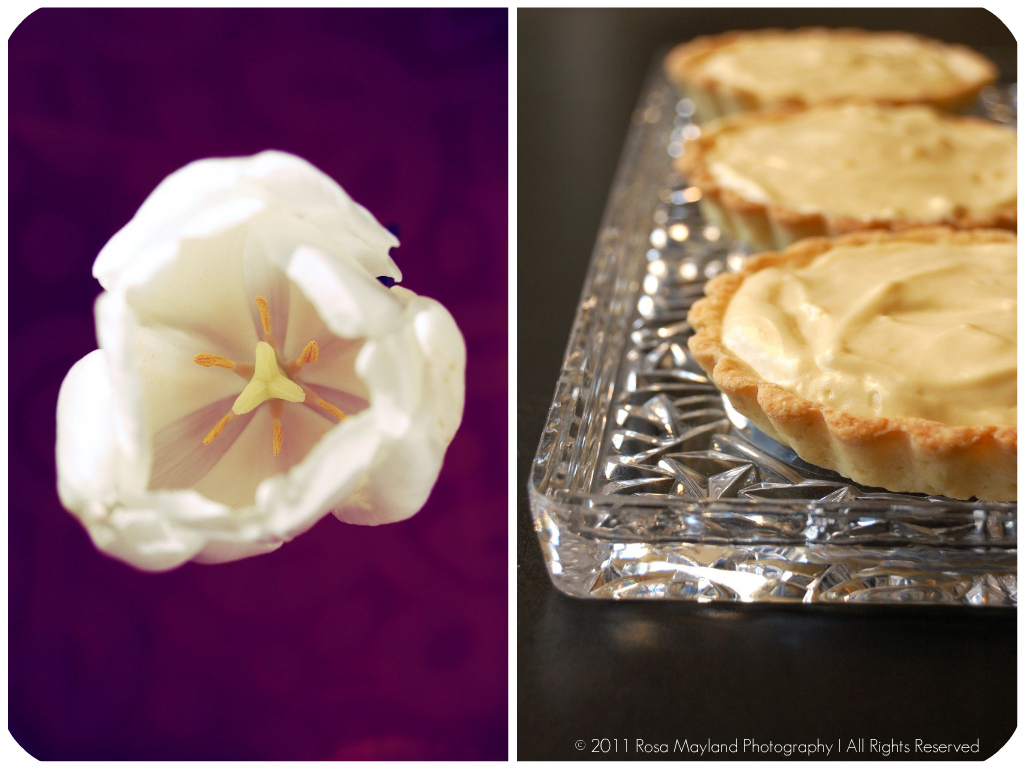
As expected, my fuss-free tartlets were to die for. The flaky pastry had an ethereal heady aroma of cherries and almonds, and the airy mousse was delightfully light and pleasa
ntly creamy as well as rich, earthy and smokey tasting. A terrific combo!
Maple Tartlets Picnik collage 1 bis
~ Maple Mousse & Mahlab Tartlets ~
Recipe for the tartlets by myself and the mousse by Webgrrl74 at "Jamie Oliver Is Not My Boyfriend".

Makes 8 tartlets (I divided the mousse ingredients by two and it was just enough for my 8 tartlets).

Ingredients for the "Sweet Crust":
175g (6 oz) Plain flour

3/4 Tsp Mahlab
35g (1 1/4 oz) Castor sugar

1/2 Tsp Sea salt
85g Unsalted butter
1 Egg yolk
2-3 Tbs Cold water

Ingredients for the "Maple Mousse":
1 Cup (240ml/8 fluid oz.) Pure maple syrup (not maple-flavoured syrup)
4 Large egg yolks
1 Package (7g/1 Tbs) Unflavoured gelatine
1 1/2 Cups (360ml/12 fluid oz) Whipping cream (35% fat content)

Method for the "Seet Crust":
1. Place the flour, mahlab, castor sugar, salt and butter into a food processor.
2. Mix at full speed until evenly blended.
3. Combine the egg yolk with the water and add to the mixture.
4. Mix until just combined and a soft dough comes together.

5. Wrap the dough in platic wrap and place for about 10 minutes in the refrigerator.
6. Preheat the oven to 190° C (175° F).
7. Press the pastry evenly into 8 greased tartlet moulds.

8. Prick the bases with a fork.
9. Line with baking paper and add the
weights (or beans).
10. Place the tartlets in the refrigerator for another 10 minutes.
11. Bake blind for 10 minutes, then remove the paper and bake for another 5-6 minutes.
12. Remove from the moulds and let cool on a rack.
Maple Tartlets Picnik collage 3 bis
Method for the "Maple Mousse":
1. Bring maple syrup to a boil then remove from heat.
2. In a large bowl, whisk egg yolks and pour a little bit of the maple syrup in while whisking (this is to temper your egg yolks so they don’t curdle).
3. Add warmed egg yolks to hot maple syrup until well mixed.
4. Measure 1/4 cup of whipping cream in a bowl and sprinkle it with the gelatine. Let it rest for 5 minutes. Place the bowl in a microwave for 45 seconds (microwave for 10 seconds at a time and check it in between) or place the bowl in a pan of barely simmerin g water, stir to ensure the gelatine has completely dissolved.
5. Whisk the gelatine/whipping cream mixture into the maple syrup mixture and set aside.
6. Whisk occasionally for approximately an hour or until the mixture has the consistency of an unbeaten raw egg white.
7. Whip the remaining cream. Stir 1/4 of the whipped cream into the maple syrup mixture. Fold in the remaining cream and refrigerate for at least an hour.
8. Remove from the fridge and divide equally among your tartlet shells.

Remarks:
Wrapped airtight, the dough can be kept in the ref
rigerator for up to 2 days or frozen for a month.
Baked crusts can be kept in an air-tight container at room temperature for about 1 day.
In the maple mousse recipe, after the gelatine has bloomed (softened) in the cold whipping cream, the gelatine must be heated to melt completely, but never let gelatine b
oil or it will become stringy and unusable.

Serving suggestions:
Serve with whipped cream and accompany with a good coffee, ice coffe or a glass of ice cold milk.


~~~~~~~~~~~~~~~~~~~~~~

Etant donné la longueur du texte original, je n'ai malheureusement pas p u faire une traduction française de ce billet et je m'en excuse auprès de tous mes amis lecteurs et blogueurs francophones!

C'est pourquoi je vous suggère de vous rendre sur le blog mentionné ci-dessous. Vous y trouverez cette recette de mousse en version française.

Chez Isa de "Les Gourmandises d'Isa" (Canada)
MAple Tartlets Picnik collage 5 bis

Friday, March 11, 2011

CHOCOLATE TARTLETS & BOOK REVIEW

Chocolate Tartlets Picnik collage 1 bis
BOOK REVIEW - CRITIQUE DE LIVRE

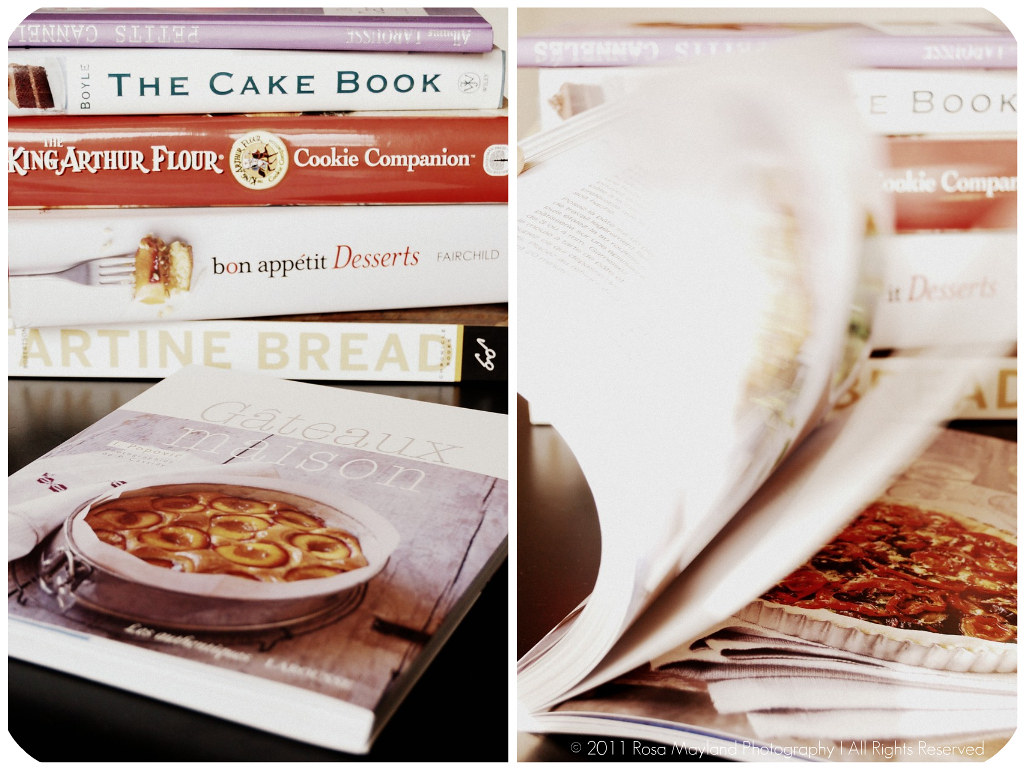
I've always been a sucker for pastries of all kinds and love the way the house is filled with wonderful scents during my baking sessions, so when the Editions Larousse proposed to send me Isidora Popovic's French version of "Popina's Book of Baking"
("Gâteaux Maison", collection Les Authentiques) I was delighted by their kind proposition... /// J'ai toujours eu un faible pour les pâtisseries en tous genres et j'adore la manière dont mon appartement embaume lorsque je prépare des gâteaux, alors quand les Editions Larousse ont proposé de m'envoyer le livre "Gâteaux Maison" d'Isidora Popovic (traduit de l'anglais, collection Les Authentiques) une immense joie m'envahi...

The talented and award-winning Serbian-born Isidora Popovic is the owner of Popina and the baker behind this popular London-based bakery/brand which was founded in 2000. She started with a grant from Prince Charles' Prince's Trust and a stall in London's Portobello Market. Nowadays this bakery's handmade, organic, additive-free, seasonal, products also grace the shelves of many British gourmet food shops. /// La talentueuse et primée serbe est la propriétaire de Popina et se trouve aux commandes de cette pâtisserie/marque londonienne qui fut créée en 2000. Elle a démarré son business grâce à une subvention du Prince Charles' Prince's Trust et commencé avec seulement un stand au Portobello Market. Maintenant, les créations bios, sans additifs et de saison sont aussi vendues dans de nombreux magasins pour gourmets en Angleterre.

Upon leafing through her publication what comes immediately to mind is the variety of treats that is presented within it's pages. There are more than 70 straightforward and mouthwatering sweet as well as savory artisan-style recipes for all tastes (cookies, tarts, cakes & muffins). Most of the delicacies are Anglo-Saxon inspired, but there are also a few Eastern European treats like strudels and böreks. None of the goodies are difficult to make and there are plenty of great ideas to find in her beautifully illustrated bestseller. /// Lorsqu'on feuillette ce livre gourmand et merveilleusement illustré on s'aperçoit immédiatement qu'il contient un grand nombre de recettes variées (70 en tout/cookies, tarts, cakes & muffins), faciles à réaliser et artisanales qui font saliver. La pupart des spécialités présentées sont d'origine anglo-saxonnes, mais il y a aussi un certain nombre de recettes en provenance d'Europe de l'Est (strudels et böreks).

Even if the specialities shared with us are maybe not the most original, I really love the way Isidora added her unique and personal touch to those classics in order to make them even more scrumptious and tempting. Fact is that it is impossible not to be attracted to her gorgeous creations as everything looks and sounds so droolworthy and appealong. /// Les gâteries qu'Isidora Popovic partage avec nous ne sont peut-être pas vraiment originales, mais néanmoins j'aime beaucoup les petites touches personnelles qu'elle ajoute ici et là afin de rendre ces classiques de la pâtisserie US/british encore plus alléchants et tentants.

Chocolate Tartlets Picnik collage 2 bis
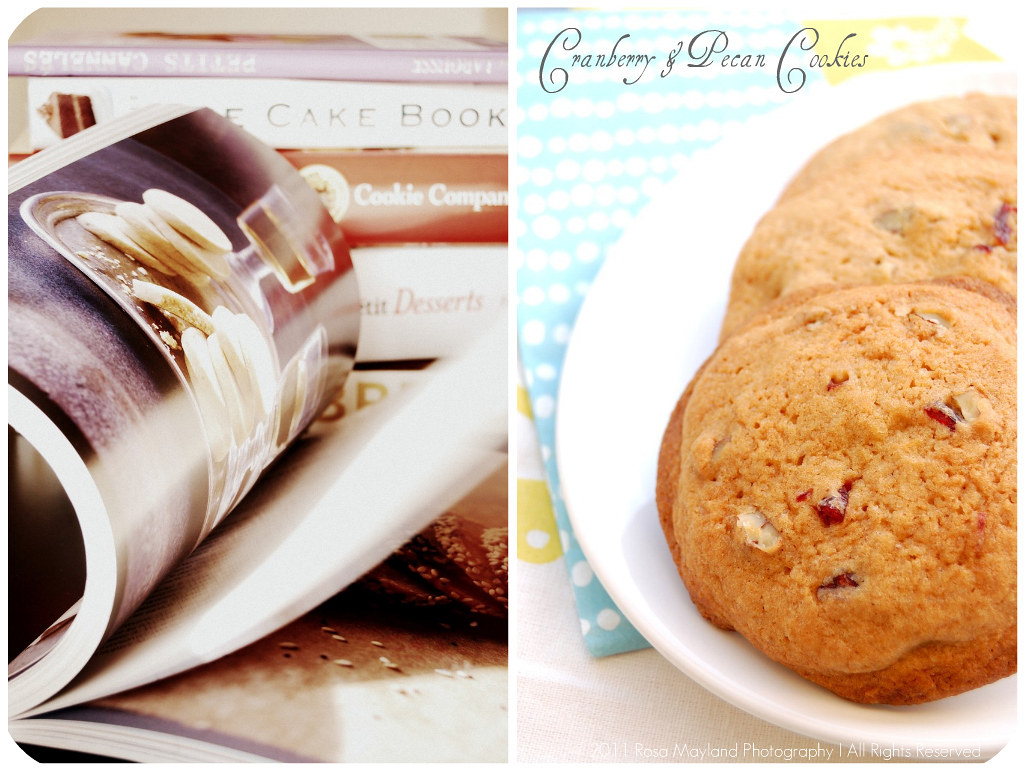
I have only been able to test two recipes ("Cranberry and Pecan Cookies" & "Chocolate And Pistachio Tartlets") so far and both turned out impeccably. That cookbook offers so many interesting bakes that I cannot wait to try them all, and especially her "Ginger And Chilli Caramel Biscuits", "Pineapple, Coconut And Lemon Biscuits", "Rhubarb Custard And Crumble Tartlets", "Nectarine And Summer Berry Tart", "Chocolate And Pistachio Tartlets", "Chocolate And Chestnut Tart", "Very Chocolate Cake", "Chocolate And Hazelnut Strudel", "Double Orange Truffle Brownies, "Stilton And Celery Bites", "Honey-Roast Parsnip, Carrot And Shallot Tart" and "Roast Potato And Spring Onion Tartlets" & "Cheese Burek". "Popina's Book Of Baking" ("Gâteaux Maison") is awesome and will rejoice both beginner and experimented hobby bakers alike.

As you can imagine choosing a recipe to blog about wasn't an leasurely task as I had bookmarked many pages and did not know where to start. After having hesitated for a while I finally decided to make Isidora's "Chocolate And Pistachio Tartlets" as they seemed to be particularly luscious and promising. Just what I needed in order to satiate my craving for lush cocoa-based desserts (spring always makes me lust after chocolate)!

The tartlets were slightly time-consuming to produce, but the recipe's steps were easy. No violent swearing or pan-banging was to be heard and it showed in the final result. Their sexy aspect was extremely satisfying and they provided the most voluptuous of pleasures.

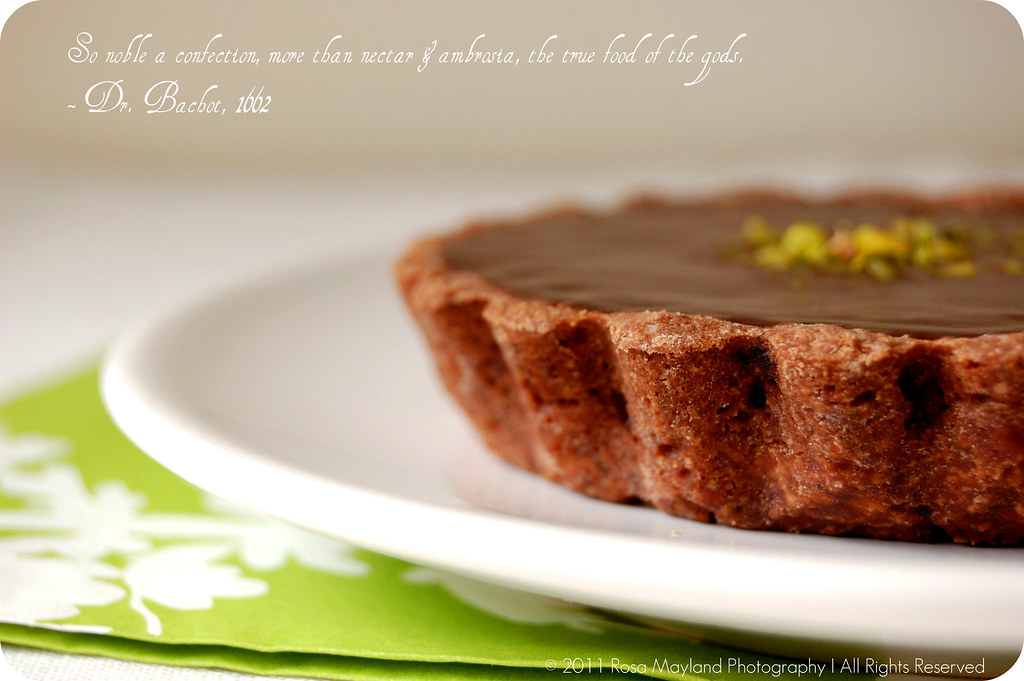
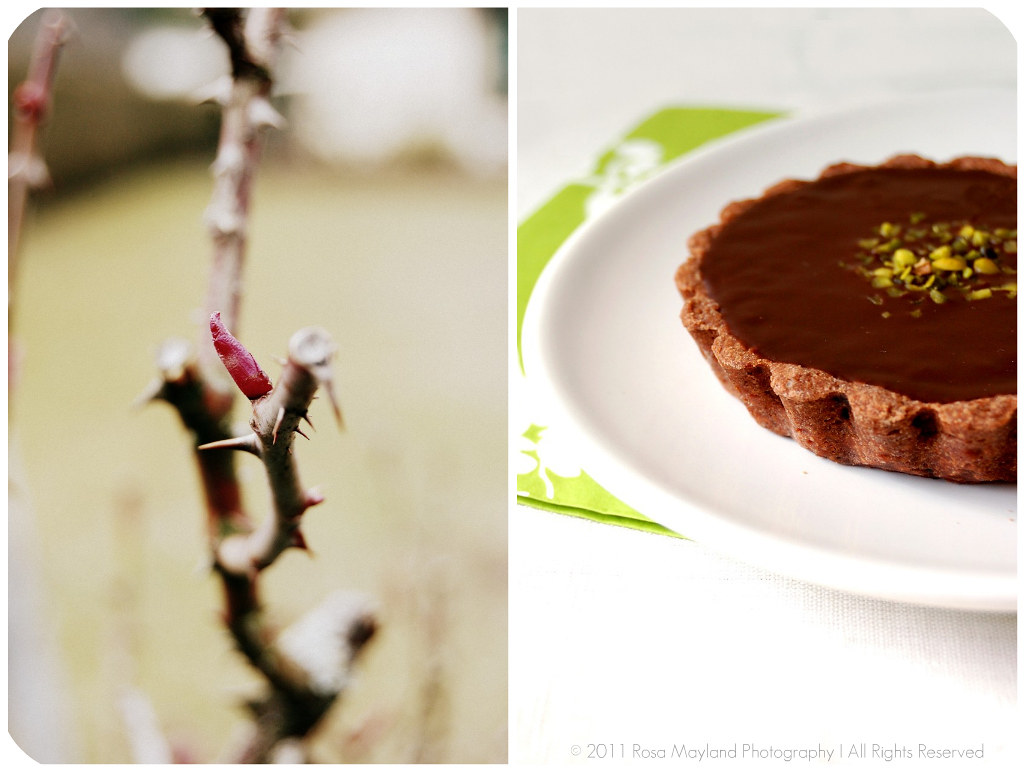
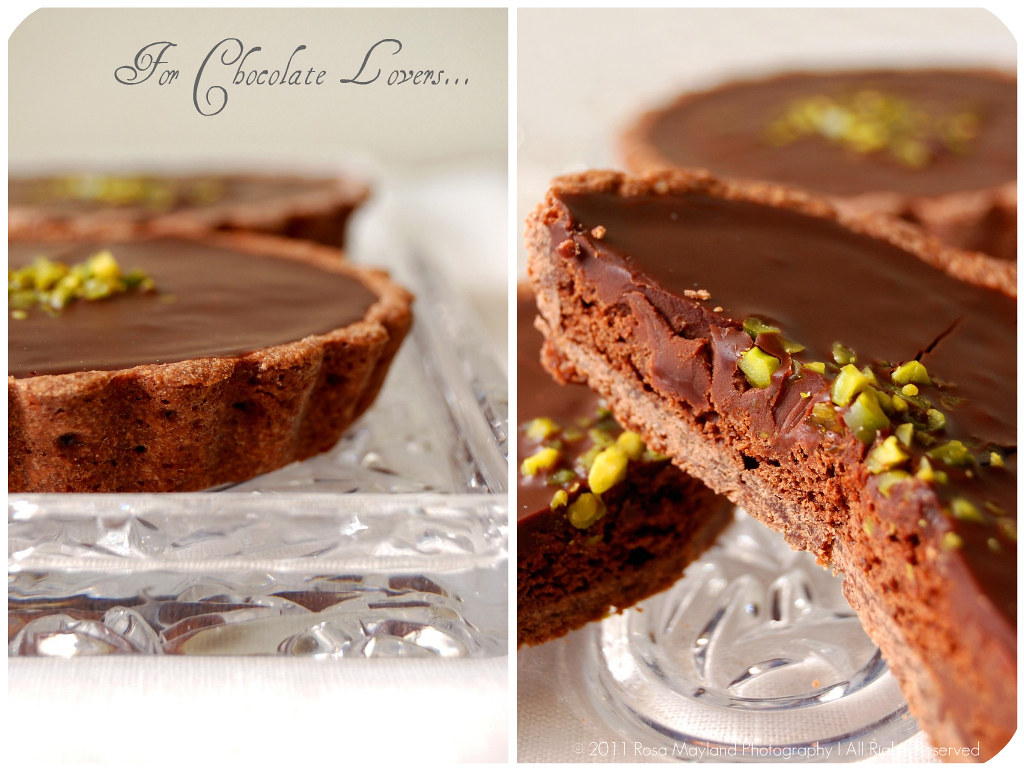
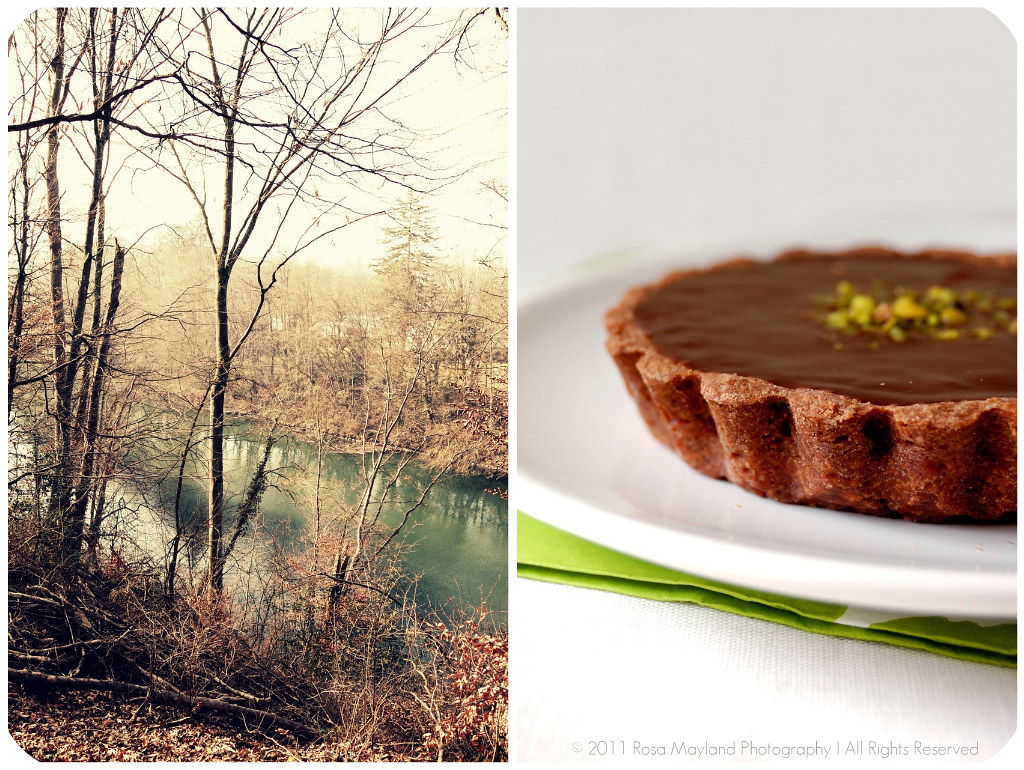
At the bottom of each "Chocolate And Pistachio Tartlet" lays a succulent shortcrust pastry that was exquisitely flaky, buttery and which's light bitterness as well as saltiness balanced wonderfully the overall sweetness of that . In their center a soft génoise was embedded, providing airy smoothness. As if that was not decadent enough the tartlets were glazed with a luxurious dark ganache and sprinkled with pistachios. Divine!

Chocolate Tartlets 2 bis
~ Chocolate & Pistachio Tartlets ~
Recipe adapted from the book "Gâteaux Maison" by Isidora Popovic, Éditions Larousse 2011.

Makes 8x9-10cm (3.7-inches) tartlets.

Ingredients For the "Chocolate Shortcrust Pastry":
225g All-purpose flour
1 Tsp Fine sea salt

25g Cocoa powder (unsweetened)
125g Unsalted butter, cut into small cubes
85g Light brown sugar
1 Big egg
Ingredients For the "Chocolate Génoise":
70g Light brown sugar
1 Big egg
55g All-purpose flour
1/2 Tsp Baking powder
2 Tsps Cocoa powder (unsweetened)
10g Unsalted butter
35g Dark chocolate (70%), chopped
Ingredients For The "Chocolate Ganache":
50g Dark chocolate (70%), finely chopped
50g Milk chocolate, finely chopped
(I used dark chocolate instead)
150g Double cream (35% fat)
1 Handful pistacchios, chopped


Method For the "Chocolate Shortcrust Pastry":
1. Using a stand mixer, mix together the flour, salt, cocoa, butter and the sugar until you obtain a sand-like mixture (coarse meal).
2. Add the egg and continue mixing until the dough has just started to hold together.
3. Remove the dough from the bowl of the stand mixer and shape it into a ball of pastry.
4. Put the pastry on a floured surface and roll it to a thickness of 3-4mm (0.11-013 inches).
5. Preheat the oven to 180° C (350° F).
6. Butter 8 tartlet molds and line them with the pastry. Trim the edges. Put in the fridge.

Chocolate Tartlets Picnik collage 3 bis
Method For The "Choco late Ganache":
7. In a medium bowl, mix together the sugar and the egg. Using an electric hand mixer or stand mixer, beat until the mixture becomes pale and light.
8. Incorporate the flour, baking powder and cocoa.
9. Using a bain-marie, melt the butter and chocolate together, then incorporate this mixture to the previous mixture.
10. Add 2 Tsps water and mix well.
11. Remove the tartlets from the fridge and garnish each one of them with 1 1/2 Tbs chocolate génoise.
12. Bake for 15 minutes.
13. Remove from the oven and let cool on a wire rack for 10 minutes.
Method For The "Chocolate Ganache":
14. Put both chocolates in a medium bowl and bring the cream to a boil (at medium temperature without forgetting to stir from time to time).
15. Pour the cream over the chocolate and mix well until you get a thick shiny ganache.
16. Pour the ganache (equally) over the tartlets and sprinkle with the pistachios.
17. Place the tartlets in the fridge.

Remarks:
If you wish you can make a ganache with exclusively dark chocolate or white chocolate.

For a coffee version of those tartlets you can also add 1 Tsp powder coffee to the water (warm) that is used for the chocolate génoise and incorporate 1/2 Tsp powder coffee to the cream that is used for making the choco
late ganache (dark or white).

Serving suggestions:
Serve cold with whipped cream and accompany with a
good coffee, ice coffe or a glass of ice cold milk.

~~~~~~~~~~~~~~~~~~~~~

Chocolate Tartlets Picnik collage 5 bis
~ Tartelettes Au Chocolat Et Aux Pistaches ~
Recette adaptée du livre "Gâteaux Maison" par Isidora Popovic, Éditions Larousse 2011.

Pour 8 tartes de 9-10cm de diamètre.

Ingrédients Pour La "Pâte Brisée Au Chocolat":
225g de Farine blanche
1 CC de Sel de mer fin
25g de Cacao en poudre (non-sucré)
125g de Beurre non-salé, coupé en petits cubes
85g de Sucre brun clair
1 Oeuf
Ingrédients Pour La "Génoise Au Chocolat":
70g de Sucre brun clair
1 Oeuf
55g de Farine blanche
1/2 CC de Poudre à lever
2 CC de Cacao en poudre
10g de Beurre non-salé
35g de Chocolat noir (70%), haché
Ingrédients Pour La "Ganache Au Chocolat":
50g de Chocolat noir (70%), finement haché
50g de Chocolat au lait, finement haché (je l'ai remplacé par du chocolat à 70% de cacao)
150g de Crème double (35% mat. grasses)
1 Poignée de Pistaches, hachées

Méthode Pour "Pâte Brisée Au Chocolat":
1. Dans un robot électrique, mixer ensemble la farine, le sel, le cacao, le beurre et le sucre brun jusqu'à obtention d'une consistence sableuse.
2. Incorporer l'oeuf et continuer à mélanger afin que la pâte se lie.
3. Retirer la pâte du robot et former une boule.
4. Poser la pâte sur un plan de travail légèrement fariné et l'étaler au rouleau à pâtisserie sur une épaisseur 3-4mm.
5. Préchauffer le four à 180° C (350° F).
6. Garnir 8 moules à tartelettes préalablement beurrés avec la pâte, puis couper les bords qui dépassent. Mettre au frigo.

Chocolate Tartlets Picnik collage 4 bis
Méthode Pour "Génoise Au Chocolat":
7. Dans un bol moyen, travailler le sucre et l'oeuf au fouet électrique jusqu'à obtention dans mélange jaune pâle.
8. Incorporer la farine, la poudre à lever et le cacao.
9. Faire fondre le beurre et le chocolat au bain-marie, puis les incorporer à la première préparation.
10. Ajouter 2 CS d'eau et bien mélanger.
11. Sortir les fonds de tarte du frigo, puis garnir chacun avec 1 1/2 CS de génoise au chocolat.
12. Cuire pendant 15 minutes.
13. Retirer du four et faire refroidir sur une grille pendant 10 minutes.
Méthode Pour La "Ganache Au Chocolat":
14. Mettre les chocolats dans un bol moyen puis porter la crème à ébullition dans une casserole (à feu doux en remuant régulièrement).
15. Verser la crème dans le bol et bien mélanger à l'aide d'un fouet afin d'obtenir une ganache onctueuse.
16. Répartir la ganache sur la génoise et parsemer de pistaches.
17. Mettre au frigo.

Remarques:
Si vous désirez, vous pouvez aussi préparer la ganache exclusivement avec du chocolat noir ou du chocolat blanc.
Pour des tartelettes au café, il vous est aussi possible d'ajouter 1 CC de café soluble à l'eau (que vous aurez chauffé) de la génoise et d'incorporer 1/2 CC de café soluble dans la crème pour la ganache au chocolat noir ou blanc.

Idées de présentation:
Servir les tartelettes froides avec de la crème fouettée et un bon café, un café glacé ou un verre de lait froid.

Chocolate Tartlets Picnik collage 6 bis

Friday, January 7, 2011

MINCE PIES, A FORBIDDEN TREAT

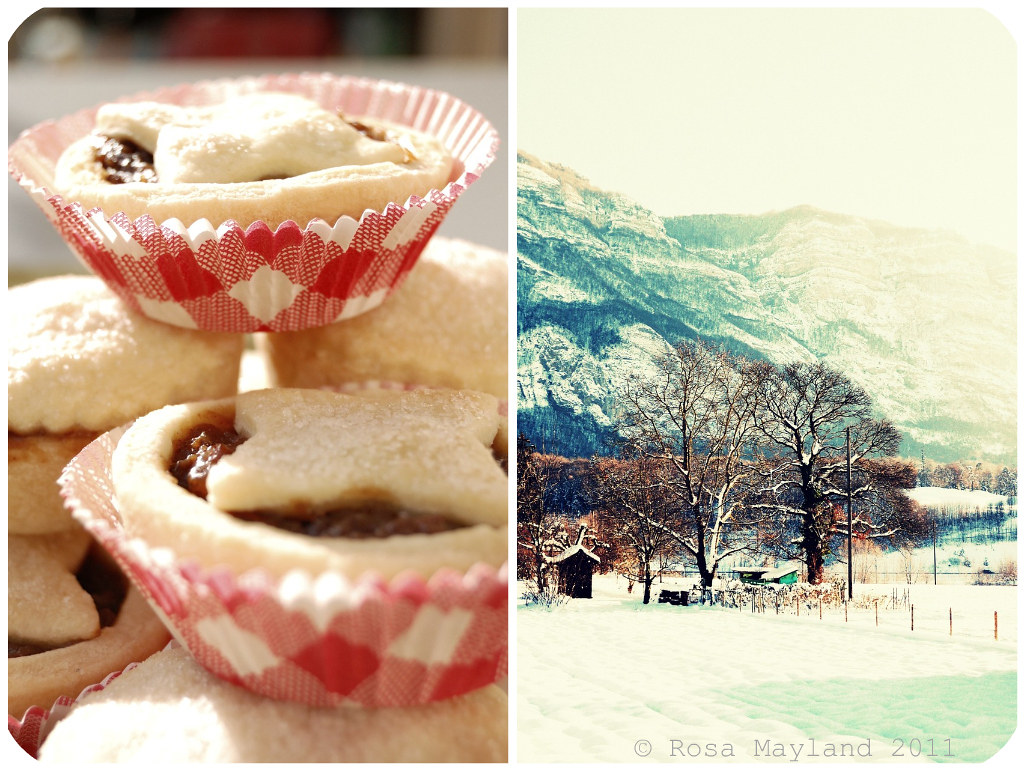
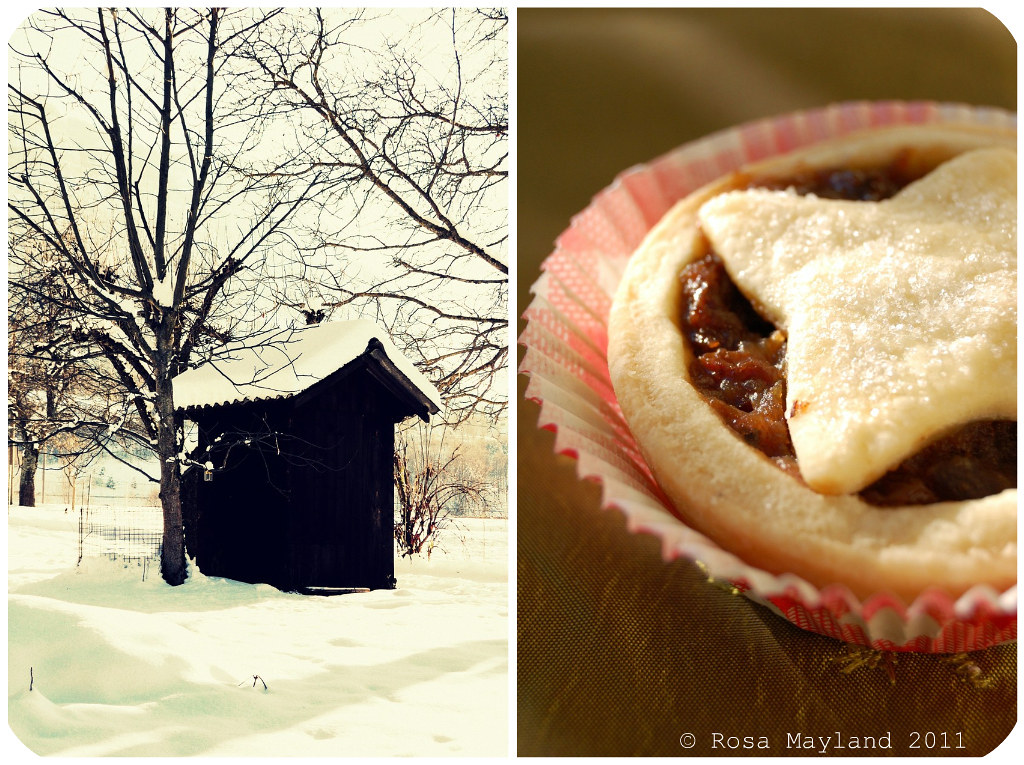
Mince pies Picnik collage 3 bis
In 2010 I decided that I was going to prepare my very first mincemeat for Yuletide. I planned on having a 100% British dinner and didn't want serve anything too heavy or rich as we had absolutely no desire to have bursting stomachs, feel unwell, sick and bloated...

~~~~~~~~~~~~~~~~~~~~~~

"Mince Pies" (also called "Minced Pies") are British mini shortcrust pies or tartlets which are filled with mincemeat and eaten during the Christmas holidays (though it seems that during the Easter festivities you can sometimes find those pies - with a cross on the top - in stores too). The origin of those petits fours can be traced back to the 13th century when European crusaders returned from their campaigns in the Middle East where they tried to recapture the Holy Land and Jerusalem. At that time the people living in those far-away regions cooked many sweet and savory meat dishes which included fruits as well as spices (they still do). During the Middle Ages our cuisine was highly influenced by the culinary prowesses of the Orient, hence it is not surprising to learn that this combination was also very popular in our hemisphere.

In Tudor England they were often called "Shrid Pies" and consisted of shredded meat, fruits, suet and spices (cinnamon, cloves and nutmeg). By 1596, they were also known under the name of "Mutton Pie" and "Christmas Pies". In the Elizabethan and Jacobean eras they were defined as "Minched pies".

"Mince Pies" have always been
associated with Catholic idolatry and considered a kind of consecrated cake. During the English Civil War (1642–1651) they were banned by the Puritan (English protestants) authorities who regarded them as sinful due to the guilty, forbidden pleasures they confered. Cromwell hated Christmas which was not sanctioned by the Bible and saw it as a pagan holiday promoting gluttony and drunkennes. Nevertheless, the tradition of eating "Mince Pies" on Christmas day was perpetuated long after that sad episode and is still well-alive today. The recipe has evolved over time. It is during the 19th century that those tartlets radically changed by becoming sweeter, not containing meat anymore, being reduced in size and altered in shape (early pies were much larger, oblong in shape and supposed to represent Jesus's crib).

Like all English folks my grandparents made "Mince Pies" solely in December and didn't break that old tradition. Speaking of that, here's an interesting fact for you: Cromwell's law forbidding the consumption of anything linked to gluttony (puddings and mince pies mainly) has never been rescinded, so "Mince Pies" are still illegal on Christmas Day. Hilariously ludicrous, no? That leads me to wonder why nobody ever gets rid of certain conventions and starts baking those pastries on other occasions. It is such an incredibly luscious goodie that it seems a pity to eat it only once every 12 month!

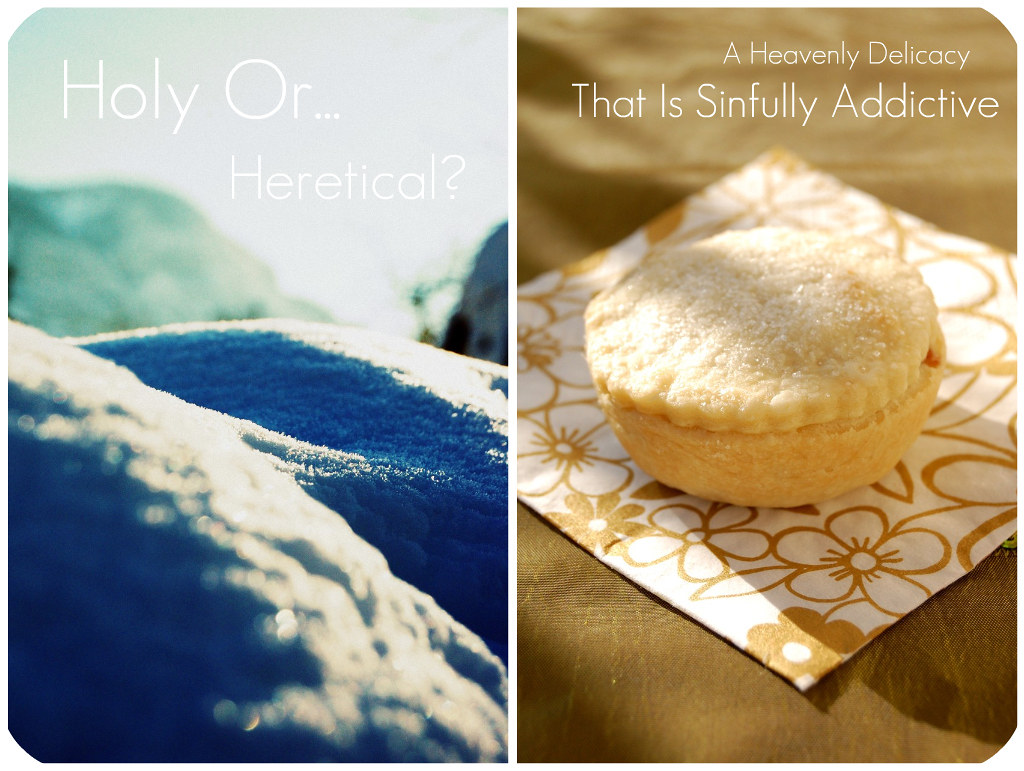
Of course, you could argue and bring up the fact that those pies carry a religious symbolism and that anything related to the birth of Christ has no reason of being produced out of that sacred moment of the year -though it must be said that their meaning is nowadays quite obsolete (most British citzens are surely incapable of explaining why they are holy) and taken a lot less seriously than at the time of their creation. That is totally ok if you are a Christian but in my opinion, if you are not a god-fearing believer then I reckon that it is not a blasphemy at all to enjoy "Mince Pies" when you feel like doing so. Not eating them more often, now that is what I would qualify as sacrilegious!

Mincemeat used as filling for "Mince Pies" is a preserve that can be stocked for a while (if one adds suet just before putting it in jars) and can be made all year long since it's components are available most of the time. So it would be awfully sad not to enjoy this delicacy whenever you feel like it.

Imagine going for a picnic in spring, organizing a potluck, a wedding or a birthday party, enjoying a divine pudding wine while admiring the stunning fall scenery or celebrating Easter... I bet you have no problem picturing yourself gobbling one of those gorgeous little pies during those events . So, I think we should declare that "Mince Pies" are too scrummy to be consumed exclusively during a restricted period of time!!!

~~~~~~~~~~~~~~~~~~~~~~

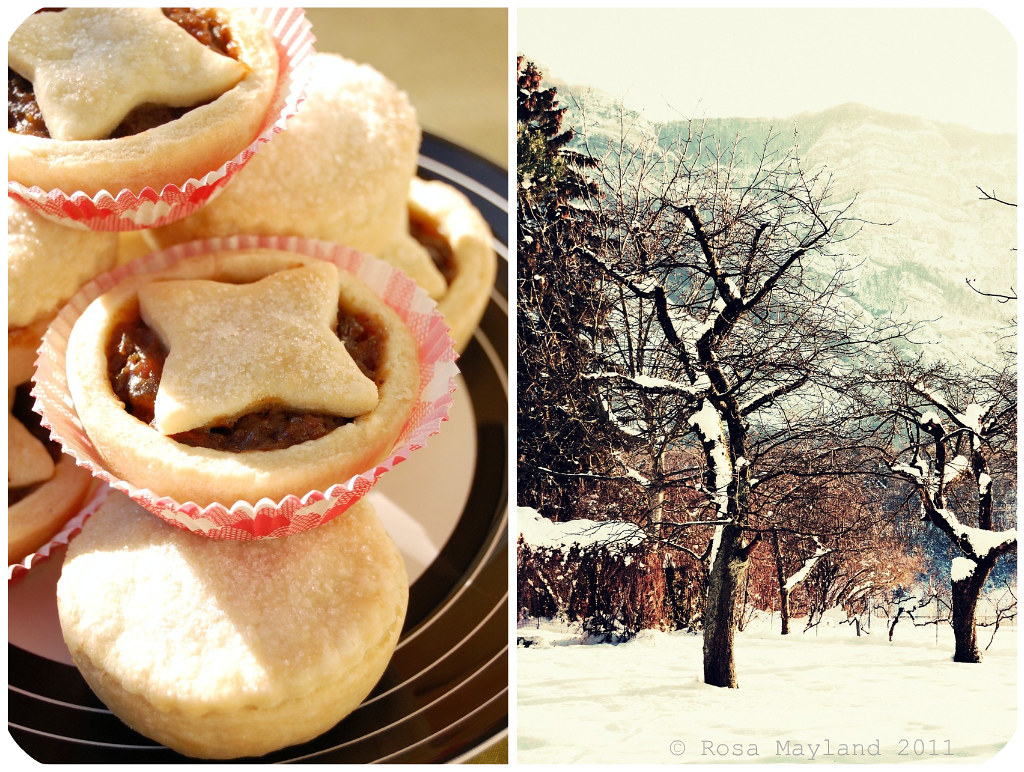
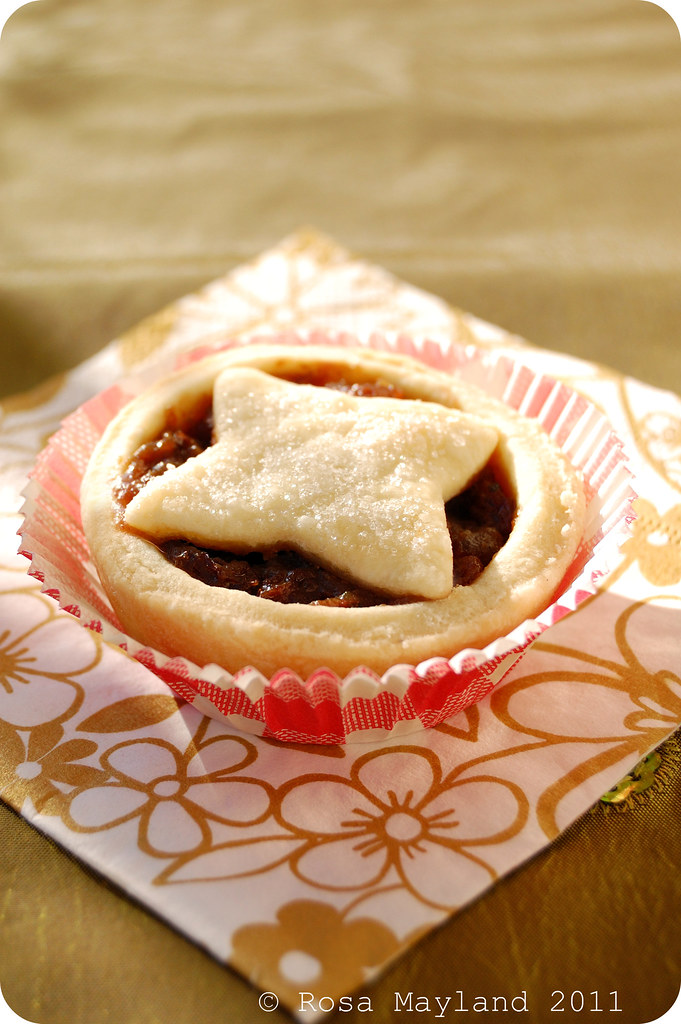
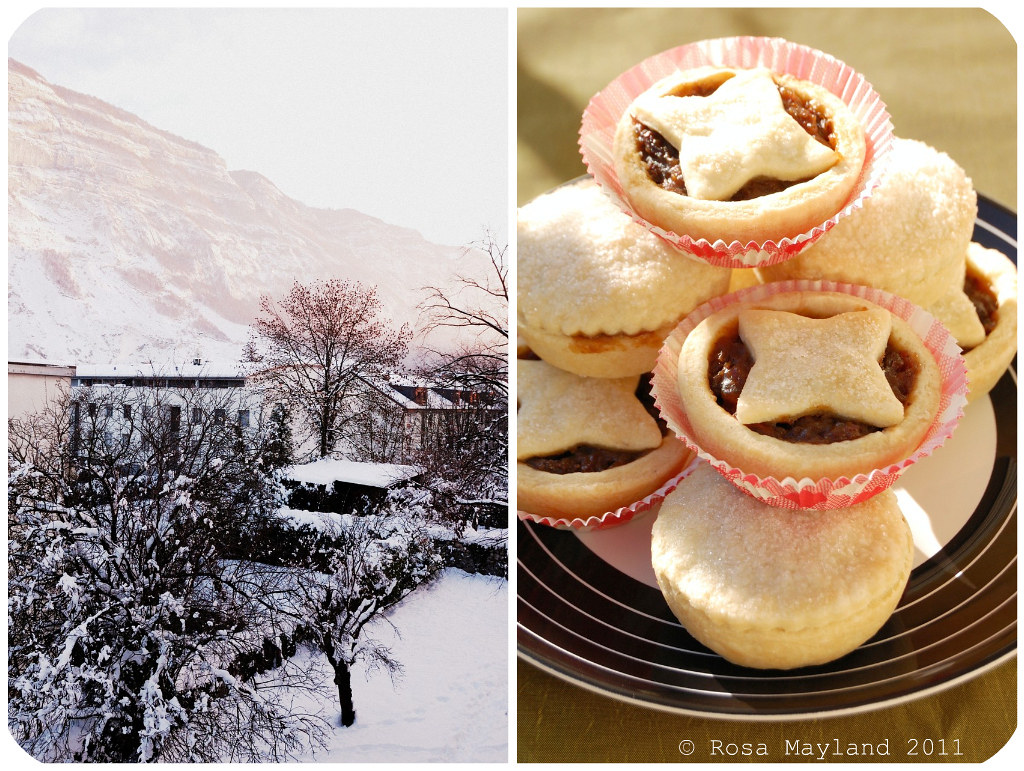
I was really satisfied with my "Mince Pies" as they were flawless and reminded me of those I had tasted in England. The pastry was delicately flaky, tender and baked to perfection (just ever so slightly golden) and the interior was exquisitely moist, mouthwateringly citrusy, subtly spicy and blissfully fragrant (thanks to my well-ripened mincemeat).
To die for!

Mince pies 4 bis
~ Mince Pies ~
Recipe for the "Shortcrust Pastry" by Rosa's Yummy Yums 2011.

Makes 18 pies.


Ingredients:
350g All-purpose flour, plus extra for dusting
1 1/2 Tbs Powder sugar
1 Tsp Sea salt (fine)

120g Unsalted butter, cold and cut into little cubes
60g Lard, cold and cut into little cubes
4-10 Tbs Cold water
1 1/2 Jam jars (about 375-450g) mincemeat
Castor sugar for decorating

Method:
1. Sift the flour, icing sugar and salt into a bowl, add the butter and lard. With the hel
p of a pastry blender, work them together until the mixture fine breadcrumbs or coarse sand.
2. Add the water (quantity depending on the himidity of the air) and with the help of a table knife stir until the mixture comes together and forms a pastry ball.
3. Turn out onto a lightly floured surface and knead very briefly until smooth.
4. Roll the pastry out on a lightly floured surface. Cut out 18 x 8cm rounds using a fluted (or not) cutter and re-kneading and rolling the trimmings.
5. Lightly grease the cupcake tins (I made 18 little pies) with butter and line with the pastry
discs, then prick lightly with a fork.
6. Spoon 1-1.5 Tbsp mincemeat into each case.
7. Now with the leftover patry cut out 18 x 6cm pastry rounds or 18 stars (alternative pie lids),
re-rolling as necessary.
8. Brush the edges of the pies with water or egg wash and
press lids down onto the bases, sealing well.

Mince pies Picnik collage 5 bis
9. Chill for 20 minutes.
10. Preheat the oven to 190° C (375° F).
11. Brush the lids with water and sprinkle with castor sugar.
12. Bake for 26 minutes or until very lightly golden.
13. Remove from the oven and let the mince pies cool in the pan for about 5 minutes, then remove them delicately from the pan and place them on a wire rack.

Remarks:
If you don't want to use lard, them replace it by white vegetable shortening or butter.

It is possible to freeze the unbaked pies in the trays (for at least 4 hours or overnight) and then transfer the frozen pies to plastic boxes, layered with baking paper between. In that way they can be kept in the freezer for up to 3 months (to cook, bake from frozen but for a few minutes longer than indicated previously).
The pies can be kept for up to a week at room temperature in an airtight box.

Serving suggestions:

Serve warm or cold with a dollop whipped cream, clotted cream or brandy butter.


~~~~~~~~~~~~~~~~~~~~~~

Mince Pies Picnik collage 1 bis
~ Mince Pies ~
Recette par Rosa's Yummy Yums

Pour 18 tartelettes.

Ingrédients:
350g de Farine blanche (+ un peu pour saupoudrer)
1 1/2 CS de Sucre en poudre
1 CC de Sel de mer fin

120g de Beurre non-salé, froid et coupé en cubes
60g de Saindoux,
froid et coupé en cubes
4-10 CS d'eau froide
1 1/2 Pots à confiture de mincemeat (environ 375-450g)
Sucre cristallisé pour décorer


Méthode:
1. Tamiser la farine avec le sucre et le sel dans un bol. Ajouter le beurre et le saindoux. Les travailler ensemble afin d'obtenir un mélange sableux.
2. Mélanger avec un couteau de table tout en ajoutant assez d'eau afin d'obtenir une boule de
pâte.
3. Sur une surface farinée, légèrement/rapidement pétrir la pâte, puis l'étaler.
4. Couper 18 ronds (flutés) de 8cm de diamètre (réutiliser les restes de pâte).
5. Beurrer des moules à cupcakes (18 trous) et garnir avec les ronds de pâte, puis piqu
er les fonds.
6. Garnir chaque tartelette avec 1-1.5 CS de mincemeat.

7. Découper 18 ronds de 6cm de diamètre avec la pâte restante ou 18 étoiles (couvercles).
8. Humidifier les bords des tartelettes avec de l'eau (ou du jaune d'oeuf) et souder les couvercles en appuyant avec les doigts sur les bords des tartelettes.


Mince Pies Picnik collage 2 bis
9. Mettre au frigo pendant 20 minutes.
10. Préchauffer le four à 190° C.
11. Peindre le dessus des couvercles avec de l'eau et saupoudrer avec du sucre cristallisé.
12. Cuire pendant 26 minutes, jusqu'à ce que les tartelettes soient très légèrement dorées.
13. Sortir les tartelettes du four, puis les sortir des moules après 5 minutes de repos. Mettre les tartelettes à refroidir sur une grille.

Remarks:
Si vous ne voulez pas utiliser de saindoux, alors vous pouvez soit le remplacer par de la margarine soit par du beurre.

Les tartelettes peuvent être congelées non-cuites. Placez-les sur une plaque et mettez cette plaque au moins 4 heures au congélateur jusqu'à ce qu'elles soient congelées. Puis les mettre dans une boîte et les conserver au congélateur pendant 3 mois maximum (cuisson sans les dégeler + augmenter le temps de cuisson).
Conserver ces tartelettes une semaine maximum à température ambiante dans une boîte hermétique.

Idées de présentation:
Servir les Mince Pies froids au chauds, avec de la cr
ème chantilly, de la clotted cream ou du brandy butter.

Mince Pies Picnik collage 4 bis

Friday, November 19, 2010

SMOKED HADDOCK & GRUYÈRE TARTLETS

Haddock Tartlets Picnik collage 1 bis
I make no secret of the fact that I am a big supporter of English specialities and get mad every time I have to read or hear the moronic comments of ignorant people who have the guts to bring British gastronomy down. That irritates me to the highest point as most of the time they don't know what they are talking about and sheepishly follow the false propoganda regarding that country's food...

I mean, Great B
ritain has proved to have amazing chefs, shown the world that bad food can only be blamed on careless and inexperienced "cooks" and not on tradition (there is no bad food only bad cooks). When will certain individuals stop smirking at the word association "British Cuisine"? England not only has wonderful produces, but also an ancient cooking wisdom so it's about time that the above-mentioned folks put an end to those myths.

Being half-English and coming from a family of brilliant homecooks it is my duty to carry on those old eating customs and not lose my culinary patrimony that
is so dear to me and perpetuate my link to that island. It is for that reason that I am a big fan of beautiful magazines such as Good Food, Delicious and Jamie which offer hundreds of gorgeous recipes every month.

While browsing through one of my Good Food magazines a particular Gordon Ramsay recipe caught my attention. His "Haddock & Gruyère T
artlets" looked so scrumptious. I had to make them as soon as possible.

Smoked haddock (made with either cod or had
dock which is partially boned & lightly salted/in Scotland known under the name of "Finnan Haddie") has always been a produce I've enjoyed when I was in England. I remember that my grandmother bought it from a fish seller who travelled around with his van and sold extremely fresh goods (the fishes were still swimming in the sea no more than 3-4 hours before) out of the back of his truck. Once a week he stopped in front of my grandparents' stone cottage, honked and happily chatted with us while presenting his fantastic choice of goods . He had the most amazing fishes I have ever eaten.

Thankfully since I live extremely close to the French border (a few meters away) it is possible for me to buy smoked haddock from the Casino supermarket in Gaillard, Haute-Savoie. Although the French smoked haddock is a little dryer, a lot smokier, less plump/thick, dyed with annatto and seems to be made with whiting (and not cod nor haddock like it's English counterpart) I am already very grateful to find it in stores as it nostalgically reminds me of my holidays in Belper, Derbyshire.

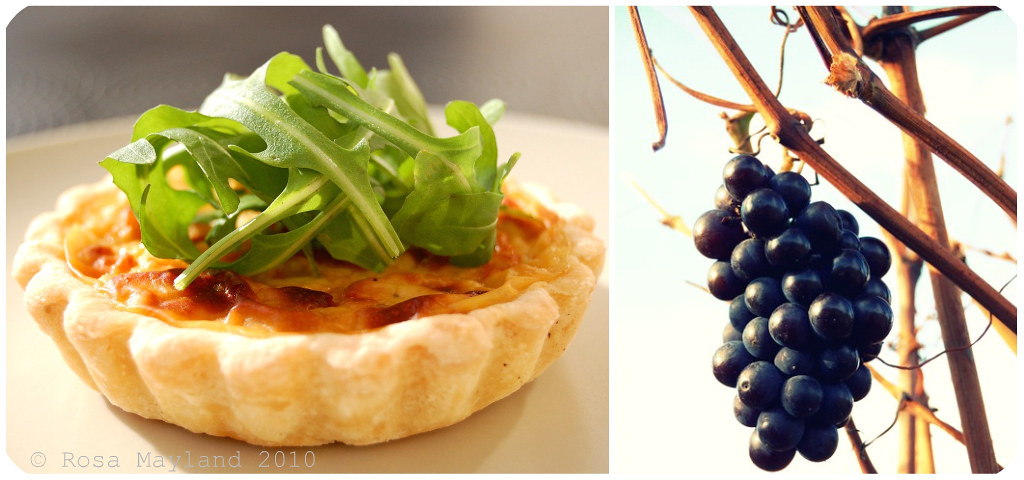
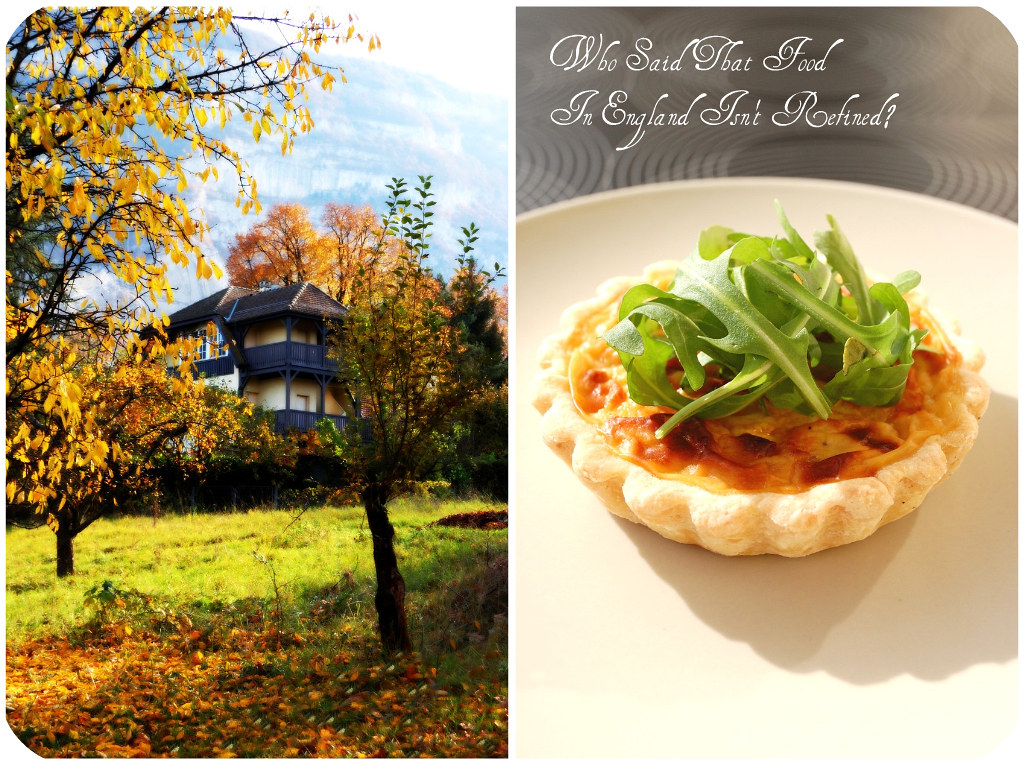
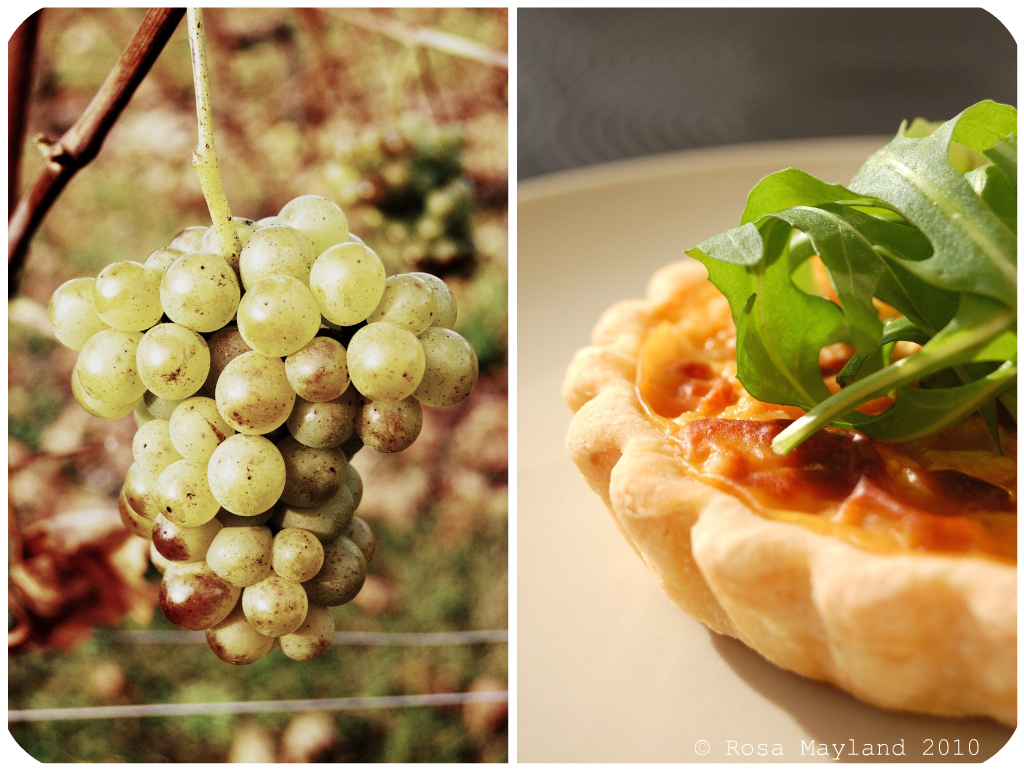
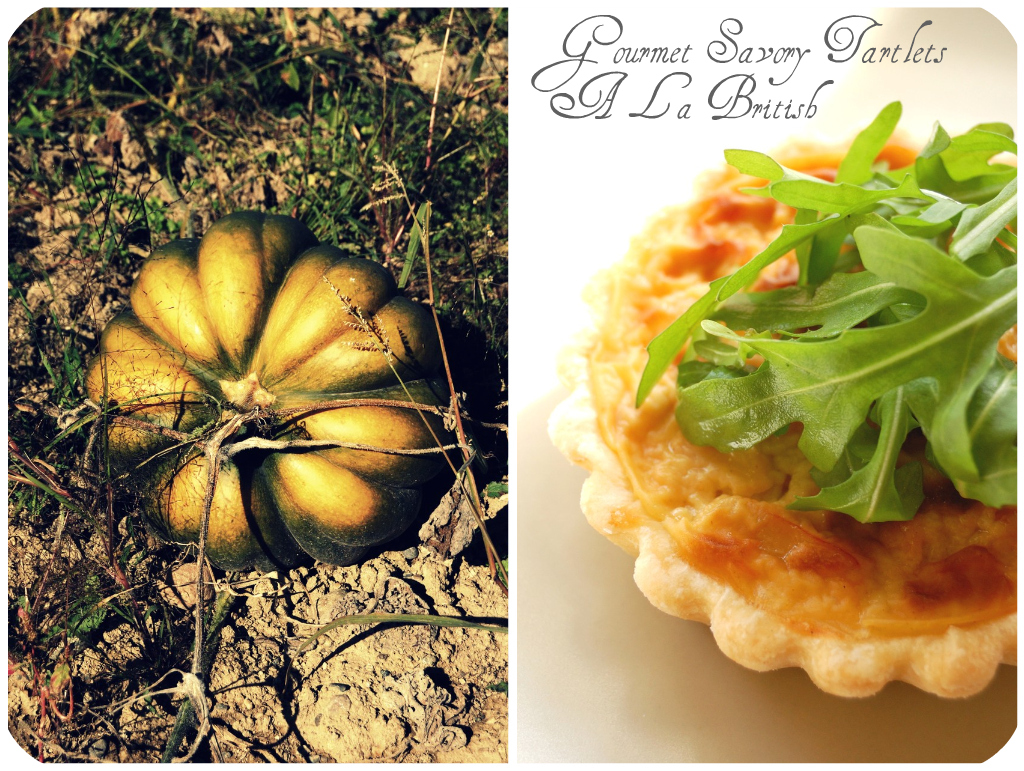
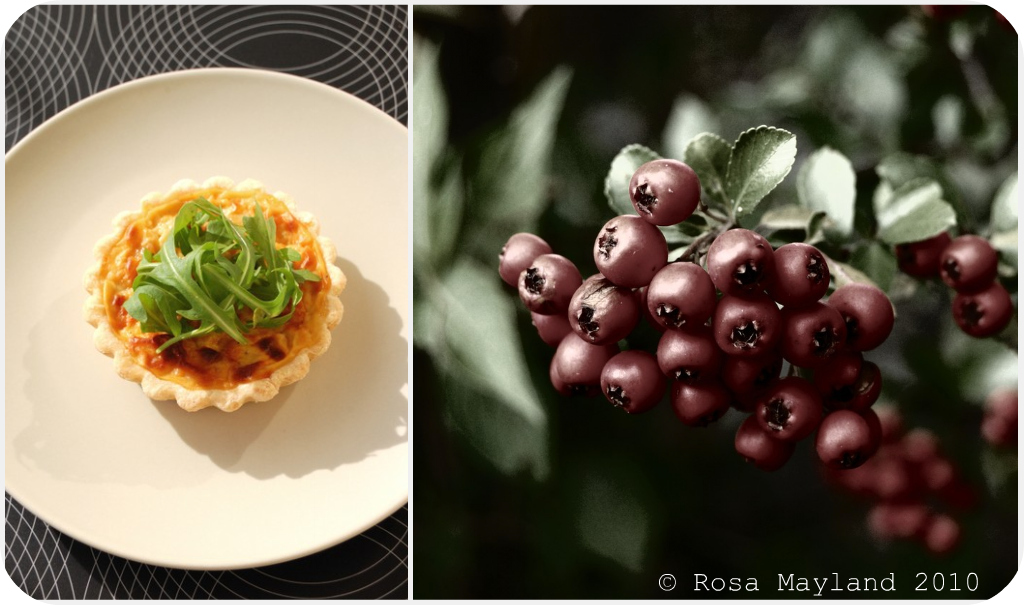
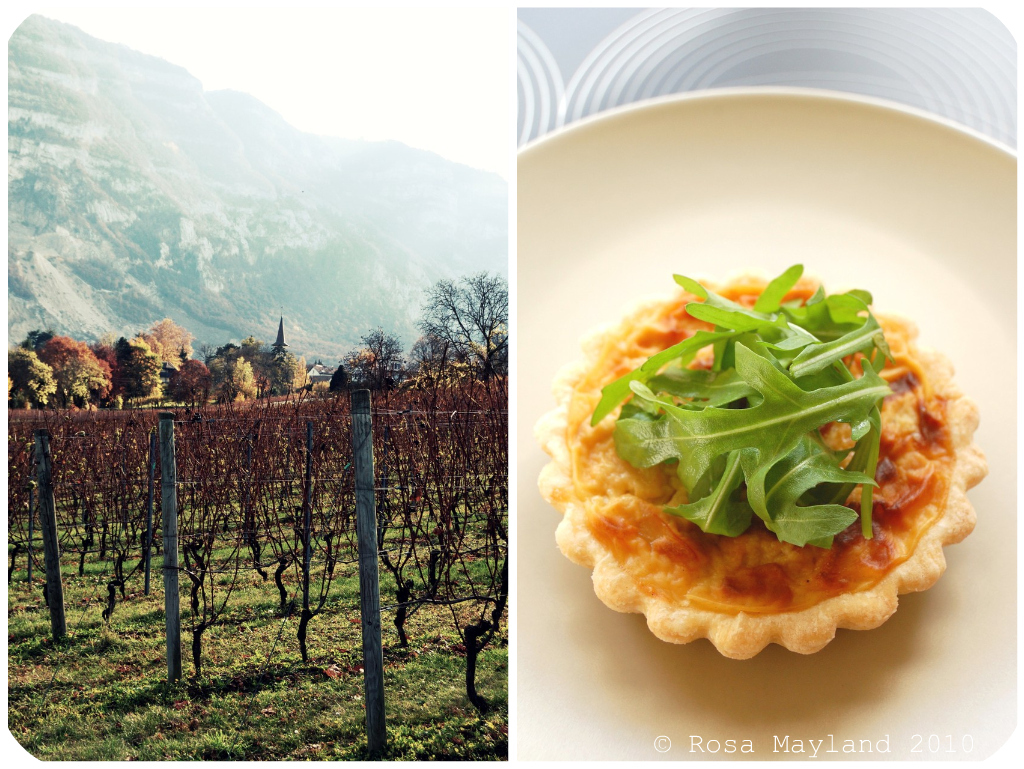
As usual, I took the liberty to adapt Gordon Ramsay's recipe and ommitted to prebake the pastry and didn't serve my tartlets with a poached egg, but a bunch of arugula/rocket instead. I was really happy with the results as my "Haddock & Gruyère Tartlets" were as pretty as on the Good Food pictures and tasted just divine.

The pastry (my recipe) was delightfully flaky and beautifully golden, the filling was very
flavorful and the lighty mustardy Gruyère béchamel paired perfectly well with the smokiness and delicate fish aromas of the haddock, and the arugula added great nutty, spicy (peppery-mustardy) as well as warm notes. Definitely a dish I will make again!

Haddock Tartlets Picnik collage 6 bis
~Haddock & Gruyère Tartlets ~
Recipe for the "Shortcrust Pastry" by Rosa@Rosa's Yummy Yums & recipe for the "Haddock & Gruyère Tartlets" adapted from Gordon Ramsay.

Makes 4x 12-14cm tartlets.

Ingredients For The "Shortcrust Pastry":
300g Plain white flour (no self-raising flour)
1 Tsp Fine sea salt (you can add 1/2 Tsp more if you like the taste of salt)
150g Unsalted butter (or 100g Unsalted butter & 50g
Lard)
~80 ml Water
Ingredients For the "Tarts":
500g Shortcrust pastry (recipe above)
400g Smoked haddock with the skin
400ml Milk
2 Egg yolks
2 Tsp Mustard (Dijon, yellow, basic or English)
25g Unsalted butter
25g All-purpose flour
100g Mature AOC Gruyère, grated finely
100g Arugula (washed), to use as decoration

Method For The "Shortcrust Pastry":
1. Sift the flour and salt into a bowl/bassin.
2. Add butter and rub between the fingers until the mixture is flaky.
3. Pour in water, gradually, while continuously cutting and stirring with a knife. Stop adding water when the dough is stiff. It should not be sticky or wet. Gather up into a soft ball and place it in the fridge while you prepare the filling.
Method for the "Tarts":
1. Put the haddock in a medium saucepan and cover with the milk. Season the milk with a little black pepper and bring to a boil, then turn off the heat. Set aside until cool enough to handle.
2. Remove the fish from the milk and strain the milk into a jug.
In medium pan, melt the butter. When it has melted and is starting to sizzle, stir in the flour and cook until combined to a sandy consistency.
3. Gradually stir in the poaching milk, mixing well after each addition.
4. Bring to a boil and let simmer over a low heat for 5 minutes until you have a smooth white sauce.
6. Remove the pan from the heat, then add the Gruyère and stir.
7. Break the haddock into large flakes into a medium bowl and throw away the skin and the bones.

Haddock Tartlets Picnik collage 4 bis
8. Add the egg yolks and mustard to the haddock and stir in the cheese sauce (it should be at room temperature). Set aside.
9. Divide the pastry into 4, thinly roll out each piece, then cut out 4 circles big enough to line 4 x 12-14cm fluted tartlet pans. Press the pastry into the sides of the tin and roll the surface of the pan with your rolling pin so that the excess will fall away.
10. Preheat the oven to 200° C (400° F). Place the pans in the fridge to cool for 10 minutes, then remove from the fridge and prick the base with a fork.
11. Divide the filling between the tartlet cases, then bake for 25-30 minutes until the filling is puffed up and golden brown like cheese on toast, and the pastry is golden brown.
12. Remove from the oven and leave the tarts to cool slightly.
13. Decorate with the arugula (on top).

Remarks:
Always lift the flour out of the bowl while rubbing; it makes the butter/fl
our mixture airy.
Be careful not to add too much water as the pastry should not be stick to the touch.
While mixing the water to the flour/butter mixture never work the pastry like a bread dough, otherwise you would end up with a stiff, hard and elastic pastry.

You can replace the Gruyère by AOC Appenzeller or AOC Vacherin Fribourgeois
The filling can be made a day ahead and chilled.
The tarts can be made several hours ahead and eaten at room temperature or slightly reheated. Don't store in the fridge, or the pastry will get soggy.

Serving suggestions:
Serve the tartlets warm from the oven.
You can top it with a poached egg and chives or accompany them with a salad (lamb's lettuce).

~~~~~~~~~~~~~~~~~~~~~~

Haddock Tartlets Picnik collage 3 bis
~ Tartelettes Au Haddock Et Au Gruyère ~
Recette pour la "Pâte Brisée" par Rosa@Rosa's Yummy Yums & recette pour les "Tartelettes Au Haddock Et Au Gruyère" adaptée de Gordon Ramsay.

Pour 4 tartelettes de 12-14cm de diamètre.

Ingrédients pour la "Pâte Brisée":
300g de Farine blanche/fleur
1 CC de Sel de mer fin (ajouter 1/2 CC si vous aimez votre pâte un peu salée)
150g de Beurre non-salé, coupé en petit dés (ou 100g de beurre + 50g de saindoux)
~80ml d'Eeau très froide ou assez afin que la pâte forme une boule
Ingrédients pour les "Tartelettes":
500g de Pâte brisée (recette au dessus)
400g de Haddock fumé avec la peau
400ml de Lait
2 Jaunes d'oeufs
2 CC de Moutarde (Dijon, Thomy, américaine, forte anglaise ou douce)
25g de Beurre non-salé
25g de Farine blanche
100g de Gruyère AOC mature, râpé finement
Une poignée de roquette pour décorer

Méthode pour la "Pâte Brisée":
1. Tamiser la farine et le sel dans un bol moyen.
2. Ajouter le beurre et frotter
la farine et le beurre entre les doigts afin d'obtenir un mélange qui ait la texture sabloneuse.
3. Verser l'eau, graduellement, tout en mélangeant bien (n'ajoutez plus d'eau quand la pâte aura atteint la bonne consistance/ni trop mouillée, ni trop collante). Former une boule puis la mettre au frigo pendant que vous préparez la garniture.
Méthode pour les "Tartes":
1. Mettre le haddock dans une casserole et le recouvrir avec le lait. Assaisonner le lait avec un peu de poivre noir et porter à ébullition, puis éteindre le feu. Mettre de côté et laisser refroidir de manière à pouvoir manipuler le poisson avec les mains.
2. Sortir le poisson du lait et verser le lait dans un pot tout en le filtrant.
Dans une casserole moyenne, faire fondre le beurre. Une fois fondu et quand il commence à grésiller, ajouter la farine et bien mélanger afin que le tout soit homogène et ait une texture sabloneuse.
3. Graduellement, verser le lait (dans lequel le haddock à cuit). Mélanger après chaque ajout.
4. Porter à ébullition, puis laisser mijoter à feu doux pendant 5 minutes jusqu'à obtention d'une sauce crémeuse et assez épaisse.
6. Enlever la casserole du feu, puis incorporer le Gruyère tout en remuant.
7. Emietter le haddock (morceaux pas trop petits) et jeter la peau et les arrêtes.

Haddock Tartlets Picnik collage 5 bis
8. Ajouter les jaunes d'oeufs et la moutarde, puis la béchamel au Gruyère (à temp. ambiante) et mélanger le tout.
9. Diviser la pâte en 4 et l'étaler afin de pouvoir couper en cercles assez grands pour foncer les moules à tartelettes de 4 x 12-14cm. Une fois cela fait, se débarasser de l'excédent de pâte.
10. Préchauffer le four à 200° C. Mettre les moules au frigo pendant 10 minutes, puis les retirer du frigo et les piquer avec une fourchette.
11. Remplir chaque tartelette avec de la garniture, puis cuire les tartelettes pendant 25-30 minutes jusqu'à ce que la garniture et la pâte soient joliment dorées (suffisement cuitent).
12. Sortir les tartelettes du four et les laisser refroidir légèrement avant de servir.
13. Decorer avec de la roquette.

Remarques:
Soulevez toujours la farine lorsque vous la frottez avec le beurre: ç a apporte de l'air au mélange.
Faites bien attention de ne pas ajouter trop d'eau à votre pâte. Elle ne doit pas être collante.
Pendant que vous mélangez l'eau au mélange farine/beurre, ne la travaillez pa
s telle une pâte à pain, autrement votre pâte sera dure, élastique et pas manipulable du tout car vous aurez libéré le gluten contenu dans la farine.
Le Gruyère peut être remplacé par de l'Appenzeller AOC ou du Vacherin Fribourgeois AOC.
La garniture peut être faite le jour avant et mise au frigo.
Les tartelettes peuvent être cuites quelques heures à l'avance et mangées à température ambiante ou être réchauffées.
Ces tartelettes ne doivent pas être conservées au frigo car elles deviendront toutes molles et humides.

Idées de présentation:
Servir les tartelettes chaudes.
Vous pouvez aussi déposer un oeuf poché sur la tartelette (milieu) et saupoudrer avec un peu de ciboulette ou manger vos tartelettes avec une bonne salade (mâche).

Haddock Tartlets Picnik collage 2 bis