Showing posts with label Dried Fruits. Show all posts

Friday, June 8, 2012

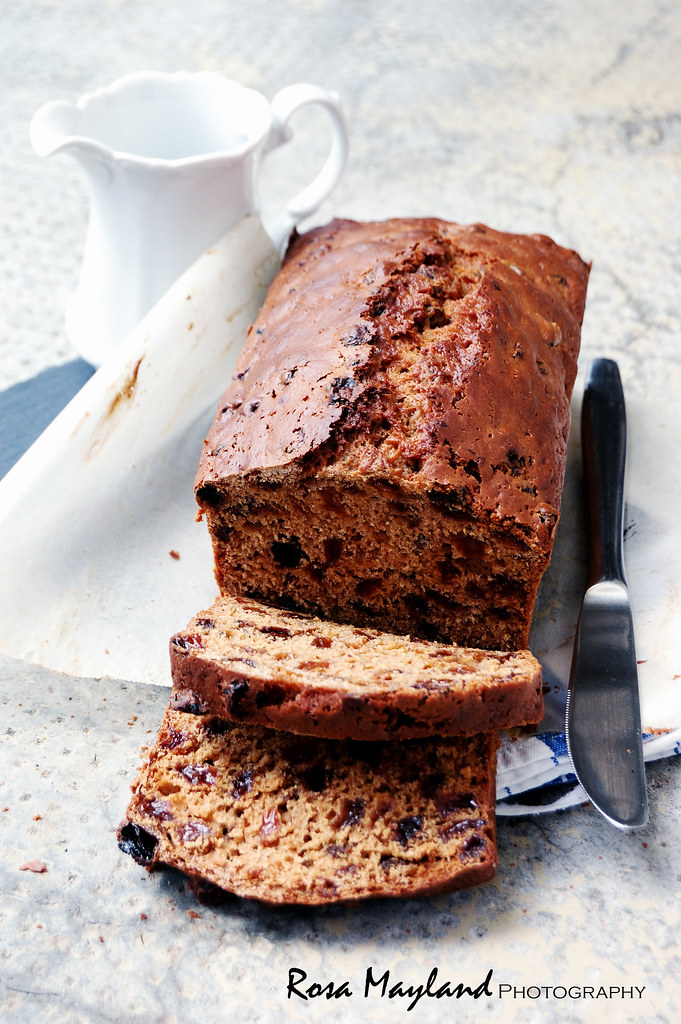
ENGLISH FRUIT LOAF - CAKE ANGLAIS AUX RAISINS SECS ♥ A GUEST POST FOR BEN AT "WHAT'S COOKING MEXICO?"

Tea Cake 5 1 bis

In life, I look for miscellanous things that capture my attention, satisfy my curiosity, satiate my hunger for novelty, inspire me and are exceptional. I am not fond of what is mainstream, déjà-vu, bland, characterless, not intellectually stimulating or challenging, so when it comes to the blogs I follow and the people behind them, I apply exactly the same rule.

And speaking about uniqueness and captivatigness, What's Cooking Mexico? is hard to beat. This marvelously exotic site is one of a kind and stands out from the crowd. It is like a paradisiac and welcoming island in the middle of the ocean where it feels good to go as you never fail to spend some relaxing as well as quality moments there.

This Mexico City native is passionate about mouthwatering fares and his country's versatile cuisine. He knows how to fascinate you with his detailed and informative articles that combine history and anthopology, delightfully colorful pictures, traditional recipes and mouthwaterringly fresh, refined, spicy and vibrant dishes. A blog that deserves much recognition.

Having been a big fan of Ben's extraordinary work and buoyant personality since 2008, it is with much pleasure that I have accepted to share my thoughts with his readers and write a guest post for him today. How could I possibly refuse such an opportunity?!

Muchas gracias querido amigo!!!

Tastes are made, not born. 
- Mark Twain 

Taste cannot be controlled by law.
- Thomas Jefferson
 It is interesting to see how our culinary inclinations can change when we grow up and reach our prime, and how certain foods we used to dislike as a child can suddenly appeal to us. Although our soul doesn’t vary during the whole course of our terrestrial existence, we never cease to evolve physically and mentally. Some things are meant to stay the same while others are intended to undergo slight or drastic alterations…

I like to think that, similarly to rare wine, individuals get refined and more subtle/complex with time. The base will everlastingly remain, but it will considerably improve and ripen during the interval between birth and death. As with long-term cellering alcohols, the maturation and quality of the finished product depend on a few important factors such as environmental conditions, its pedigree and the care with which this process has been taken out.
A man's palate can, in time, become accustomed to anything.
- Bonaparte, Napoleon
Not only do our brains go through various transmutations, but also our taste buds and gastronomical repertoire. Our bodies alter constantly, so it is quite understandable that our gustatory cells also get modified and go through major evolutions, thus affecting our feeding habits and transforming us into moody eaters.

Because I was raised in a non-snobby gourmet family who taught me to be thankful for what goes into my stomach, educated my palate by offering me a varied diet, encouraged me to be a daring epicurean and hated routine at the table, the toddler that I was, was fairly uncomplicated and adventurous. I complied to their eclectic nourishing practices without making a fuss or yammering. Everything my parents put on my plate was gulibly swallowed. Not entirely finishing the contents of my platter was not acceptable ]...[
 

So, if that short introduction made your mouth water and your tastebuds tingle, tickled your curiosity and gave you the urge to read my article, then please hop on over to What's Cooking Mexico? in order to learn more about this "Fruit Loaf", get a glimpse of my pictures, discover my recipe and pay a visit to the lovely Ben.

Tea Cake 15 5 bis
Etant donné que beaucoup de mes lecteurs francophones ne comprennent pas forcément l'anglais et que malheureusement peu d'entre-eux auront la chance de lire mon billet invité et dernier article en date sur le merveilleux blog What's Cooking Mexico? qui appartient au tentueux blogeur mexicain Ben, je me suis permise de traduire la recette qui y figure afin que vous puissiez aussi en profiter car je pense qu'elle pourra vous intéresser (vous pouvez tout de même y jeter un coup d'oeil car ses recettes sont vraiment passionnantes et mon article contient d'autres images que celles exposées ici).

J'espère que mon "
Cake Anglais Aux Raisins Secs" vous plaira car c'est une succulente spécialité British qui nous vient tout droit du Lake District (dans le Cumbria) et dont je me suis enamourée dernièrement.

Comme vous le savez déjà, de part mes racines anglaise je suis une fervente défenseuse de la cuisine et culture britannique qui, à mon sens, est extraordinairement unique, si versatile, terriblement réconfortante, fabuleusement savoureuse, humble et qui n'est en aucun cas insipide, fade, peu délicate ou inintéressante comme le prétendent certaines personnes mal-attentionnées et à l'esprit étroit. Ce cliché est vieillissant, dépassé de mode et plus d'actualité...
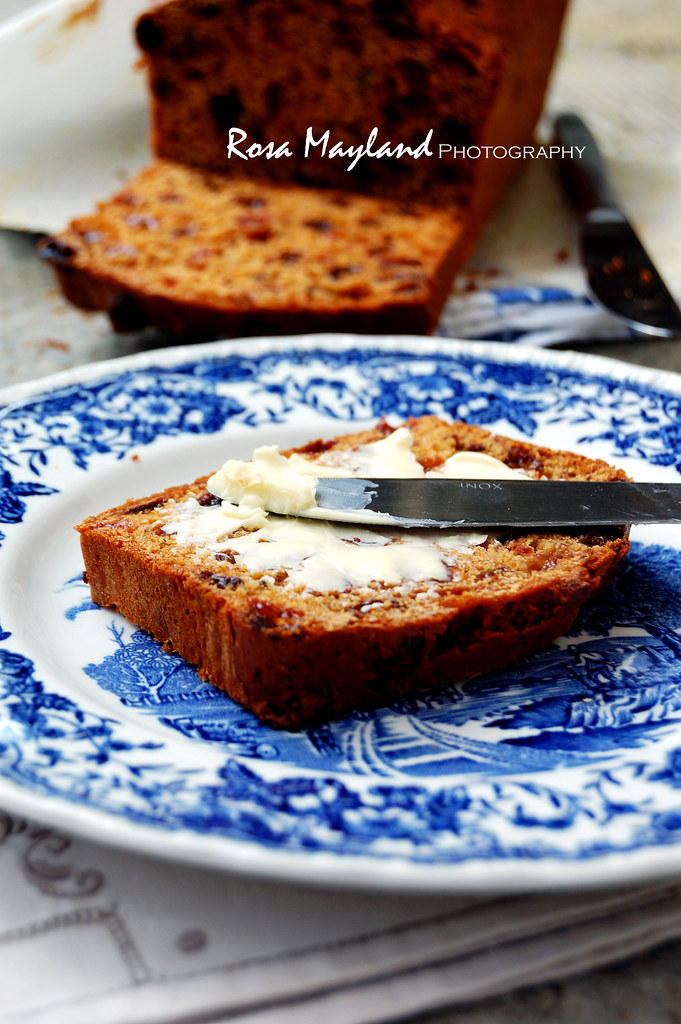
Tea Cake 6 2 bis
Cake Anglais Aux Raisins Secs
Recette adpatée de The National Trust Farmhouse Cookbook” par Laura Mason.

Pour 1 pain de 900g ou 2 pains de 450g chacun.

Ingrédients:
300ml de Thé noir fort, chaud
450g de Raisins secs (sultanines, raisins de Smyrne ou/et de Corinthe)
350g de Farine
2 1/2 CC de Poudre à lever
1 1/2 CC de Mixed spice (voir remarques)
1/2 CC de Sel de mer fin
175g de Sucre brun clair fin
2 Gros (63g) Œufs, battus
3 CS de Lait
1/2 CC d’Extrait de vanille pure

Méthode:
1. La veille, versez le thé chaud sur les fruits secs et les laisser macérer.
2. Le lendemain, préchauffer le four à 170 ° C (325 ° F).
3. Graisser et tapisser le fond de votre (vos) moule(s) à cake rectangulaire(s).
4. Dans le bol de votre batteur, mélanger ensemble la farine, la poudre à pâte, mélange d'épices, le sel et le sucre.
5. Ajouter les fruits macérés (avec le thé), les œufs, le lait et la vanille. Bien mélanger pendant environ 20 secondes, jusqu'à ce que le mélange ressemble à une pâte à gâteau.
6. Verser la pâte dans le(s) moule(s) à cake et faire cuire au milieu du four pendant environ 1 1/2 à 2 heures (ou environ 1h10 pour les deux cakes), ou jusqu'à ce qu'un cure-dent inséré au milieu du cake en ressorte propre.
7. Laisser refroidir dans le moule.

Remarques:
Pour préparer votre mixed spice maison, mélanger ensemble 1 CS de cannelle moulue, 1 CS de coriandre moulue, 1 CC de muscade moulue, 1/2 CC de gingembre moulu, 1/4 CC de tout-épice moulu et 1/4 de CC de clous de girofle moulus.
Ce cake est meilleur lorsque consommé un ou deux jours après sa préparation (bien l’emballer dans du film plastique) et peut aussi être congelé (3 mois maximum).

Idées de présentation:
Couper le cake en tranches assez épaisses et les beurrer généreusement.
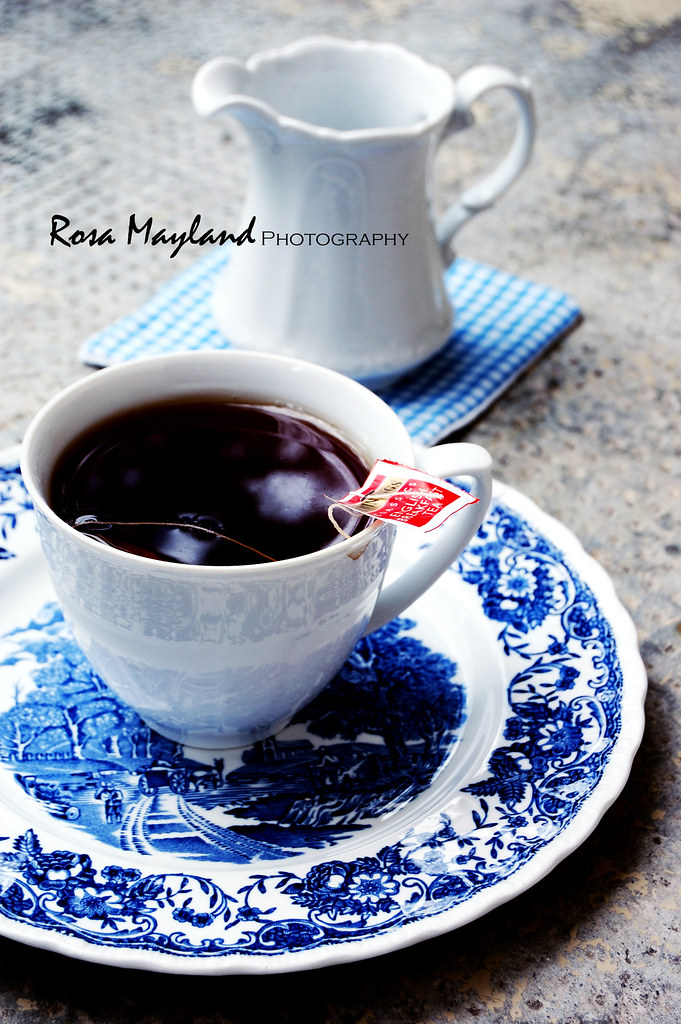
Servir avec l'heure du déjeuner et du thé ou même comme dessert et accompagner d’une bonne tasse de thé.

Tea Cake 7 1 bis

Friday, December 10, 2010

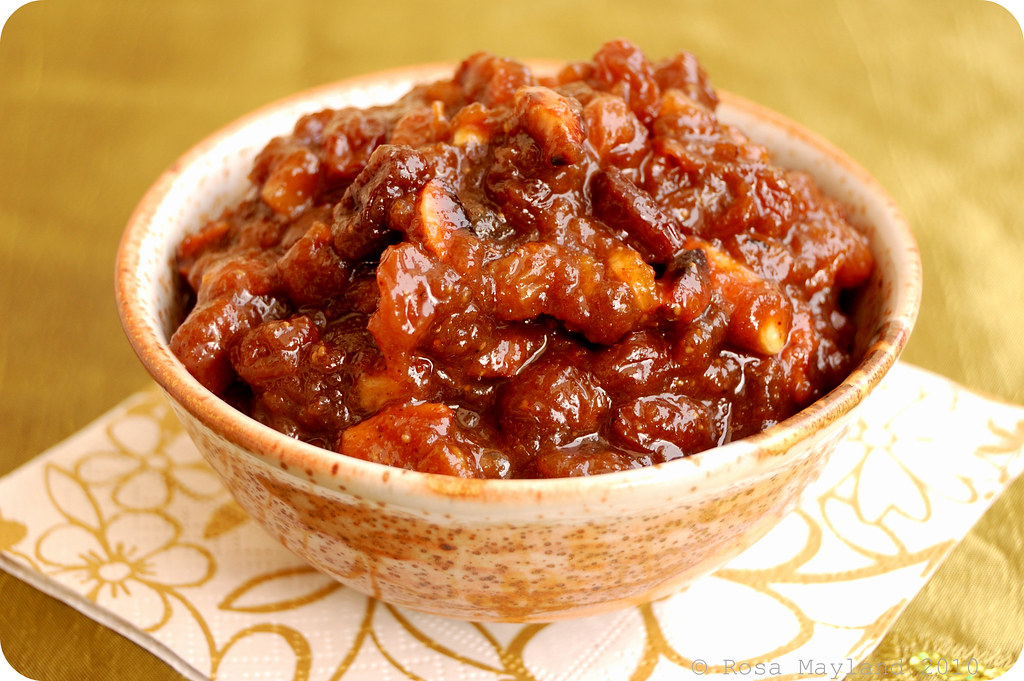
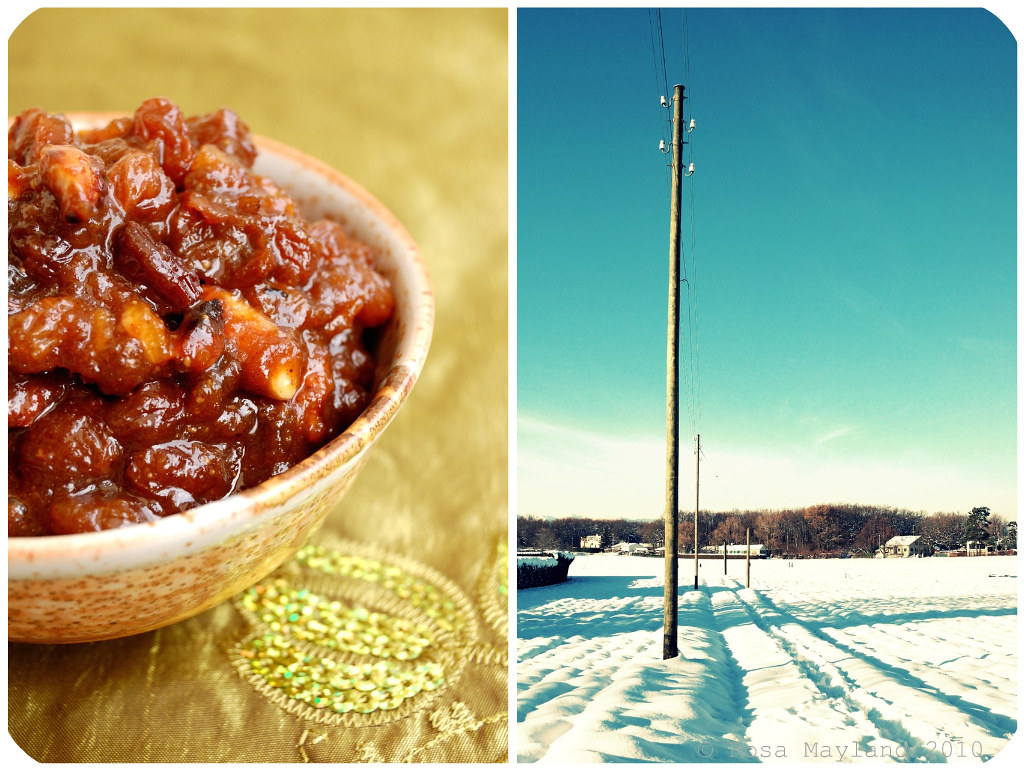
ENGLISH MINCEMEAT

Mincemeat Picnik collage 3 bis 
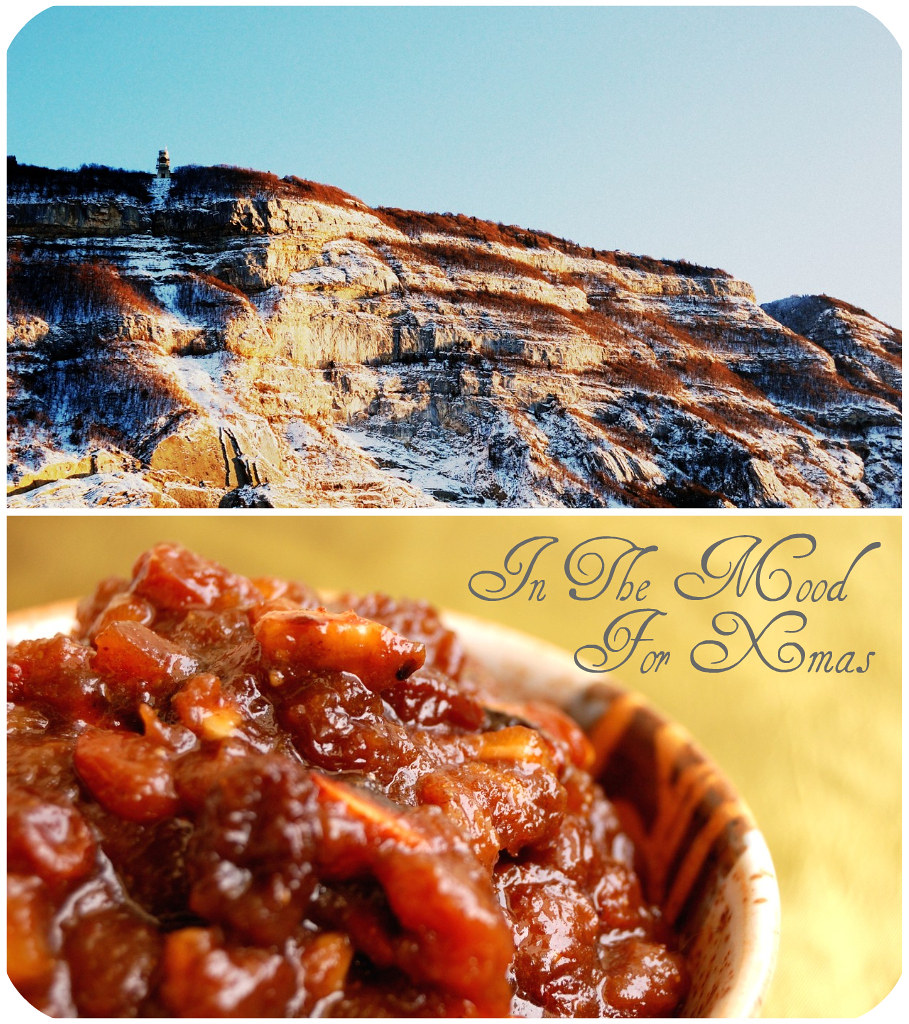
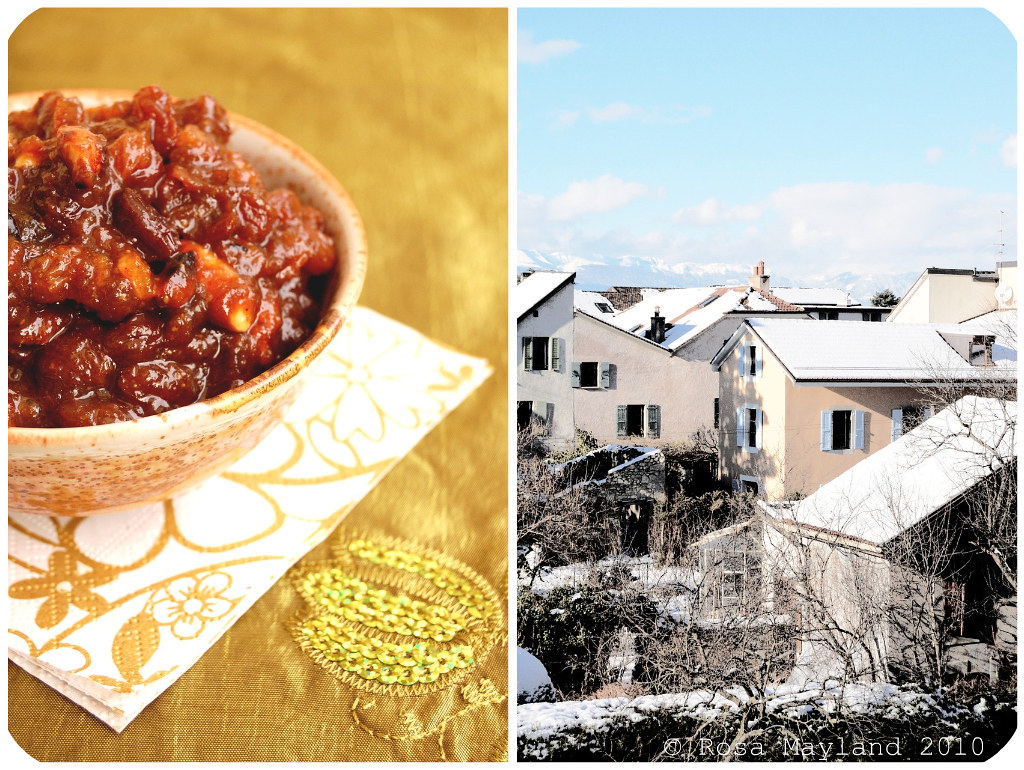
Christmas (or Yule-tide) is getting closer everyday and although this year it falls on a Saturday meaning that some of us might not have a longer weekend, most people will want to celebrate this day in a very festive way. No matter if you are not Christian or if the commercial misuse of this event disgust you or puts you off, I guess that like me, you'll nonetheless want to cook or bake something fine for the occasion and will want to do some extreme cocooning...

As I miss England and feel awfully nostalgic when thinking about my second country (I am lucky and proud to have dual nationality and beserker ancestors - Swiss and English) I thought that it would be a great idea to make it a british Xmas this year and eat foods that would remind me of my beloved roots. So in 2010, I will be serving turkey with stuffing (sage & onion) and it's accompaniment (Brussel sprouts with chestnuts & bacon, buttery mashed tatties and gravy). To make it even the more British than it is already, we'll have "Mince Pies" for dessert - an exquisite treat that I have alaways loved as a kid and have been craving since a while.

After having received my Christmas issues of Delicious, Good Food and Jamie Magazine there was no reason I was not going to make my own "Mincemeat". All three magazines offer wonderful recipes for this amazing speciality which originates from Great Britain and can be traced back to the end of Middle Ages (circa the 15th century).

During this epoch finding a method of storing food was of the highest importance and many ways had been developped (pickling, jarring, curing, spicing, etc...). So, initially "Mincemeat" began as a way to preserve food therefore that paste-like mixture can be kept for quite a while (1 month and depending on the kind of fat used, for up to a year).


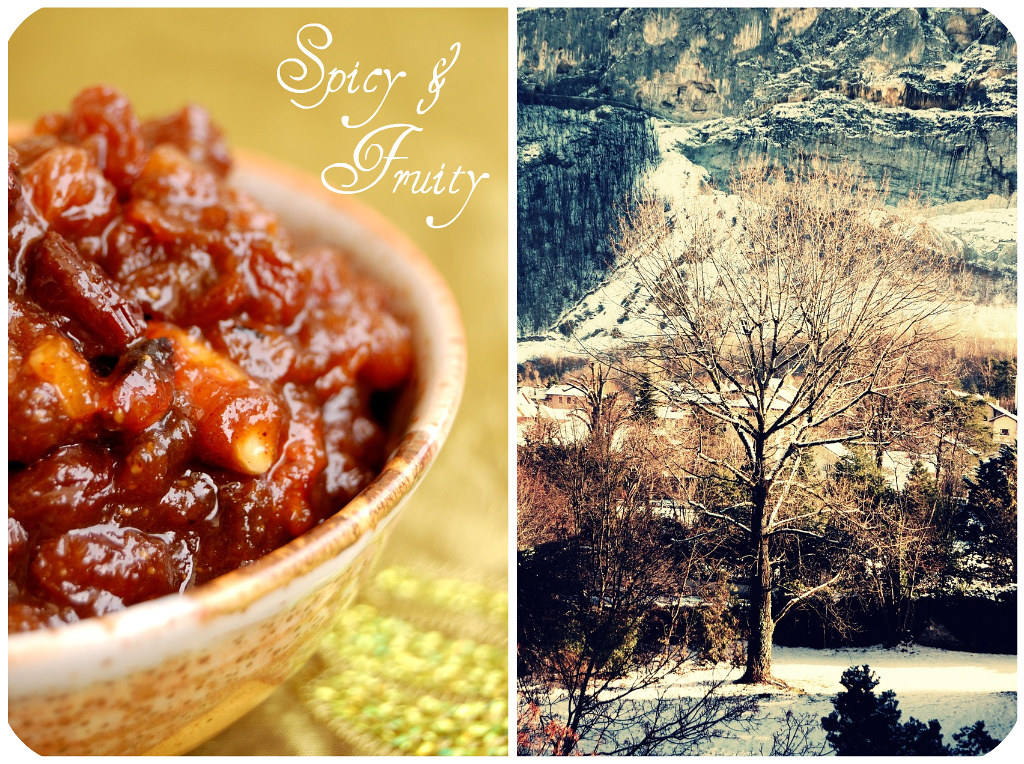
This brown colored, fruity (apple, rai
sins, currants, sultanas, candied peel, oranges & lemons), richly spiced ( mixed spice, cinnamon, ginger & nutmeg), boozy (rum) filling enriched with fat (lard, suet or butter) is used in the confection of "Mince Pies" that are traditionally baked for Christmas or Easter (eaten all year long too).

It is very interesting to note that our modern era "Mincemeat" is quite different from the one which was prepared until the 19th century. The original preparation was made with beef, lamb, venison or heart which was finely minced and mixed to suet, dried fruits, citrus peel, alcohol and spices, hence the name it carries. Although this version is now unusual and quite rare to find, some families still perpetuate the tradition.

Although I've eaten my share of "Mince Pies" in the past, this is my first homemade "Mincemeat" and I must say that the result surpasses my expectations by far. Without trying to boast too much, I must recognize that mine is exactly the way it should be and tastes perfect. It has a fresh, tangy, frangrant, fruity, heady, delicately nutty, divinely spicy, well-balanced flavor and isn't too sweet nor sickly. Very Xmassy and so festive.

Mincemeat 2 bis
~Mincemeat ~
Recipe adapted from "Delicious" magazine, December 2010.

Enough to fill 4 jam jars.

Ingredients:
Finely grated zest and juice of 2 large organic lemons
Finely grated zest and juice of 2 large organic oranges
1 Large (about 300g) Boskoop apple (or Bramley apple)
80g Unsalted butter
20g Lard
70ml Dark rum
200g Raisins
150g Sultanas
150g Currants
100g Candied Orange peel, chopped
50g Candied lemon peel, chopped
1 1/2 Tsp Ground cinnamon
1 Tsp Ground ginger
1/2 Tsp Freshly grated nutmeg
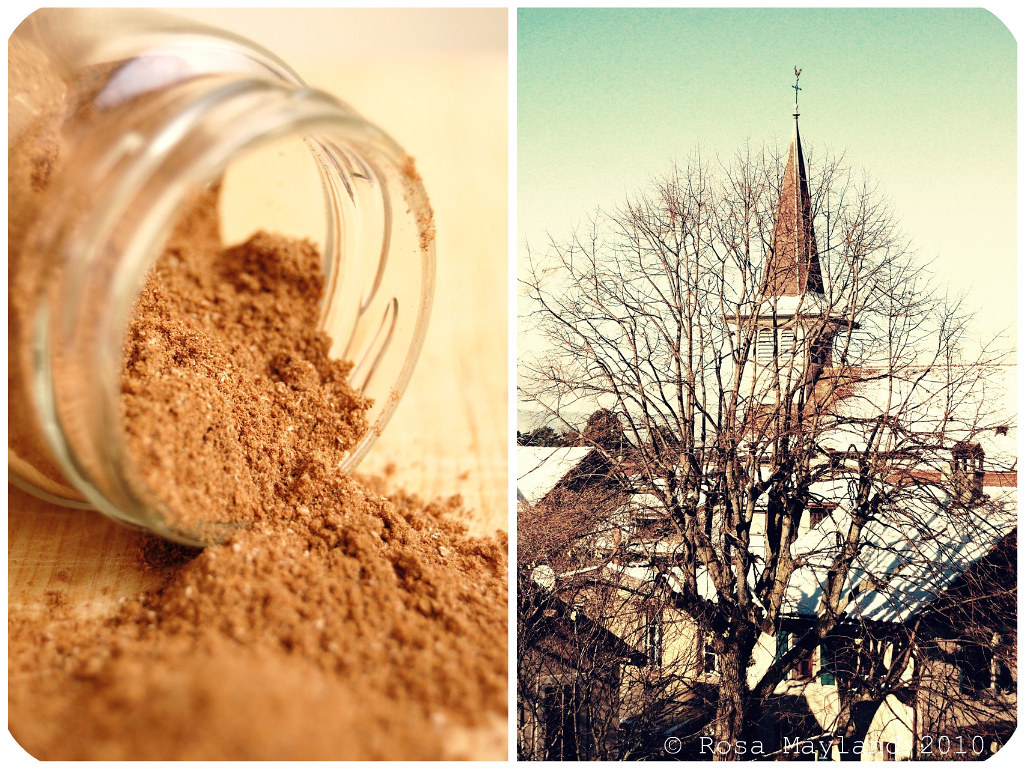
3/4 Tsp Mixed spice
175g Light muscovado sugar
60g Lightly toasted almonds, chopped

Mincemeat Picnik collage 2 bis
Method:
1. Put the orange and lemon zest and juices into a biggish pan.
2. Peel, quarter and core the apple. Grate it and add it to the pan. Stir into the juices so that it doesn’t discolour.
3. Add the butter, lard, rum, dried fruits, candied peels and spices. Cook over a low heat, stirring frequently, for 1 hour until the apple has broken down, the dried fruits are plump and all the liquid has evaporated.
4. Let cool, then add the sugar and the toasted almonds. Mix well.
5. Spoon into cool, sterilised jam jars, press a waxed disc firmly onto the surface of the mixture and seal.
6. Put in the refrigerator and use within 1 month.

Remarks:
Instead of using dark rum, you can use calvados, sherry, brandy or whisky.
You can replace the almonds by hazelnuts or any other roasted nut of your choice (not traditional but ok).
Mincemeat flavors develop over time, so make in several weeks in advance of the holidays.
If you want you mincemeat to have a longer shelf life, then omit the butter and stir in 100g shredded suet at the end (don't add 20g lard at the beginning), along with the sugar and almonds. In that way your mincemeat will keep for up to a year in a cool dark place.
It freezes well too – for up to 6 months.

Serving suggestions:
Make "Mince Pies" using your homemade "Mincemeat".

~~~~~~~~~~~~~~~~~~~~~~

MIncemeat Picnik collage 1 bis
~Mincemeat ~
Recette adaptée du magazine "Delicious", Décembre 2010.

Pour 4 pots à confiture.

Ingrédients:
Le zeste et jus de 2 citrons bio
Le zeste et jus de 2 oranges bio
1 Grosse (300g) Pomme boskoop (pomme goûteuse pour compote)
80g de Beurre non-salé
20g de Saindoux
70ml de Rhum foncé
200g de Raisins
150g de Sultanines
150g de Raisins blonds
100g d'Orangeat en cube
100g de Citronnat en cubes
1 1/2 CC de Cannelle en poudre
1 CC de Gingembre en poudre
1/2 CC de Noix de muscade fraîchement moulue
3/4 CC de Mixed spice (voir remarques pour recette)
175g de Sucre "muscovado"
60g d'Amandes torréfiées et hachées

Mincemeat Picnik collage 4 bis
Méthode:
1. Mettre les zestes et jus d'orange et de citron dans une assez grande casserole.
2. Peler, nettoyer et couper en quartiers la pomme, puis la râper et la mélanger au jus dans la casserole.
3. Ajouter le beurre, le saindoux, le rhum, les fruits secs, l'orangeat, le citronnat et les épices, puis cuire (avec couvercle) endant 1 heure à basse température en mélangeant régulièrement jusqu'à ce que la pomme se soit désintégrée, que les raisins soient imbibés et que le jus se soit évaporé.
4. Laisser refroidir, puis ajouter les amandes et le sucre.
5. Remplir des pots à confiture stérilisés et recouvrir le mincemeat avec un rond de papier sulfurisé. Fermer les pots.
6. Conserver le mincemeat au frigo pendant 1 mois maximum.

Remarques:
Au lieu d'utiliser du rhum, vous pouvez prendre du calvados, du whisky, du sherry ou du brandy.
Les amandes peuvent être remplacées par des noisettes ou les noix de votre choix - au préalable torréfiées (pas traditionnel mais ok).
Le mincemeat développe toute sa saveur avec le temps, alors prenez bien soin de le confectionner quelques semaines avant les fêtes.
Si vous voulez garder votre mincemeat encore plus longtemps, alors omettez le beurre et remplacez-le par du saindoux râpé que vous ajouterez à la fin avec le sucre et les amandes. De cette manière vous pourrez le conserver une année au frais et dans un lieu sombre.
Il se congèle aussi très bien – 6 mois maximum.
Pour obtenir le mélange d'épices "Mixed Spice", mélanger ensemble 1 CS de tout épice en poudre, 1 CS de cannellle en poudre 1 CS de noix de muscade moulue,
2 CC de macis en poudre, 1 CC de clous de girofles moulus, 1 CC de Coriandre en poudre et 1 CC de gingembre en poudre.

Idées de présentation:
Confectionner des "Mince Pies" avec votre "Mincemeat".

Mincemeat Picnik collage 5 bis

Sunday, May 23, 2010

STRAWBERRY & RHUBARB CRUMBLE


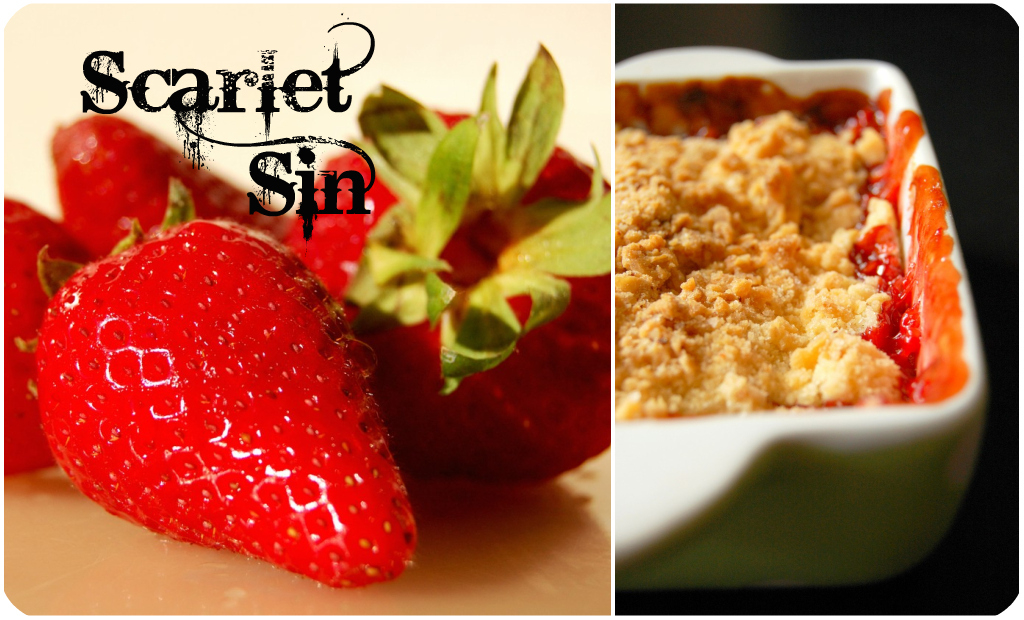
In the past, I was hyper reluctant to cook strawberries. I thought that they'd end up tasting like strawberry jam (which I've never really enjoyed) if I did so. I love strawberries, but the sweet nearly sickly flavor of strawberry has always put me off. I was never one of those people who went crazy over a pot of strawberry jam. Quite the contrary! I am the kind of person who loves the taginess of apricot, black currant or Italian plum jams...

That was before my encounter with English television chef Tamasin Day-Lewis' "Strawberry & Rhubarb Crumble" recipe in the May issue of my Bon Appétit magazine. Then, I knew that I was ready to give cooked/baked strawberries a try. When mixed with rhubarb, cooked strawberries lose their cloying aspect, so there was no way they were going to be a problem for me. Rhubarb is the best partner for strawberries. Both complement each other perfectly.

At the moment we are getting the most perfumed strawberries from Italy, so I have been eating that lovely fruit almost on a daily basis. (strawberry fever, baby!). Not to forget that it is also the high season for Swiss rhubarb which has to be one of my favorite veggies (yes it is a vegetable!) ever. How could one resist eating both of them together? Nobody, I'm pretty sure.

And to tell you the truth, I now am addicted to cooked/baked stra
wberries in desserts! That crumble converted me totally and made me change my mind (well, I am still not a big fan of strawberry jam though, but I might reconsider my position later...). As a matter of fact, I have made different variations of that "Strawberry & Rhubarb Crumble" three times in a row/week!

The recipe I am going to share with you today was created for the meal
(starter: green asparagus with a pistachio & fresh garlic vinaigrette, main course: gnudi di spinaci e ricotta) I had prepared with much care for my friend Corinne and is highly inspired by Tamasin Day-Lewis' crumble recipe (the original recipe has been turned around and newly adapted by myself).

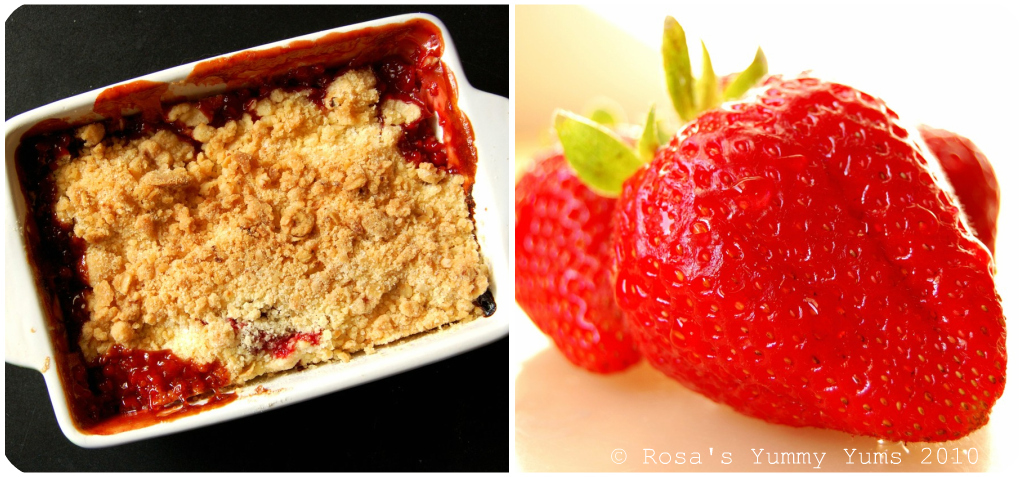
Well, Corinne who loves rhubarb cleaned her dessert plate in no time and without effort! This crumble is just irresistibly heavenly. The topping is mouthwateringly crispy, delightfully buttery and pleasantly oaty, the middle is decadently gooey and incredibly puddingy and the bottom is marvelously juicy, wonderfully fruity as well as exhaliratingly fragrant. Totally awesome and to die for!


~ Strawberry & Rhubarb Crumble ~
Recipe inspired by Tamasin Day-Lewis and adapted by Rosa @ Rosa's Yummy Yums 2010 .

Ingredients:
200g (1 1/2 Cups + 1 Tbs) All purpose flour
100g (1/2 Cup) + 140g (2/3 Cup) Castor sugar
1/2 Tsp Sea salt
100g (1/2 Cup) Unsalted butter, cold & cut into 1.5cm (1/2-inch) cubes
2-3 Tbs Old-fashioned oats
2 Tsp Natural vanilla paste
1 Tsp Ground cinnamon
4 Cups (1 pound) Strawberries, hu
lled, halved (or cut in 4 if very big)
12 oz (360g) Red rhubarb, ends trimmed, stalks cut crosswise into 1.5cm (1
/2-inch) -thick pieces

Method:
1. Combine the flour, 100g sugar and salt in medium bowl. Whisk to blend.
2. Add the butter and rub it in with your fingertips until the mixture ressemble corse sand/pebbles.
3. Add the oats and mix well.
4. Preheat the oven to 190° C (375° F).
5. Butter a 28x18x5cm (11x7x2-inch) baking dish.
6. Place the fruits in a big bowl, add the vanilla, cinnamon and 140g sugar in large bowl.
7. Toss delicately to coat well.
8. Scrape the fruit filling into the prepared baking dish.
9. Sprinkle the crumble topping evenly over the filling.
10. Bake the crumble until the filling bubbles thickly and the topping is crisp as well as golden brown, about 45 minutes.
11. Let cool 15 minutes on a wire rack.
12. Spoon the warm crumble into dessert dishes.


Remarks:
The topping can be made 1 to 2 days ahead.
Store the cooled crumble in an airtight container in fridge. It can be kept in the fridge for up to 2 days.

Serving suggestions:
Serve with some ice cream (vanilla, goat's milk, yoghurt, lemon...) or some thick yoghurt (Greek) mixed with a little powder sugar.
This crumble is also delicious when eaten cold (at room temperature) the next day.

~~~~~~~~~~~~~~~~~~~~~~

~ Crumble A La Rhubarbe Et A La Fraise ~
Recette inspirée par Tamasin Day-Lewis et adaptée par Rosa @ Rosa's Yummy Yums 2010 .

Ingrédients:
200g de Farine blanche
100g +140g de Sucre cristallisé
1/2 CC de Sel de mer

100g de Beurre non-salé, très froid et coupé en petits morceaux de 1.5cm

2-3 CS d'Avoine

2 CC de Pâte de vanille naturelle

1 CC de Cannelle en poudre
500g de Fraises, équeutées et coupées en deux (ou en quatre si elles sont grosses)
360g de Rhubarbe (préférablement rose), coupée en morceaux de 1.5cm


Méthode:
1. Mélanger la farine, les 100g de sucre et le sel dans un bol moyen.
2. Ajouter le beurre et l'incorporer avec les doigts afin d'obtenir un mélange sablé grossier.
3. Ajouter l'avoine et bien mélanger.
4. Préchauffer le four à 190° C.
5. Beurrer un plat à gratin de 28x18x5cm.
6. Mettre les fruits dans un grand bol, ajouter la vanille, la cannelle et les 140g de sucre.
7. Mélanger délicatement afin que le sucre et les épices soient bien répartis.
8. Mettre le mélange de fruits dans le plats.
9. Saupoudrer de manière homogène avec le crumble.
10. Cuire le crumble pendant 45 minutes, jusqu'à ce que le mélange aux fruits fasse des bulles et que le dessus soit bien croquant et doré.
11. Laisser refroidir pendant 15 minutes.
12. Servir le crumble dans des assiettes à dessert.

Remarques:
Le crumble (mélange farine/sucre/sel/beurre) peut être préparé à l'avance (1 à 2 jours).
Vous pouvez conserver le crumble au frigo (1 ou deux jours).


Idées de présentation:
Servir ce crumble avec de la glace (vanille, lait de chèvre, yaourt, citron,...) ou avec du yaourt épais (grec) auquel vous ajouterez un peu de sucre en poudre.
Ce crumble est aussi délicieux quand consommé froid (à température ambiante) le jour d'après.

Wednesday, August 19, 2009

PRUNE BARS - CARRÉS AUX QUETSCHES

Nature, in August, is particularly plentiful and offers so many wonderful goodies. For a foodie like me who loves seasonal produces, this period of the year is paradisiac and highly exciting!

When the stalls of (food)markets abund with all those precious greengroceries, I cannot moderate my veget
able and fruit consumption and tend to compulsively buy everything (well not exactly) that makes me salivate.

It is a fact that every time I go shopping, I come back home with to
ns of fresh and local produces from the Geneva area. My fridge literally explodes and cannot even "swallow" the tiniest cherry tomato anymore...

During this plentiful period, One of my alltime favorite stone fruit is fresh Swiss prunes (also known as "Quetsches" in France and "Zwetschge" in Swiss Germany/Germany). Those lovely violet little plums are so pretty, addictive, delicate-tasting and versatile (tarts, pies, compote, crumbles, ice creams, savory dishes, etc...) that I can never get enough of them.

The people who know me well and read this blog regularly must have noticed that dessert bars rule my world and that I will never tire of them (the same goes for prunes). So, It was very naturally that I decided upon baking that treat and using prune "jam" as a filling, thus combinung two of my favorite things.

After having searched the net for slices recipe
s which would enlist prunes as an ingredient, I came to the conclusion that I wasn't going to find any recipe of that kind and that I would have to invent one for the occasion...

So, I opted for a zesty and slightly smok
y lemon-scented crust with cocoa nibs (that were given to me by the kind and generous Mamina, a French foodblogger at "Et Si C'était Bon?" - merci beaucoup!!!), a tangy and fragrantly spicy 5 spice prune filling and a coconutty and almondy crumble topping.

As you can imagine, those "Prune Bars" were fantastic and so enjoya
ble with their layers of refined flavors that blend equisitely together.

~ Prune Bars ~
Recipe by Rosa @ Rosa's Yummy Yums 2009.

Makes about 16 bars.

Ingredients for the "Prune Filling":
2 Cups (~ 250g) Fresh prunes/plums, cut in cubes
2 Tbs (30g) Castor sugar
2 Tbs (30g/ml) Lime juice
1/2 Tsp (2.5g) Five spice powder
1 Tsp (5g) Cornstarch
Ingredients for the "Crust":

1 1/4 Cups (160g) Plain white flour
1/3 Cup (70g) Castor sugar
1/2 Tsp (2.5g) Sea salt
1/2 Cup (120g) Unsalted butter, cut into small cubes
The zest of 1/2 organic lemon, finely grated
1/2 Tsp (2.5g) Vanilla extract
2-3 Tsps (10-15g) Cocoa nibs (optional)
Ingredients for the "Crumb Topping":
4 Tbs of the Crust mixture

1/4 Cup (22g) Almond sliced
1/3 Cup (30g) Sweetened coconut

Method for the "Plum Filling:
1. In a non-reactive saucepan, sprinkle the sugar and spice over the plums and let the fruit macerate for about 20 - 30 minutes.
2. Add the lime juice and cook the plums until the liquid has evaporated and the fruit is thick and chunky. You can mash some of them if you prefer.
3. Let cool and then incorporate the cornstarch.
Method for the "Crust":
4.
Position a rack in the center of the oven and preheat the oven to 180° C (350° F).
5. Grease the bottom and sides of a 13 x 13cm (9 by 9-inch) baking p
an.
6. In a small bowl, stir together the flour and salt. Set aside.
7. In the bowl of an electric mixer, using the paddle attachment, beat the butter, vanilla, lemon and sugar at medium speed until combined, about 1 minute.
8. At low speed, add the flour mixture and mix just until crumbly.
9. Set aside 4 tbs of this mixture for the crumb topping.
10. Mix 2 tsps cocoa nibs to the rest of the dough and turn out into the prepared pan.
11. With floured fingertips, press the dough evenly into the bottom of the pan.
12.
Using a spatula or the back of the spoon, spread the plum filling evenly over the dough.
Method for the "Crumb Topping":
13. Mix all ingredients for the crumb topping and spread evenly over the prune jam.
14. Bake on the middle of the oven, until golden brown 30 to 40 min
utes.
15. Cool the bars completely before cutting them into squares or rectangles.

Remarks:
You can replace the castor sugar by brown (light or dark) sugar.
If you have no prunes at hand, try this recipe with plums, peaches, nectarines, apricots or evn bananas.
Those bars can be stored in an airtight container in
the refrigerator for up to 3 days.

Serving suggestions:
Serve those bars with whipped cream, clotted cream, mascarpone, ice cream or just a glass of ice cold milk.

***************

~ Carrés Aux Quetshes/Pruneaux ~
Recette par Rosa @ Rosa's Yummy Yums 2009.

Pour environ 16 carrés.

Ingrédients pour la "Garniture Aux Quetsches":
2 Tasses (~ 250g) de Quetsches/pruneaux, coupés en morceaux

2 CS (30g) de Sucre cristallisé
2 CS (30g/ml) de Jus de lime
1/2 CC (2.5g) de 5 épices

1 CC (15g) de Maizena
Ingrédients pour la "Croûte":
1 1/4 Tasses (160g) de Farine blanche

1/3 de Tasse (70g) de Sucre cristallisé
1/2 CC (2.5g) de Sel de mer

120g de Beurre non-salé, coupé en petits cubes
Le zeste d'un 1/2 citron bio, finement rapé
1/2 CC 82.5g) d'Extrait de vanille pure
2-3 CC (10-15g) d'Eclats de cacao (en option)
Ingrédients pour le "Streusel":
4 CS du Mélange pour la croûte

1/4 de Tasse (22g) d'Amandes éffilées
1/3 de Tasses (30g) de Noix de coco rapée, sucrée


Méthode pour la "Garniture Aux Quetsches":
1. Dans une casserole, mélanger le sucre et les épices avec les quetsches en cubes, puis laisser macérer pendant 20 à 30 minutes.
2. Ajouter le jus de lime et cuire jusqu'à ce que le liquide se soit évaporé, que la garniture soit épaisse et que les fruits aient "fondu".
3. Laisser refroidir puis incorporer la maizena.
Méthode pour la "Croûte":
4.
Préchauffer le four à 180° C et positionner la grille au milieu du four.
2. Beurrer un moule à Brownies de 13 x 13cm.

3. Dans un petit bol, mélanger la farine avec le sel et mettre de côté.
4. Mettre le beurre, la vanille, le zeste et le sucre dans le bol d'un mixer afin que le mélange blanchisse, environ 1 minute.
5. Ajouter le mélange farine/sel et pulser suffisamment afin que le mélange soit sabloneux et grossier.
6. Mettre de côté 4 CS de ce mélange (pour le "streusel").
7. Mélanger 2 CC d'éclats de cacao avec le reste du mélang
e pour la croûte, puis étaler dans le moule.
8. Avec vos doigts (enfarinés) presser le mélange afin d'obtenir une croûte lisse et uniforme.
9.
A l'aide d'une spatule, étaler la garniture aux quetsches sur la croûte.
Méthode pour le "Streusel":
10. Mélanger tous les ingrédients pour le streusel et saupoudrer le dessus des carrés avec.
11. Cuire pendant 30 à 40 minutes, jusqu'à ce que le de
ssus des carrés soit doré.
12. Laisser refroidir sur une grille et couper en carrés seulemen
t une fois que les barres sont complétement refroidies.

Remarques:
Vous pouvez remplacer le sucre cristallisé par du sucre brun (clair ou foncé).
Si vous n'avez pas de quetsches à la maison, vous pouvez faire ces carrés avec des prunes, pêches, nectarines, abricots ou même des bananes.
Ces carrés peuvent être conservés au frigo pendant en
viron 3 jours.

Idées de présentation:
Servir ces carrés avec de la crème fouettée, de la "clotted cream", du mascarpone, de la glace ou simplement avec un verre de lait très froid.

Monday, October 20, 2008

SATURDAY MORNING - FARMER'S MARKET

During the fall season, when mountains of pumpkins colorfully invade the stalls everywhere, I enjoy going to the Farmer's Market in town...

In Geneva, there's nearly one fruit and vegetable markets in every quarter or village (see info), but my favorite one is situated in Rive, on the Boulevard Helvétique (see map). Every time I go there, I get into a trance and walk like a robot down the aisles, as if drugged by all the marvelous smells and beautiful visions!

In that place, you'll find an outdoor market which takes place on Wednesdays and Saturdays, from 6am to 1pm and a covered one called "Les Halles De Rive" which is opened six days a week. There, you can buy everything you are looking for: fish, meat, cheese, delicatessen products, bread, vegetables, fruits, etc... It's a paradise, the Mecca of gourmet food!

In 2006, I had already blogged about both markets, so if you are interested in learning more about them, please check out those links:
The Farmer's Market - Part I (see post)
The Farmer's Market - Part II (see post)

Marché de Rive & Halle de Rive
Boulevard Helvétique
1207 Genève
Switzerland

Wednesday, September 10, 2008

MOROCCAN CHAROSET TRUFFLES

As I had a bag of nearly out of date dates (lol) and I had been eying Joan Nathan's mouthwatering "Charoset" recipes since a while (too long), I decided that it was about time for me to test this intriguing, interesting and highly symbolic speciality...

"Haroset", "Charoset" or "Charoses" is a jewish paste which is lumpy, sweet, dark-colored and is made with fruits as well as nuts. It is generally served during the Passover Seder (Pesach). Because of it's color and texture, it symbolizes the mortar with which the Israelites bonded bricks when they were slaves and built cities in Ancient Egypt. "Charoset" derives from the Hebrew word "Cheres" meaning "clay".

Today, the date, raisin and nut "Charoset" recipe I am presenting before you
comes from Morocco. Depending on where the "Charoset" originates, it is made with different ingredients. But, there are two main categories, two distinctive types of "Charoset": the Ashkenazi "Charoset" which is not cooked and is made with nuts, apples, cinnamon and wine (sometimes also honey and sugar in order to bind the "paste") and the Sepharadi "Charoset" which is usually cooked (not always, though) and contains raisins as well as ingredients native to the Middle East (dates, figs, sesame seeds, etc...).

Those little truffles are not only healthy, but also surprisingly scrumptious. The flavors of the dried fruits, nut, wine and cinnamon blend so well together in order to create luscious little balls that are quite addictive and refined both in look and taste. A sweet treat that is ideal to take on walks as they are energetic (a little similar to those fruit bars you can buy in health stores) or to eat when in need od something comforting, yet wholesome and nutritious at the same time. They also make the perfect gift (instead of offering chocolates) for Christmas, Passover, birthdays, Ramadan, etc... Those "Charoset Truffles" are really worth trying, believe me!

~ Moroccan Charoset Truffles ~
Recipe taken from "Jewish Cooking In America" by Joan Nathan and slightly ada
pted by Rosa @ Rosa's Yummy Yums.

Makes about 60 truffles.

Ingredients:
2 Cups Pitted dates
1/2 Cup Golden raisins

1/2 Cup Dark raisins
1/2 Cup Walnuts
1 Tsp Ground cinnamon (optional)
1-2 Tbs Sweet red Passover wine (see remarks)

Castor sugar, for coating (optional, see remarks)

Method:
1. Process the dates, raisins, and walnuts in a food processor until the mixture is finely chopped and begins to stick together.
2. Add the cinnamon and enough wine to make a sticky mass.
3. Line a baking sheet with waxed paper.
4. Drop slightly rounded measuring teaspoonfuls of the mi
xture onto the lined sheet.
5. Roll each mound with moistened palms into hazelnut-size balls.
6. Refrigerate for at least 3 hours or until firm.

7. Roll them in the sugar.
8. Serve.


Remarks:
You can use any other nut of your choice.

For extra flavor, try adding orange rind.
I had no sweet red Passover wine at home, so I used Porto instead. You can also moisten the "Charoset" with orange juice or any alcohol or liquor of your choice (Sherry, Whisky, orange liquor, etc...).
You can also coat those truffles with chopped roasted
walnuts or even melted chocolate (like with chocolate truffles).

Serving suggestions:
Those "Charoset Truffles" can be eaten at any time of the day with a cup of tea or coffee.
Just remember that they are made with highly dangerous (purgative/laxative) ingredients, so don't eat too many of them (lol)...

****************

~ Charoset Marocain ~
Recette tirée du livre "Jewish Cooking In America" de Joan Nathan et adaptée par Rosa @ Rosa's Yummy Yums.

Pour environ 60 petites truffes.

Ingrédients:

2 Tasses de Dattes dénoyeautées
1/2 Tasse de Raisins secs blonds
1/2 Tasse de Raisins secs foncés
1/2 Tasse de Noix de Grenoble
1 CC de Cannelle en poudre (en option)
1-2 CS de Vin sucré pour Pessa'h (voir remarques)
Sucre cristallisé, pour recouvrir les truffes (voir remarques)

Méthode:
1. Mixer les dattes, raisins et les noix dans un blender jusqu'à ce que le mélange soit homogène (purée fine) et commence à former une boule.
2. Ajouter la cannelle et assez de vin afin que ça forme une masse collante.
3. Recouvrir une plaque de papier sulfurisé.
4. Y placer des petits tas (1 CC) avec la masse.
5. Former des petites boules de la taille d'une noisette avec
vos mains, au préalable humidifiées.
6. Mettre au réfrigérateur pendant 3 heures ou jusqu'à ce qu'elles soient fermes.
7. Les rouler dans le sucre cristallisé.
8. Servir.

Remarques:
Vous pouvez utiliser d'autres noix (noisettes, pécan, cajou, etc...).

Pour plus de saveur, rajoutez un peu de zeste d'orange.
Comme je n'avais pas de vin sucré pour Pessa'h, j'ai utilisé du Porto. Vous pouvez aussi mouiller votre "Charoset" avec du jus d'orange ou avec la liqueur de votre choix (Sherry, Whisky, liqueur d'orange, etc..).
Au lieu d'utiliser du sucre cristallisé pour recouvrir vos truffes, utilisez des noix de Grenoble torréifiées et hachées ou même du chocolat fondu (comme pour les truffes au chocolat).

Idées de présentation:
Ces truffes peuvent être mangées à toute heure de la journée, accompagnées de thé ou de café.
Attention: N'oubliez pas que ce mélange de fruits secs est hautement dangeureux (laxatif et purgatif), alors allez-y mollo avec les quantités (lol)...