Wednesday, November 1, 2006

FAREWELL GREEN OCTOBER

This October was absolutely fabulous and very warm (17°C-25°C). I must say that we were blessed as such an "Indian Summer" was unexpected considering the fact that the end of the summer had been not very exciting and quite chilly!

I snapped those pictures two weeks ago, during one of our Sunday walks around the neighbouring countryside. I hope that you'll enjoy the vegetation which was quite verdant, thus giving it's very last breath before the "dead" season...
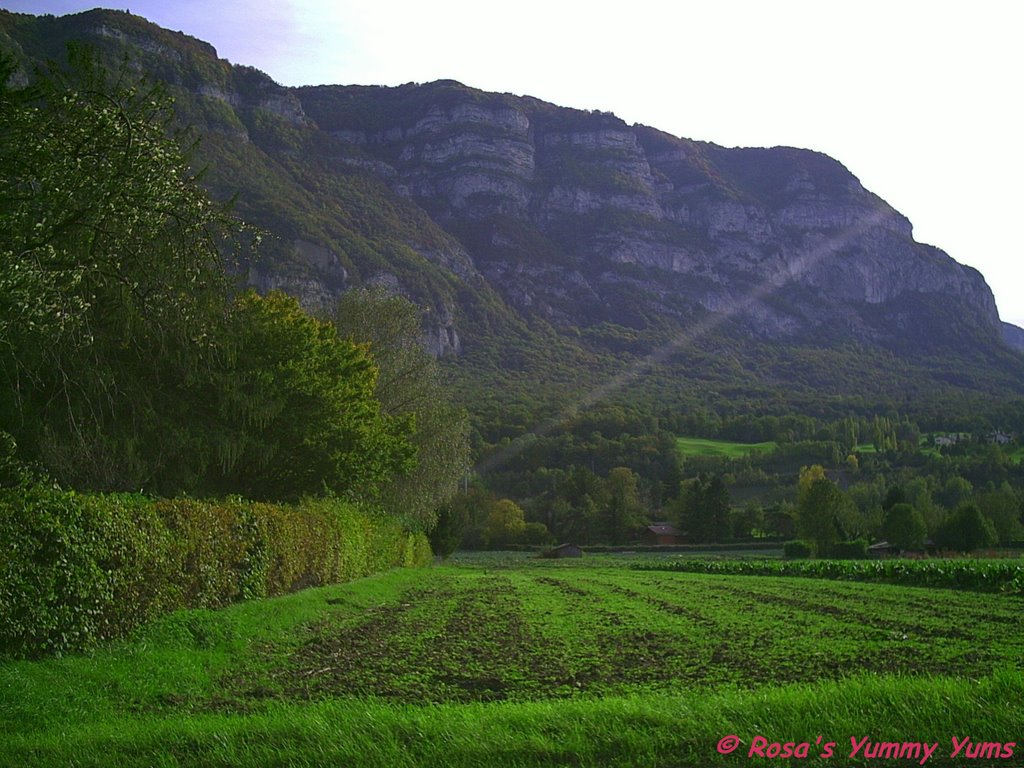
Walking in the countryside, leaving Veyrier and going in the direction of Troinex.
The Salève is as imposing as ever and the grass has a beautiful shade of green which is so characteristic of October...

Still walking in that same direction.
A field and, at the very end, private gardens...

A little further along the road.
The Salève continues it's sinuous spreading...
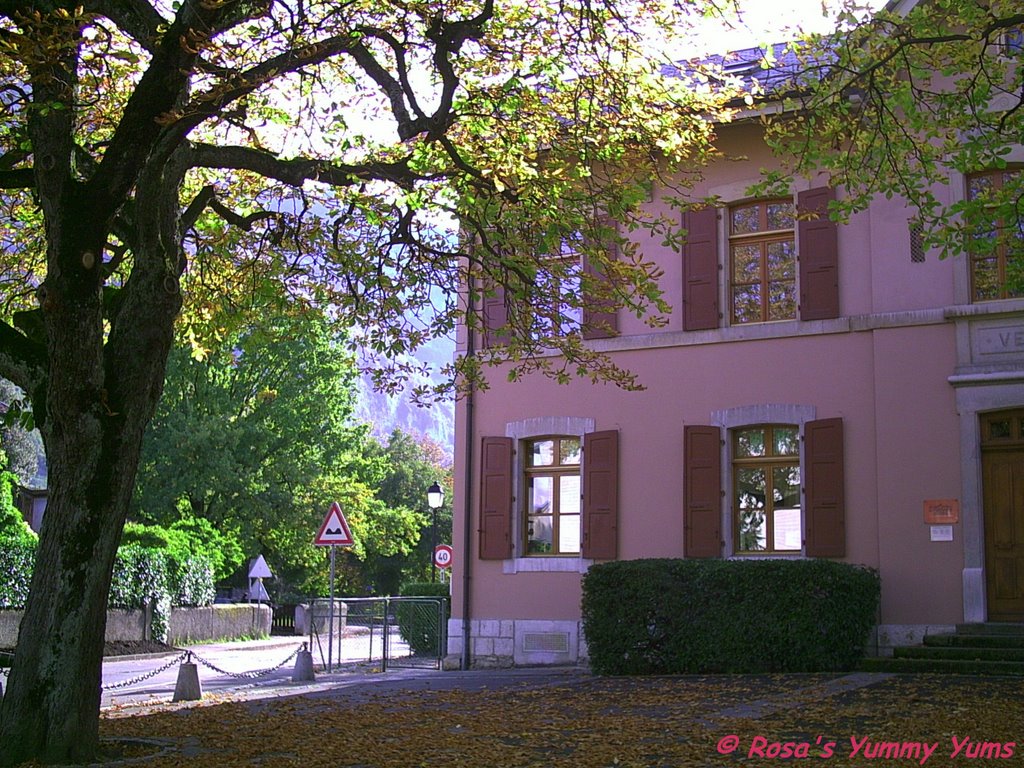
A building in the village of Veyrier with a bed of dead leaves...

Tuesday, October 31, 2006

HALLOWEEN: TRICK OR TREAT

HAPPY HALLOWEEN!!!
WOULD YOU LIKE TO DO SOME "TRICK-OR-TREATING" WITH ME?


On the night of October the 31st, we will be celebrating Halloween (All Hallow's Eve or Samhain), a typical fall event that rejoices many people (mostly kids or grown-up kids!) around the globe ...

Although, here in Europe (central Europe), we are not really accustomed to this autumnal tradition (we only celebrate the "Day Of The Dead" on the 1st of November and the "Toussaint" on the 2nd of November by paying a visit to our deceased family members at the cemetary), it is still an occasion to have fun and eat festive foods. Why should we also not share this Celtic custom with our Anglo-Saxon friends (USA, Canada, UK, Ireland, New Zealand Australia and also other non-english speaking countries like Mexico and Puerto Rico)? I see no reason for not taking part to this magical and mysterious "carnival" marking the last day of the bright half of the year and the beginning of winter which is synonymous of death when the boundary separating the dead from the living becomes blurred...

So, it's time for all of you grown-up children to show your darker side and roam the streets in search of sweet candies that the terrified inhabitants will obediently give after you have knocked at their door!

If you wish to cook or bake Halloween goodies, then I recommend you to check out my recipes or the following links...

My Halloween or pumpkin recipes:

Links that contain interesting Halloween and pumpkin recipes:
(Witch -Pic by http://tn3-1.deviantart.com)
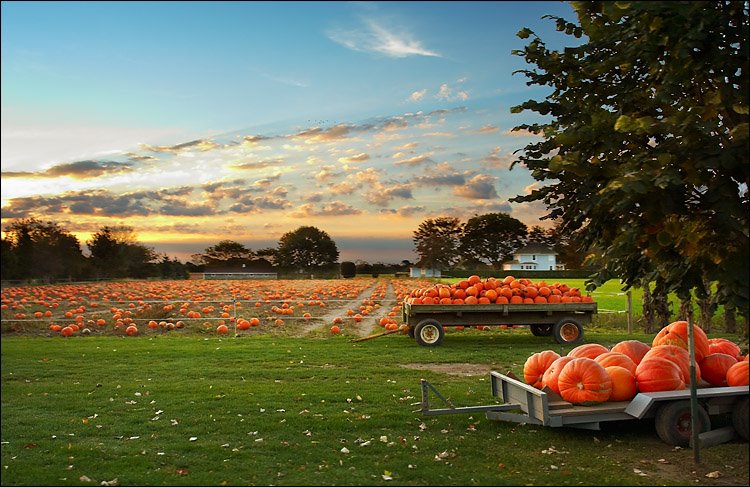
(Pumpkin Fields -Pic by http://wvs.topleftpixel.co)
(Trick Or Treat -Pic by www.goaway-letmepaint.com)

Monday, October 30, 2006

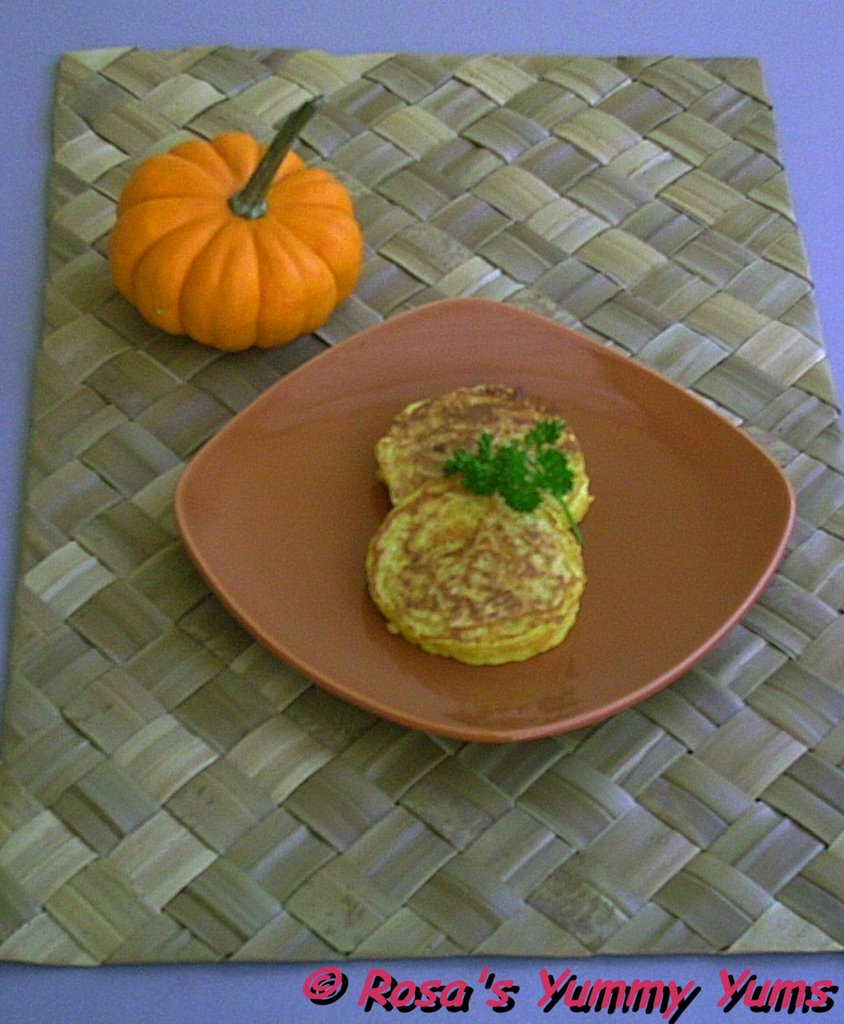
PUMPKIN LATKES

As it is the autumn, a season which is prolific in terms of pumpkins, I once again wish to post another recipe using this great vegetable.

This time around, I'll be making light of a Jewish speciality called "Latkes" and which is a little like it's American cousin the pancake. "Latkes" are a fabulous invention that can follow the seasons without problem and which can be prepared in many different ways (sweet or savoury).

The term "Latkes" most generally describes a potato pancake that is eaten during Hannukah, but one can make other kinds of "Latkes" as many variations of the original recipe exist. Those new wave "Latkes" can be made with zucchinis, sweet potatoes/yams, apples, carrots, pumpkins, parsnips, etc... Although it is an Ashkenazi Jewish recipe from Eastern Europe, it doesn't necesserally mean that other cultures don't cook similar pancakes.

I, personally, love "Latkes" and never get tired of making them. It is such a delicious and comforting speciality that uplifts your spirit and fills your soul with joy!. They are very tasty, smooth and extremely easy to make. In fact, it is the ideal recipe if you are looking for something that'll make your tastebuds sing, but that will not keep you for hours in the kitchen sweating and buzzing like a bee!!!...

Ingredients:
2 Cups Pumpkin or winter squash (butternut), raw, coarsly grated and drained
1 Onion, coarsly grated
1 Egg (~50g)
1/2 Cup Plain white flour
1 Tsp Baking powder (optional)
1 Tsp Salt
1/3 Tsp Garlic powder
A pinch paprika
Pepper, to taste
Peanut oil (to fry)

Method:
1. Mix all ingredients together until evenly moistened or batter-like.
2. Heat 6 mm (1/4 inch) oil in a frying pan until it is very hot.
3. Drop the batter in tablespoons, shaping rounds and flatten.
4. Fry over medium heat until golden brown on each side.
5. Serve.

Remarks:
You can replace half of the onion by 2 tablespoons chopped scallions.
As soon as you have mixed all the ingredients together, make sure that you start frying the latkes straight away, otherwise the pumpkin will lose too much juice.

Each side needs to be cooked for about 3-4 minutes before you can flip the latkes.
If you wish, you can keep those latkes in a warm oven before serving.
Once the pancakes are cooked and cooled, it is possible to freeze them.

Serving suggestions:
Eat warm either as an appetizer or as a main course. It may be accompanied by sour cream, caramelized onions (see recipe), a salad (bettroot, celery, carrot, endive, etc...) or by steamed vegetables (brussel sprouts, parsnip, broccoli, turnip, etc...).

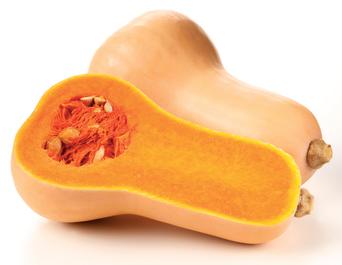
(Butternut Squash -pic by www.thinkvegetables.co.uk)

Sunday, October 29, 2006

WEEKEND CAT BLOGGING #73

Another week has passed and this time the WCB round-up is hosted by Linda of "Kayak Soup" from Canada. This weekend, it is launched under the sign of Halloween and for that occasion, she is hoping that there will be a few disguised kitties that will show up!...

So, if you want to participate, send your permalinks to Linda or leave them in the comment
section of her blog and she will add your cat(s) to the list of cute cats.

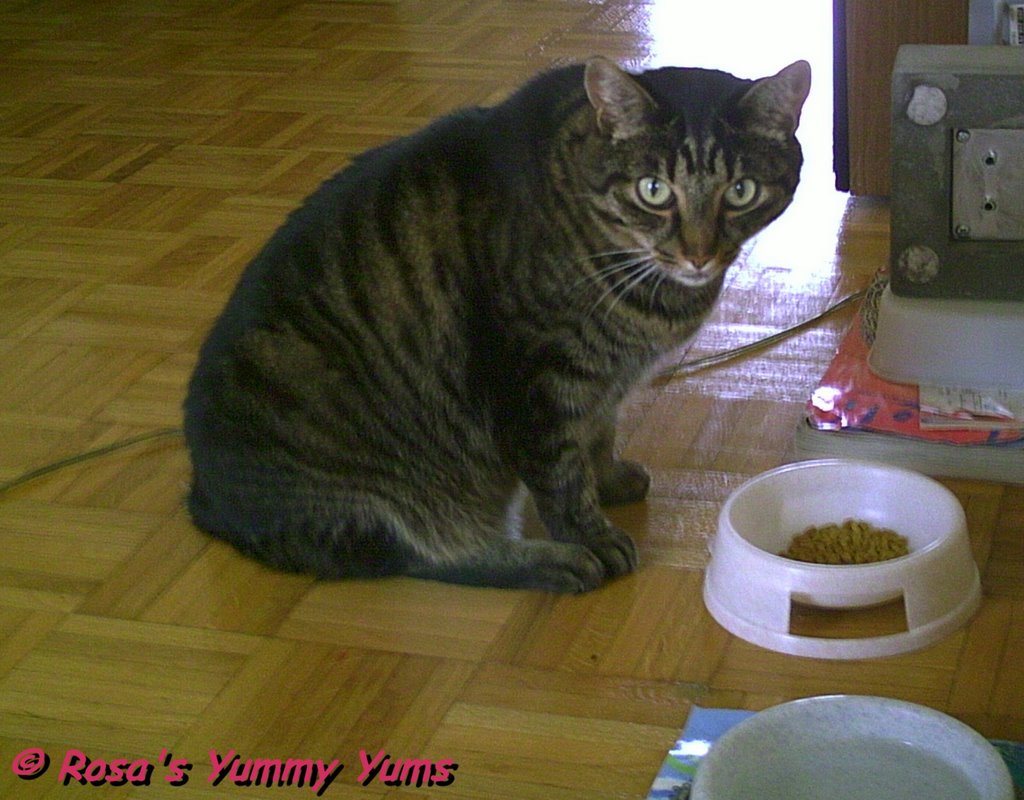
Unfortunately, I didn't have any picture of that kind (halloween) on stock, but the one of Fridolin that I'm sharing with you is nonetheless very comical. Our little Kiki has such hilarious face expressions that there is even no costume needed when he poses in front of the camera!
Fridolin can sometimes sit somewhere for a veeerrry long time without moving nor showing signs of life. He just seems to meditate and has his bizarre teddy bear mouth that makes him look so psychedelically cute.

As you can see on this picture, he really does look strange in this posture!
I wonder what he's thinking about or what it means...

(Zen Cat -Pic by www.underonehoof.org)

Saturday, October 28, 2006

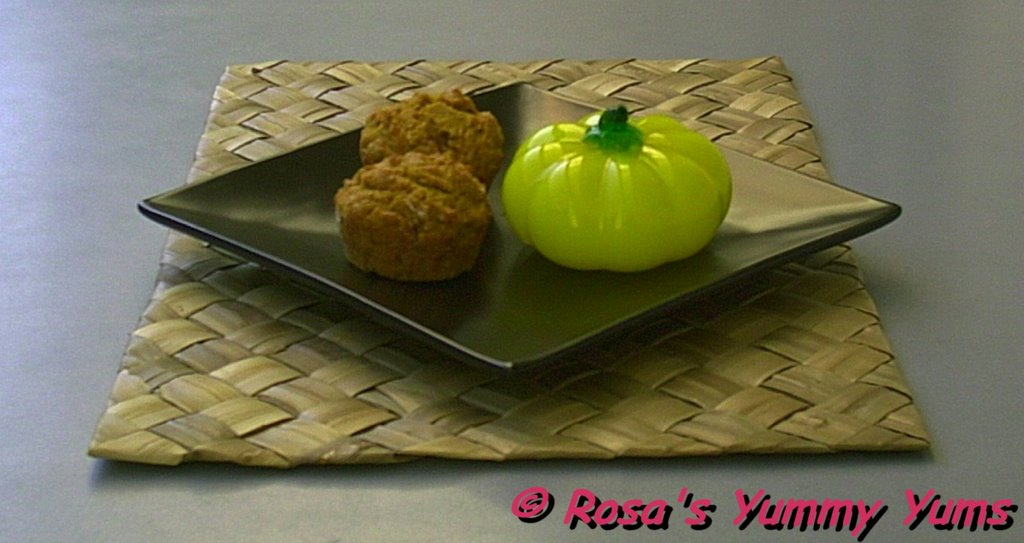
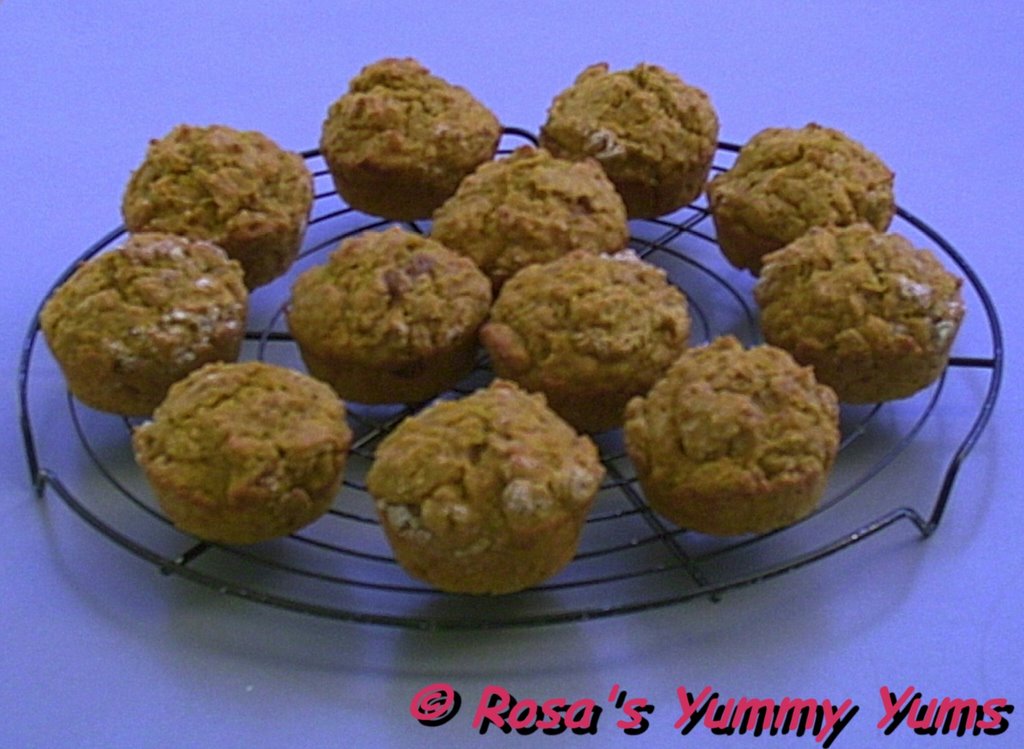
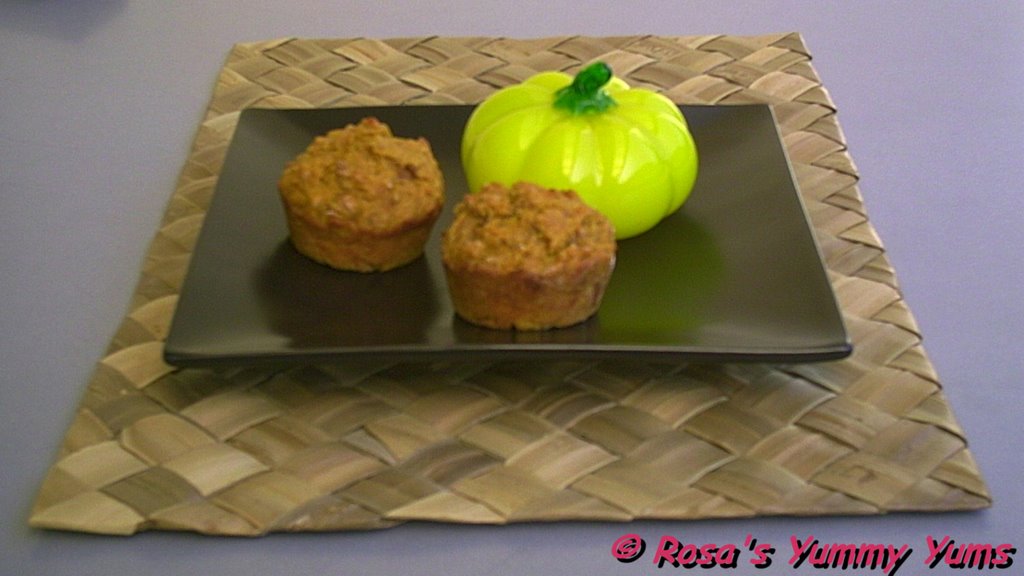
PUMPKIN MUFFINS

With the arrival of autumn, a very special vegetable starts to reappear in our kitchens. Yes, I'm talking about PUMPKINS!

After having been a little forgotten (in Europe, at least) for a while because it was considered to be not worth any kind of attention since it is so humble and synonymous of another time (the one of our grandparents). But now, the pumpkin has gained a new popularity and people are discovering it's incredible manifoldness. It is now a trendy item that gets put under the spotlights and much talked about.

There are so many different varieties of pumpkins that offer endless possibilities when it comes to preparing them. It is such a great vegetable! No one can affirm that pumpkins are boring, because whether you are cooking or baking it, it will always surprise you. Pumpkins have many faces and are a bit like chameleons or shapeshifters; they can take the form you want them to have and have several uses...

So, as I want to pay a tribute to this wonder of nature, I decided to propose you a very common, yet wonderful recipe that comes from Mollie Katzen's "Sunlight Café" cookbook.

Her muffins are veeeer
y smooth, moist and super tasty. Rarely have I eaten something so delightful! And it was a great idea of hers to combine the delicate flavor of the orange with the more chestnutty one of the pumpkin; the marriage is sensational! All spices are well-balanced and not overpowering, but just present enough to produce that pleasant tinge that wakes up our tastebuds...

I really love those "Pumpkin Muffins" and would definitely bake such g
oodies again, therefore I can only emphasize on the fact that you should immediately try this superb recipe!!!

Yields 8 to 10 muffins (I made 12).

Ingredients:
2 Cups Unbleached all-purpose flour
1/2 Tsp Salt
1-1/2 Tsp Baking powder
1-1/2 Tsp Ground cinnamon
1 Tsp Ground ginger
1/4 Tsp Ground allspice
3 to 4 Tsp Castor sugar
1 Tsp Orange zest, chopped (or Dr.Oetker)
1/3 Cup Packed dark brown sugar
1 Cup Mashed pumpkin
1 Egg (~50g)
1/2 Cup Milk
1 Tbs Vanilla extract
4 Tbs (1/2 stick) Unsalted butter, melted

Method:
1. Preheat the oven to 200° C (400° F). Lightly spray 8 or 12 standard (2-1/2-inch-diameter) muffin cups with nonstick spray.
2. Combine the flour, salt, baking powder, spices, granulated sugar and orange zest in a medium-sized bowl. Crumble in the brown sugar and mix with a fork or your fingers until thoroughly blended.
3. Measure the pumpkin into a second medium-sized bowl. Add the egg, milk, and vanilla, and beat with a fork or a whisk until smooth.
4. Slowly pour this mixture, along with the melted butter, into the dry ingredients. Using a spoon or a rubber spatula, stir from the bottom of the bowl until the dry ingredients are all moistened. Don't overmix; a few lumps are okay.
5. Spoon the batter into the prepared muffin cups. For smaller muffins, fill the cups about four-fifths full. For larger muffins, fill them up to the top. If you have extra batter, spray one or two additional muffin cups with non-stick spray and fill with the remaining batter.

6. Bake in the middle of the oven for 20 to 25 minutes, or until lightly browned on top and a toothpick inserted into the center comes out clean. Remove the pan from the oven, then remove the muffins from the pan and place them on a rack to cool. Wait at least 30 minutes before serving

Remarks:
The range of sugar allows you to make these sweeter or not, according to your taste.
Cooked sweet potato or winter squash can be substituted for the pumpkin.
Canola oil or any other neutral oil can be substituted for some or all of the butter.
Those muffins keep 2-3 days maximum, so it's better if you eat them straight away, otherwise they tend to get moldy because they are quite moist...

Serving Suggestions:
Eat with butter (optional) for breakfast, tea time or whenever you like.

(Pumpkin -Pic by www.hoornashby.com)

Thursday, October 26, 2006

FIELDS IN AUTUMN

At the moment, we are now enjoying the European version of what the Americans call "The Indian Summer"! The days are warm and very sunny. That makes the shift in autumn season even more enjoyable. The trees are slowly turning, but the grass is greener than ever; the last breath of life before the winter...

Those pictures were taken a week ago during one of our walks around the fields in the countryside near Veyrier.

Violet fields contrasting with the shrill green color of the vegetation. In the background, the Salève standing tall and proud...
Another beautiful field with, at the end, the houses of some lucky people who have the most incredible view in front of their eyes (see picture above)!

Do you know which kind of vegetable is growing in those fields?... Not very difficult, heh!

Tuesday, October 24, 2006

STIR-FRIED MATZAH BALLS WITH BELL PEPPERS

Most of you know "Matzah Balls" when they are served in soup. After having tested that delicious way of preparing "Matzah Balls" and falling in love with those tasty dumplings, I thought that it would be a good idea to fry them and serve them as I would do with meatballs...

I elaborated this simple recipe one evening when I was craving for my "Matzah Balls", but didn't want to eat soup.This invented dish came out very well!

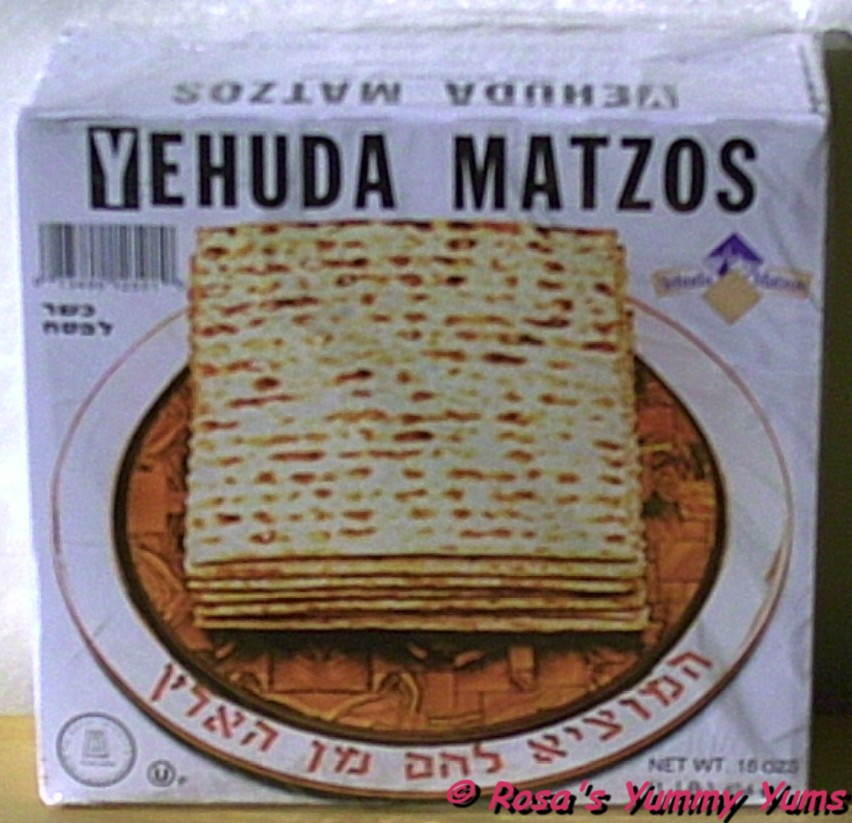
"Matzah Balls", also known as "Knaydlach" in Yiddish, are similar to what the German call "Klösse" and the Austrians "Knödel"; they are the Jewish version of those dumplings. The only difference resides in the fact that instead of being made with stale bread, they are prepared with Matzah flour (ground Matzah sheets)... "Matzah Balls" are generally eaten for Passover when flour is replaced with Matzah meal, but they are also served all year long on the occasion of Shabbat.

Joan Nathan's "Matzah Balls" (recipe taken from "Jewish Cooking In America" and adapted by myself) are very moist and ever so fine! Although there is no meat in a "Matzah Ball", those dumplings have a very pleasant meaty taste (a cross between chicken and veal) that is even more pronounced when they are fried and processed like meatballs. With the zucchinis and the bell peppers the combination gets even more flavourful and the added soy sauce confers that little "smokey" something to the whole dish.

I must say that I am very pleased with this recipe which has been adopted by both my boyfriend and me! I find this way of preparing "Matzah Balls" quite unique and highly recommendable for any adventurous cook...

Serves 2-3 people.

Ingredients:
4 Tbs Olive oil
1 Big bell pepper, cut into thin strips

2 Medium zucchinis, cut in half moons
1 Big onion, halved and sliced

2 Cloves garlic, very finely chopped or crushed
1/2 Tsp Paprika powder
1 Tbs Castor sugar

2-3 Light Soy sauce
3-4 Tbs Dark balsamic vinegar

Salt, to taste

Pepper, to taste
~ Shabbat table. ~
Matzah balls (by Joan Nathan):
4 Eggs (~50g)

2 Tbs Vegetable oil

1/4 Cup Chicken broth
1 Cup Matzah meal
1/4 Tsp Garlic powder (optional)

Salt, to taste
Pepper, to taste

Method:
1. Mix the eggs with a fork. Add the oil, chicken broth, matzah meal, garlic powder, salt and pepper and mix well until blended.

2. Cover and refrigerate for several hours.

3. Dip your hands in cold water and make about 12 balls sl
ightly smaller than Ping-Pong balls. 4. Bring water to a boil in a large pot. Add salt and place the matzah balls in the water.
5. Cover and simmer for about 10-15 minutes or until soft.
6. Remove from the water and drain.

7. Heat a non-stick frying pan over high temperature.
8. Add 3 Tbs olive oil and add the matzah balls.

9. Fry the balls until nice and golden brown.

10. Set aside in a warm oven.

11. Heat a non-stick frying pan over medium high temperature.
12. Add 1 Tbs olive oil, the
onions and garlic.
13. Stir-fry until the onions are translucid.

14. Add the bell pepper and stir-fry for about 5 minutes.

15. Add the zucchini and continue stir-frying for 3 minutes.

16. Add the paprika and sugar. Stir-fry for 2 mor
e minutes.
17. Sprinkle the soy sauce and balsamic vinegar over the vegetables. Stir-fry again for 4 more minutes.

18. Salt and pepper to taste.

19. Add the matzah balls.

20. Serve.


Remarks:

If you wish, you can use smoked paprika powder.
Instead of light soy sauce, you can use "Thai Seasoning Sauce" (Golden Mountain brand).
The vegetable oil for the matzah balls can be replaced by chicken fat.
If you don't have any matzah meal, then take three matzah sheets (3 sheets matzah = 1 cup matzah meal) and blend them until they look like fine semolina (see infos here).

The matzah can be made ahead and frozen in their liquid (it keeps them fluffy).

Serving suggestions:

Eat with a beetroot, a celeri salad or with coleslaw
.

(Shabbat Table -Pic by www.lucienkrief.co.il)
(Cooking Matzah Balls -Pic by www.cookingforengineers.com)

Sunday, October 22, 2006

WEEKEND CAT BLOGGING #72

This week, the WCB round-up is hosted by Jelly and the great Kamikaze of "I Got Two Shoes" from South Korea whom I warmly thank for making this awesome event possible although Clare is absent!

If you are willing to participate, then send her your permalinks via e-mail or just leave a comment on her blog.

See you there!


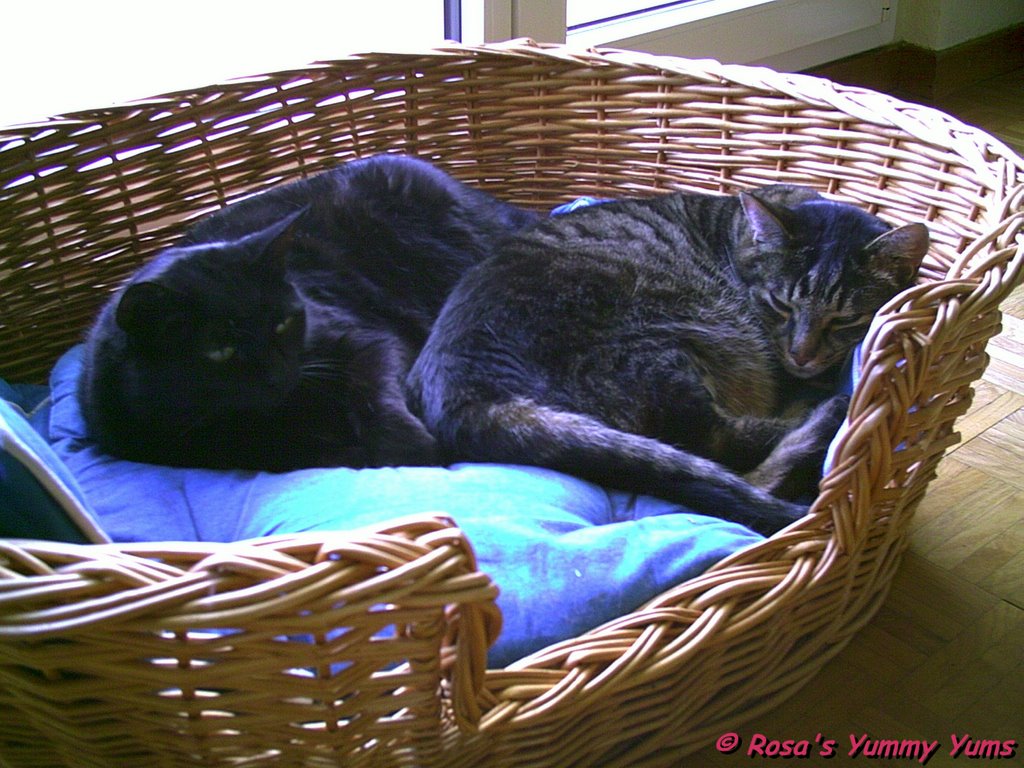
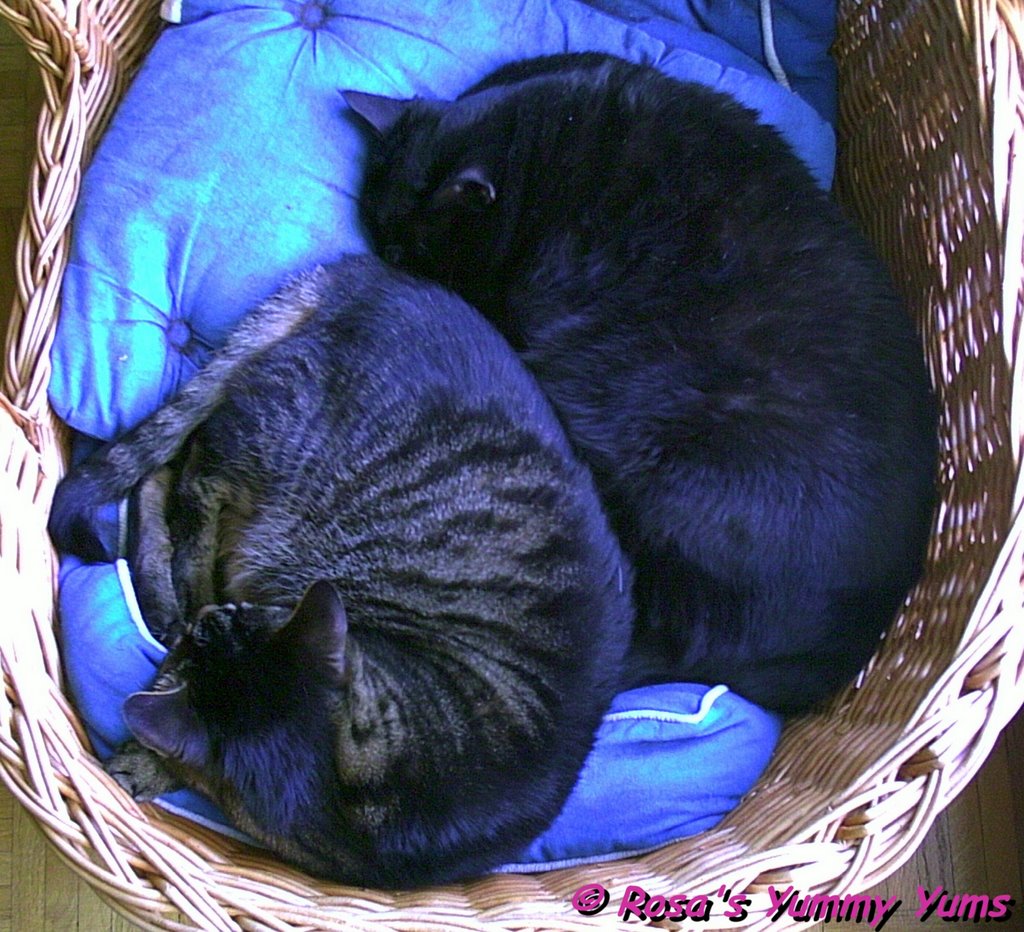
Since the fresher days have arrived, Fridolin and Maruschka have changed their habits.
They tend to stay all day long in their basket and don't seem to want to lie on our bed as often as before...

Our little fluff balls prefer to spend the whole day and night in their cosy little bed and only get out when the dinner is served or when they need to use the litter box.
Aaahhh, those kitties are simply so "disgustingly" lazy that their zen attitude frustrates me, because I must admit that I am quite jealous of their flawless life!!!

Wednesday, October 18, 2006

CHAMELEON MOUNTAIN

The Salève never fails to intrigue and surprise me day after day. It's incredible how it can change like a chameleon...

There is not one single day during which I am not amazed by it's sheer beauty!

On a nice sunny afternoon, the Salève played with the clouds that made it look remarkably majestuous...
Now, with the autumn having reappeared, a superb fall light illuminates the Salève and gives it romantic looks...

Some people take pictures of the Mt. Fuji (Japan) on a daily basis and me, with a humble camera, but much love, in certain ways, I do the same with the Salève...

Monday, October 16, 2006

WORLD BREAD DAY 2006 - HAMBURGER BUNS

On the occasion of the "World Bread Day" event and round-up organized by Zorra of the lovely foodie blog "Kochtopf" from Germany, I decided to share with you my most wonderful discovery of the last months... I'm speaking about the most awesome "Hamburger Buns" I have ever made! This recipe was (slightly) adapted from the "The King Arthur Flour Baker's Companion" that I acquired not long ago. Once again, I am ever so pleased to have bought this incredible baking bible! I really cherish this new little jewel of a cookbook!...

I must admit that nothing compares to this "Perfect Hamburger Buns" recipe as it is simply incredible! Those breads look and taste exactly as all "Hamburger Buns" should: PERFECT! They have a light sweetness to them and texture-wise they just send you to the 7th heaven. Like most good "Hamburger Buns", they are extremely light, soft and smooth to please, but they are solid enough in order to great wichever hamburger filling you decide to use (meat patties, fried onions, mayonnaise, ketchup, etc...) as they never disintegrate.

So, if you were always used to buy your breads, I really recommend you to try out this uncomparable recipe as you'll never go back to commercial buns again! And if you already made your own breads, then do widen your horizon as you'll not regret being unfaithful to your old recipe; in fact, it's the best decision you could ver take!...

I just reached a new hight in hamburger making and I know that I'll never be able to go back to my old habits (old recipe or exceptionally buying the buns) again!!!... MIND-BLOWING!

~ Hamburger Buns ~
Recipe taken from the book "
The King Arthur Flour Baker's Companion" by The King Arthur Flour and adapted by Rosa @ Rosa's Yummy Yums.

Ingredients:
1 Cup (240g/ml - 250g/ml) Water, lukewarm
2 Tbs (30g) Unsalted butter, at room temperature and creamed
1 Egg (~63g)
3 1/4 Cups (433g) Plain white flour
1/4 Cup (53g) Castor sugar
1 Tsp Salt
1 Tbs Instant yeast
1 Egg yolk (+ 1 Tsp water)
Sesame seeds

Method:
1. Sprinkle the yeast into the water and leave for 5 to 10 minutes, until frothy. Stir to dissolve.
2. In a big bowl, combine all the ingredients and mix well.
3. Turn the dough out on to a lightly floured working surface and knead for about 10 minutes until you've made a soft, smooth dough.
4. Place the dough in a clean and lightly greased bowl.
5. Cover it with a towel and let rise for about 1 (or1-1/2) hour, until doubled in size.
6. Divide the dough into 8 pieces and shape each piece into a flattened ball.
7. Place the buns on greased baking sheets, cover with a towel and let rise 30 to 40 minutes, until they're quite puffy and doubled in size.
8. Preheat the oven to 190°C (375°F).
9, Glaze the buns with the egg yolk and water mixture, then sprinkle with sesame seeds.
10. Bake the buns for 12 to 15 minutes, until they are golden brown.
11. Remove them from the oven and cool them on a wire rack.

Remarks:
If you wish, you can also add 1 Tsp onion powder and 1/2 Tsp dried minced onions to the dough.
In the original recipe, the buns were not glazed nor sprinkled with sesame seeds, so that's up to you if you want to add that kind of finishing or not...

Serving suggestions:
Split and use for burgers (see recipe here) or sandwiches.
When making hambugers, try buttering the split sides of your buns and frying them (buttered side down) until they are golden brown and warmed through.

***************

~ Pains A Hamburgers ~
Recette tirée du livre "The King Arthur Flour Baker's Companion" par The King Arthur Flour et adaptée par Rosa @ Rosa's Yummy Yums.

Ingrédients:
1 Tasse (240-250ml/g) d'Eau tiède
2 CS (30g) de Beurre non-salé, à température ambiante et battu en pommade
1 Oeuf (~63g)
3 1/4 Tasses (433g) de Farine Fleur/blanche
1/4 Tasse (53g) de Sucre cristallisé
1 CC de Sel
1 CS de Levure séchée/en poudre
1 Jaune d'oeuf (+ 1 CC d'eau)
Graines de sésame

Méthode:
1. Mettre l'eau tiède dans un petit bol. Saupoudrer avec la levure, laisser reposer, à température ambiante, jusqu'à ce que le mélange devienne mousseux, pendant environ 5 à 10 minutes, puis mélanger pour dissoudre.
2. Dans un grand bol, bien mélanger ensemble tous les ingrédients.
3. Sur un plan de travail fariné, pétrir pendant 10 minutes, jusqu'à ce que la pâte soit souple et élastique.
4. Mettre la pâte dans un grand bol légèrement huilé/beurré et faites tourner la pâte dans le bol afin de bien l'enduire d'huile/de beurre.
5. Couvrir avec du film alimentaire, puis avec un linge. Laisser lever, à température ambiante, jusqu'à ce que la pâte ait doublé de volume, pendant 1 à 1 1/2 heures.
6. Diviser le pâton en 8 parts égales/morceaux. Bouler et applatir légèrement afin d'obtenir la forme désirée.
7. Placer chaque pâton sur la plaque recouverte de papier sulfurisé, couvrir avec un linge et laisser lever pendant 30 à 40 minutes, jusqu'à ce qu'ils aient doublé de volume.
8. Préchauffer le four à 190°C (375°F).
9. Les badigeonner avec le glaçage au jaune d'oeuf et saupoudrer avec les graines de sésame. 10. Cuire pendant 12 à 15 minutes, jusqu'à ce qu'ils soient dorés et sonnent creux.
11. Les retirer du four et mettre les pain à reffroidir sur une grille.

Remarques:
Si vous voulez, vous pouvez aussi ajouter 1 CC d'oignon en poudre ainsi que 1/2 CC d'oignons séchés (rôtis) à la pâte.
Dans la recette originale, les pains ne sont pas glacés et saupoudrés de graines de sésame, alors c'est à vous de voir ce que vous préférez faire en ce qui concerne la finitions de vos pains...

Idées de présentation:
Couper les pains en deux afin d'en faire des "Hamburgers" (voir ma recette de Burgers "cochons") ou des sandwiches.
Au lieu d'utiliser vos pains tels quels, essayez cette version: beurrez l'intérieur de vos pains et grillez-les à la poêle (faces beurrées côté poêle), jusqu'à ce qu'ils soient dorés et bien chauds.

(Hamburger Haven -Pic by www.janetkruskam.com)
(Girl With Hamburger -Pic by www.complementarycolor.com)