Showing posts with label The King Arthur Flour. Show all posts

Friday, April 15, 2011

ITALIAN-STYLE CINNAMON & RAISIN BISCOTTI

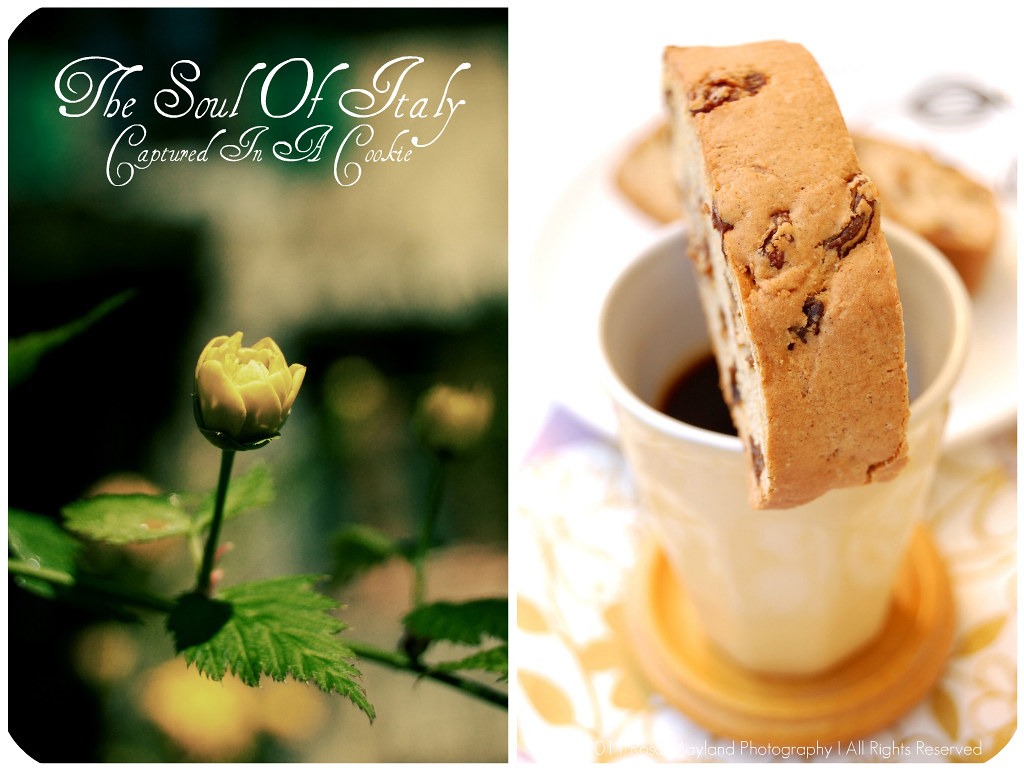
Biscotti Picnik collage 1 bis
"Biscotti" (pronounced "bee-scoat-tee") are relatively new to me. Actually, a few years ago (about 6 years ago) I had no clue what they were. That is quite understandable if you consider the fact that I've lived all my life in Switzerland and never travelled to Italy (I passed through that country when going to Greece, but I doubt that this can qualify for holidays) nor to America where this speciality is widespread...

I was introduced to these Italian cookies when I received James McNair and Andrew Moore's "Afternoon Delights" for my birthday in 2003. It was love at first sight. The very second I lay my eyes on the picture that illustrated their "Almond Biscotti" recipe I knew that I had to bake them immediately in order to satisfy my curiosity. Since then I have not seized being a big fan of this crispy treat.

Before I moved away from home and started cooking for myself, I had never really tasted any Italian pastry apart from "Amaretti Macaroons" and knew absolutely nothing about "Biscotti". Here in Switzerland, the only biscuits that can be compared to them are oven-dried brioche slices called "Zwiebacks".
Although they taste more like sweet bread than cookies and are far from being as sweet or having an identical shape, I always enjoyed eating those delicious rusks.

The reason why I like "Biscotti" so much is because they remind me of "Zwiebacks" and bring back memories of my Vaudois Pépé & Mémé (grandpa & grandma) whom I lost long ago - my granny died at the age of 92 in 1992 and my granddad passed away at the age of 98
in 1998.

I will never forget the times my parents and I visited my grandparents in Champvent. Since we had no car, getting there was a real journey and it was so exciting for the kid I was. After having rode on the InterCity for a good 45 minutes we then arrived in the little city of Yverdon-les-Bains where we hopped on the cute scenic Yverdon-Sainte-Croix train which I was really fond of the bumpity bump sound that the wheels made and adored it's haunting hoots. This filled me with intense pleasure and send shivers down my spine. As it rushed speedily through the lush countryside (it was going so fast that we had to hold on tight to the bars), went through thick and dark forests and stopped in dainty stations, I could not have been a more happier girl. I felt like an adventurer on a mission in a far away land. This feeling grew even stronger when we stepped out of the train in the middle of nowhere in Essert-sous-Champvent. Our trip hadn't ended exactly. This location was situated at least 20 minutes by foot from our destination which meant that we still had to take a 2 kilometers hike through the fields in order to arrive in the village and finally step a foot in my grandparents' house.

In the good old days (in the 90's - that makes me sound old, I know...), Switzerland was a safe place to live and nobody used to lock themselves in (it is still quite secure, but not as much as before - now we have our share of extreme violence too). In the rural areas people even left their front door wide open during the summer. So, to enter my grandparents house there was no need to ring the doorbell or knock. We simply stepped in the corridor and were immediately welcomed by an ethereal smell of food and went straight to the kitchen where my grandmother, who was a brilliant cook, was preparing our 100% homemade lunch which generally consisted of a seasonal soup (onion soup, nettle soup, potato soup, etc...), a salad (homegrown lettuce or hand-picked dandelion leaves), either a stew ("Lapin A La Crème"/Rabbit in Sour Cream & Mustard Sauce - the rabbits were raised and butchered by my grandfather) a "rôti" (roast) or a "bouilli" (beef from which bouillon or soup has been made) and meringues with thick golden cream scraped from the top of the milk basin (until the 90's my grandparents bought all their cheese, milk and butter from the village dairy - just like in the past), canned sour cherries and Kirsch (I had that too and loved it eventhough I was a child. As you can see it didn't turn me into an alcoholic or kill me...).

After lunch both my grandparents had the habit of napping for about one hour after each meal (was it the key to their longevity?) and then getting on with their daily chores (housework and taking care of the garden). Generally, while they were working, we went out for long walks around the area which is considered to be Vaud's "granary" and abound in walking excursions as well as picturesque villages with Medieval manor houses and castles. The rustic Gros-de-Vaud landscapes are delightfully pastoral, so soft and inviting.

Biscotti Picnik collage 4 bis
When we came back, we were always greeted by either a "Salée A La Crème" or a "Gâteau" (people in Vaud commonly use the term "Gâteaux" to describe "Tarts") made with homegrown fruits (berries of all kinds - check out my "Blackberry Tart", apples and rhubarb - not a fruit, I know). Our little trip had made us extremely hungry, so those freshly baked and mindblowingly ambrosial delicacies were accepted with much enthusiasm. My grandmother's pastries were some of the best I have ever eaten. My Mémé was an extraordinary homecook and baker who made amazing dishes from scratch, prepared to most gorgeous family-style "Cuisine Bourgeoise" (pronounce "kwee zeen boor jwaz" - it refers to plain, but good down-to-earth cuisine), taught my 20 years old mother the basics of cooking/baking and showed her how to put a meal together.

My grandmother might not have been a woman who expressed her feelings, but she was always generous when it came to filling our stomachs. I cannot recall having ever starved while staying at my gradparents' home. I guess it was her way of showing that she cared for us. As we all know, "love goes through the stomach"...

Sometimes, if I was craving more food in the afternoon, my grandmother gave me a few "Zwiebacks" to nibble on. Those were generally eaten for breakfast in place of bread, but as a child I preferred to snack on them.
Since then, that item is closely linked to that period of my life.

So, in addition to awaking memories of my Mémé, "Biscotti" are nooks which also remind me of the Renaissance. I like to imagine that noble women and men dressed fashionably with romantic-looking custumes made of rich fabrics (silk, velvet and muslim) sat on their terrasses overlooking the fluid green hills of Tuscany and chattered courteously while dipping their crunchy crullers in Vin Santo. Just like the scene in a Botticelli fresco!

~~~~~~~~~~~~~~~~~~~~~~

"Biscotti" are also known as "Cantuccini" or "Biscotti Di Prato". They are supposed to hail from the city of Prato in Italy (similar cookies exist in France - "Croquignole" - and Spain - "Carquinyoli" -) and their name comes from the Medieval latin word "biscoctus" meaning "twice-baked/cooked". It seems that hundreds of years before being consumed by sailors and adventurers in the 15th century (both Marco Polo and Columbus are supposed to have brought "Biscotti" with them on their journeys), they were already being eaten by the Roman Legions. They were enjoyed by travellers of all kinds is because they had good keeping properties (they lasted for a long while without going bad).

At the origin, those crullers were flavored with aniseeds, but nowadays, many sweet and savory variants exist (chocolate, candied fruits, pumpkin, raisins/currants, dried cranberries, cheese, olives, herbs, nuts of all kinds, different types of flour, etc...). "Biscotti" are very popular in their country of birth, but are also much appreciated by cookie lovers all over Europe and the USA. Recently, they have become very trendy and it is not difficult to buy them from bakers, coffee shops or supermarkets anymore. Although they are all generally rocklike in texture, it is to be said that some of them vary in rigidity. The Italian "Biscotti" are harder and denser than their American cousins which are lighter are more tender, thus still being appropriate for dipping.

The recipe I have decided to publish today was adapted
from "The Cookies Companion" by King Arthur Flour. Having not tested that many different "Biscotti" as I tend to use the same recipe over and over and being somebody who is an amateur of spices, I thought that a little change in the routine might be good, so it is all naturally that I was drawn towards KAF's "Italian-Style Cinnamon And Raisin Biscotti".

Despite the fact that one has to have healthy teeth to bite into this confection and feels a little like a horse champing on dry bread when masticating on it, it is nonethelss terribly addictive. The dreamlike aromas of cinnamon and vanilla blend perfectly well with the molassy flavor of the rasins, thus making those lightly sweet "Biscotti" extremely palatable.

A fabulous breakfast, teatime or evening treat that must be on every Easter table, especially if they are dunked into warm melted chocolate!
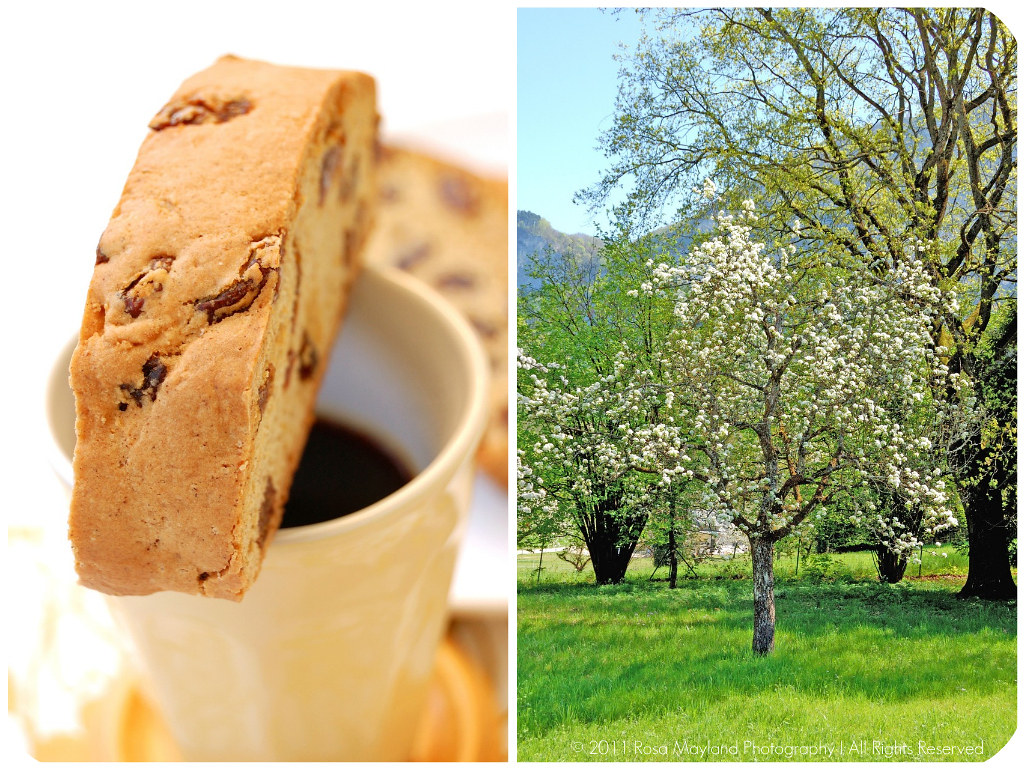
Biscotti Picnik collage 7 bis
~ Italian-Style Cinnamon & Raisin Biscotti ~
Recipe adapted from
"The Cookies Companion" by King Arthur Flour.

Makes about 14-16 biscotti.


Ingredients:
2 Large eggs

2/3 Cup (143g) Castor sugar

1/2 Tsp Baking powder
3/4 Tsp Fine sea salt
1 Tsp Pure bean paste (or pure vanilla extract)

2 Tsp Ground cinnamon
1 Cup (160g) Raisins
2 Cups (255g) Unbleached all purpose flour

Method:
1. Preheat the oven to 180° C (350°F) and lightly grease a baking sheet (or line with parchment or a silicon mat).
2. In a medium bowl, mix the cinnamon, raisins and flour together. Set aside
3. Combine the eggs, sugar, baking powder, salt and vanilla bean paste in the bowl of a stand mixer. Beat on medium speed until the mixture is light in color and falls back into the bowl in ribbons if you lift up the beater blade.
4. Reduce the speed of the mixer to low and gradually add in the flour. M
ix just until the flour is fully incorporated.
5. Transfer the dough to the baking sheet and shape it into a flat loaf (14 inches/35cm long and 2.5 inches/6cm large).
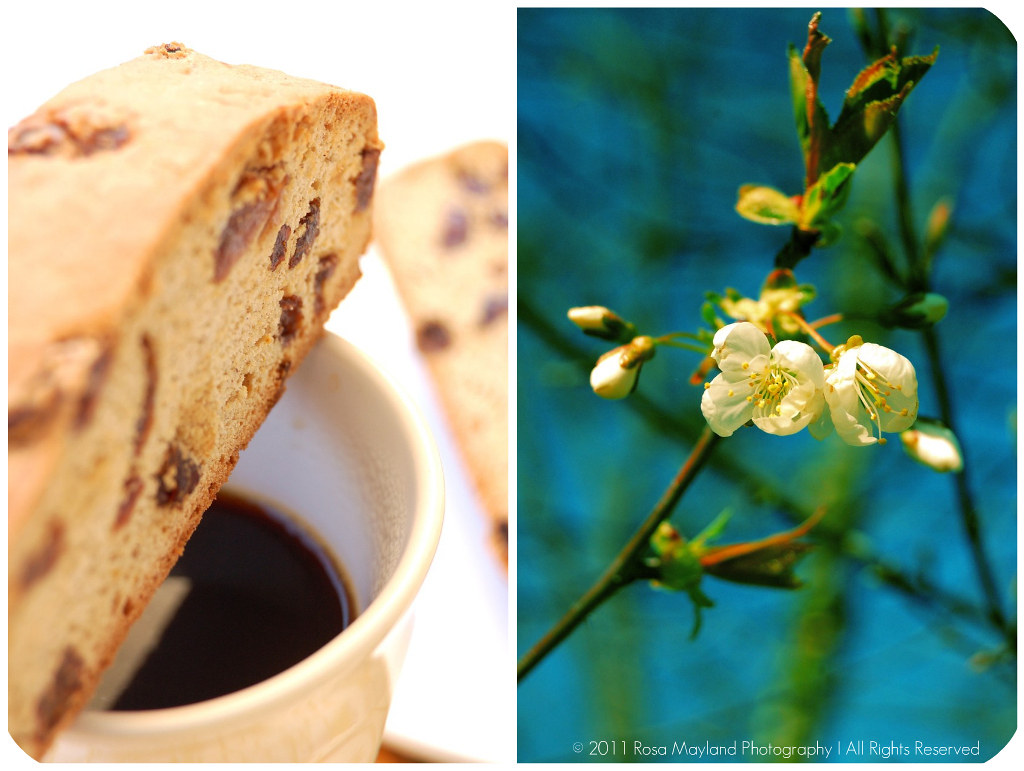
Biscotti Picnik collage 2 bis
6.Bake for 25 minutes, then remove the baking sheet from the oven and reduce the oven temperature to 170° C (325° F).
7. Allow the baked loaf to cool for about 15 minutes.
8. Mist the loaf lightly with water and let it rest for another 5 minutes (this will help to prevent it from cracking/crumbling when slicing).
9. Once the loaf has rested, transfer it to a cutting board and use a serrated knife to slice the biscotti (diagonally to produce long biscotti or horizentally if you want smaller biscotti).
10. Return the slices to the baking sheet (standing up) and bake for an additional 20 – 25 minutes.
11. Transfer the slices to a wire rack and let cool completely.

Remarks:
You can replace the raisins by other dried fruits or nuts (chopped coarsely).
If you wish, subsitute the cinnamon with any other spice of your choice.

Serving suggestions:
Eat for breakfast, teatime or as an in-between snack and accompany with a good capuccino, espresso, a small glass of Vin Santo or Porto.
You can also dunk them in melted chocolate.

~~~~~~~~~~~~~~~~~~~~~~

Biscotti Picnik collage 6 bis
~ Biscotti Italiens A La Cannelle Et Aux Raisins Secs ~
Recette adaptée du livre "The Cookies Companion" par King Arthur Flour.

Pour 14-16 biscotti.

Ingrédients:
2 Gros oeufs

143g Sucre cristallisé
1/2 CC de Poudre à lever
3/4 CC de Sel de mer fin
1 CC de Pâte de vanille pure (ou d'extrait de vanille pure)
2 CC de Cannelle en poudre
160g de Raisins secs
255g de Farine blanche

Méthode:

1. Préchauffer le four à 180° C et recouvrir une plaque de cuisson avec du papier sulfurisé ou avec un silpat.
2. Dans un bol moyen, mélanger ensemble la cannelle, les raisins et la farine. Mettre de côté.
3. Dans le bol d'un robot électrique réunir les oeufs, le sucre, la poudre à lever, le sel et la vanille. Battre à vitesse moyenne afin que le mélange soit pâle et retombe en rubans si on soulève le batteur.
4. Réduire la vitesse et ajouter la farine petit à petit. Mélanger (pas trop) jusqu'à ce que la farine soit complètement incorporée.

5. Mettre la pâte sur la plaque de cuisson et former en un rectangle de 35cm long et de 6cm de large.
6. Cuire pendant 25 minutes, puis sortir du four et réduire la température à 170° C.

Biscotti Picnik collage 5 bis
7. Laisser le "pain" refroidir pendant environ 15 minutes.
8. Pulvériser de l'eau et le laisser reposer encore pendant 5 minutes supplémentaires (cela empêche le "pain" de craquer et de s'émietter pendant la découpe).
9. Une fois ce temps de repos respecté, placer le "pain" sur une planche à découper et couper en tranches avec un couteau bien éguisé (en diagonal pour obtenir des biscotti longs ou tel un cake/horizentalement si on désire des tranches plus courtes).
10. Placer les tranches sur la plaque (debout et pas couchées) et cuire pendant encore 20 – 25 minutes.
11. Faire refroidir complètement les tranches sur une grille métallique.

Remarques:
Vous pouvez remplacer les raisins par d'autres fruits secs ou des noix (coupés en morceaux grossiers).
Si vous le désirez, il vous est possible de remplacer la cannelle par l'épice (en poudre) de votre choix.

Idées de présentation:
Servir ces biscotti pour le déjeuner, à l'heure du thé ou comme en-cas et accompagner d'un capuccino, d'un espresso, d'un petit verre de Vin Santo ou de Porto.
Il vous est aussi possible de les tremper dans du chocolat fondu encore tiède.
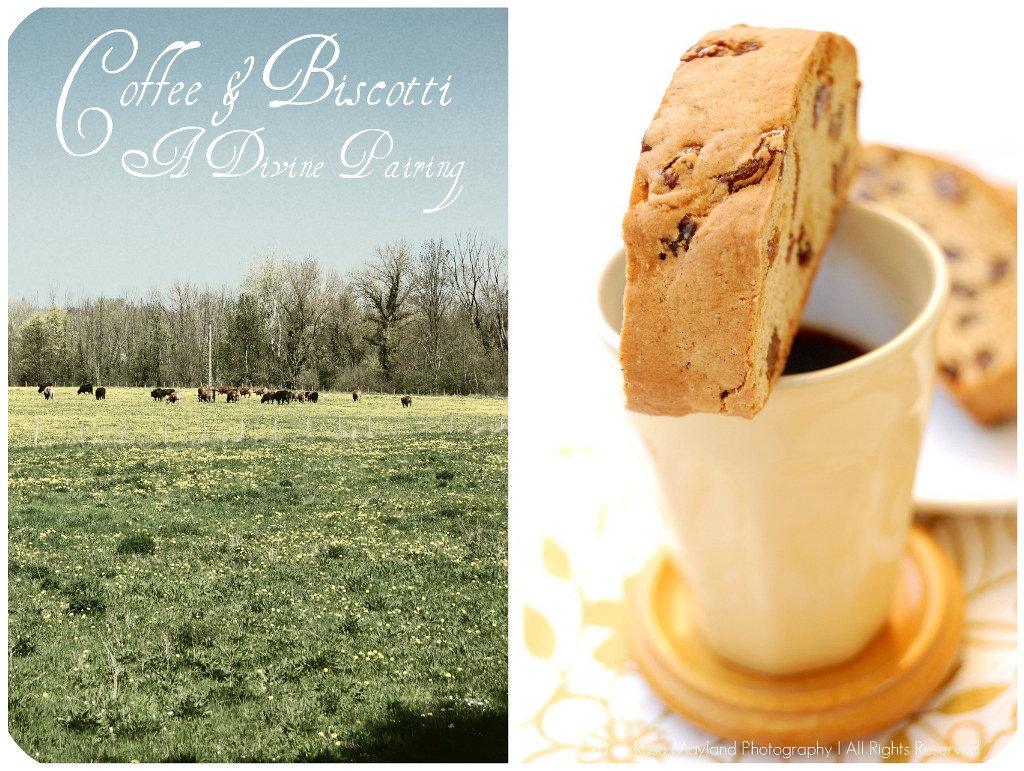
Biscotti Picnik collage 3 bis

Friday, February 18, 2011

PEANUT BUTTER, CHOCOLATE & COFFEE COOKIES BARS

pB Cookie Picnik collage 2 bis
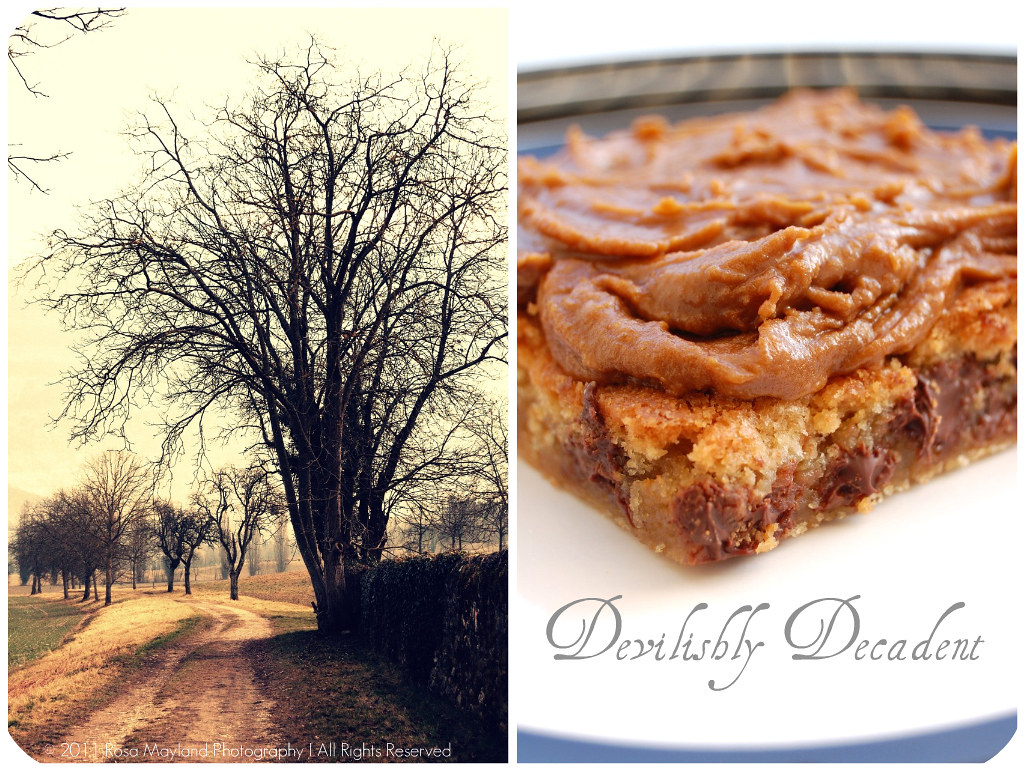
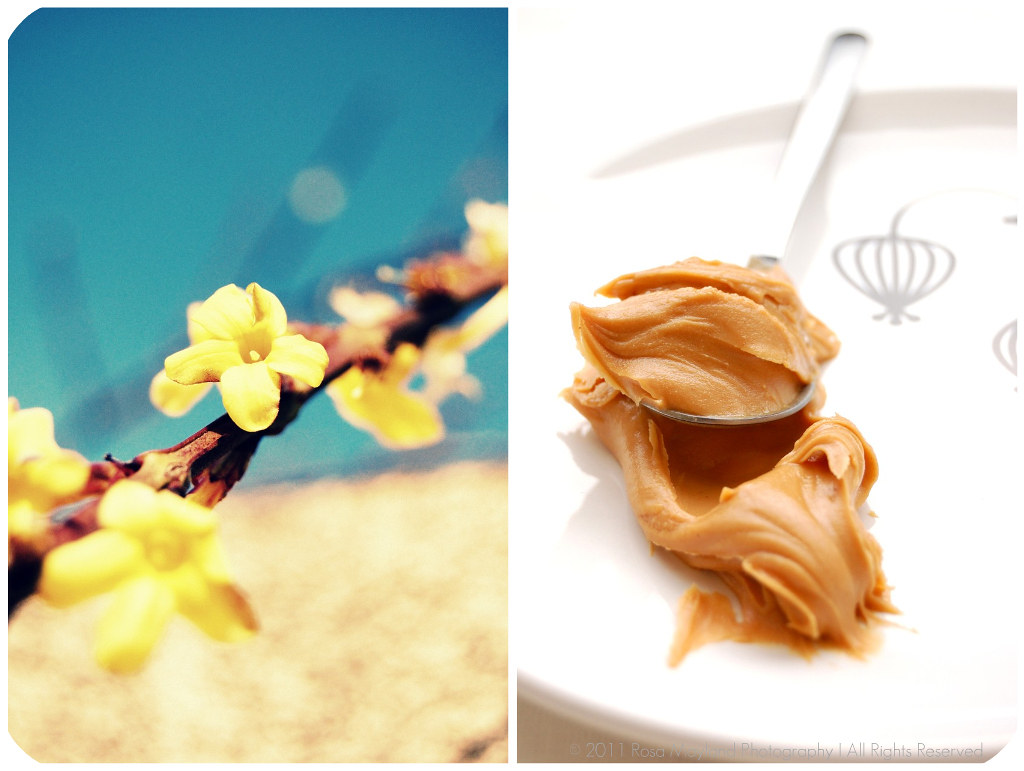
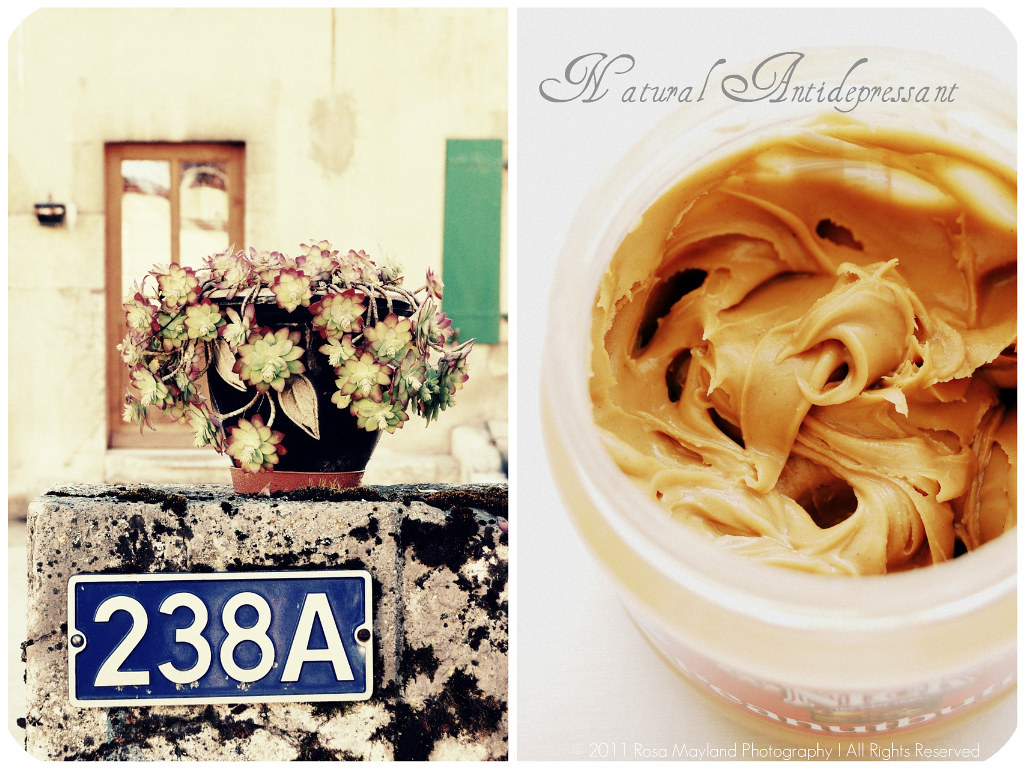
Some people adore peanut butter, others are not too enthusiastic about it and another category of people dislike it totally. If you know me well it is no mystery to you that I am one of those foodies who is gaga about this devilishly luscious, creamy, slightly sweet and rich condiment. As a matter of fact I am bananas about peanuts in general...

One can make so many yummy things and be very creative with peanut butter. From desserts, pastries, sauces to savory dishes you have the choice. There are no
limits when it comes to baking or cooking with it. Just have a look on the net and you'll see that there is an incredible quantity of peanut butter-based recipes on offer. It is impossible not to find one that suits you.

As a child I did my first experiments with peanut butter in England while on holidays at my grandparents. They always had a jar of that gloppy stuff in their pantry. We ate it generally in the morning with "plastic bread" toasts. My grandmother who loves overripe bananas (eeewww, nasty and so sickly!) made sandwiches with peanut butter and slices of that disgustingly blackened fruit. Apart from salted butter it was the only spread I liked to use as ultra-bitter store bought marmalade (no matter it's quality) was never my thing - the homemade version is much better and more refined as well as flavorful.

At home peanut butter was something we bought very seldom and once again it was solely used to accompany bread or crackers. We never ate baked goods made with it, what a pity! Anyway, in opposition to the vast majority of American kids who are fed on PB & Jam sandwiches and adore this snack I have to say that this combination was never my favorite. As a matter of fact I find it really icky. It repulses me quite violently and gives me the shivers, brrrr! On the contrary, I personally find that the association between peanut butter and honey (especially white honey) or peanut butter and Nutella is heavenly and so harmonious as if they were meant to mingle together (that implies only me, of course)!

Peanut butter far from being a contemporary staple. Although we might think that Americ
ans are at the origin of it considering the fact that they consume tons of this goody and since it is impossible to imagine this nation without it, they are just the ones who started commercialising this precious ingredient before anybody else.

Already in 950 B.C. the ancient Incas used peanuts (which originate from South America) to make a paste-like mixture. Early explorers brought plants to Africa, peanuts to Spain (trade) and finally imported them into the American Colonies where they were exchanged against other merchandise. As you can see the USA was not the first country to benefit from that fabulous legume (yes, it's not a nut!). The first commercial peanut crop was grown in North carolina around 1818 and in the early 1840's in Virginia.

It is only in 1890 that an unknown doctor "invented" peanut butter for health benefits and in 1903 that Dr. Ambrose Staub of Saint-Louis (Missouri) patented a peanut butter making machine. By 1914, many companies were producing that speciality, but it became a far more refined produce when in 1928, Joseph L. Rosenfield (the father of Skippy PB) created a churning process that made peanut butter even smoother.

The only time I am thankful for the "discovery" (very debatable though) of the Americas is in a foodie-oriented way. Had the "white bearded men" not set their foot on North or South American soil we might never have been able to develop so many wonderful desserts or dishes made with chocolate (xocolātl), peanuts (cacahuatl) in our treats, potatoes, beans, tomatoes, pumpkins, corn, passionfruits, avocados, pecans, cashews, mango, etc. I can't imagine a life without all these glorious and healthy fruits and vegetables.

Coming back to our much venerated peanut butter I have to admit that I am so obssessed by it and addicted to it's smoothiness as well as gorgeously nutty flavor that I had to eradicate it from my cupboards in order to come clean with my dependence. I ate far too much peanut butter and even gobbled it out of the pot. Now, although my passion for it has not died I can have an open jar next to me and not even reach for it or be tempted by it's contents...

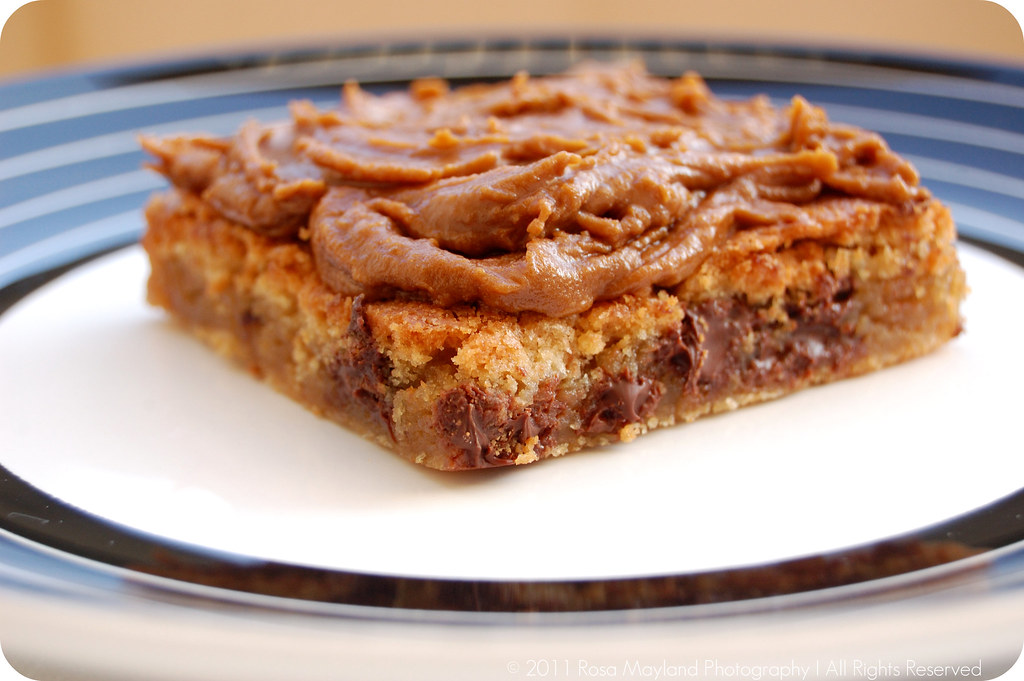
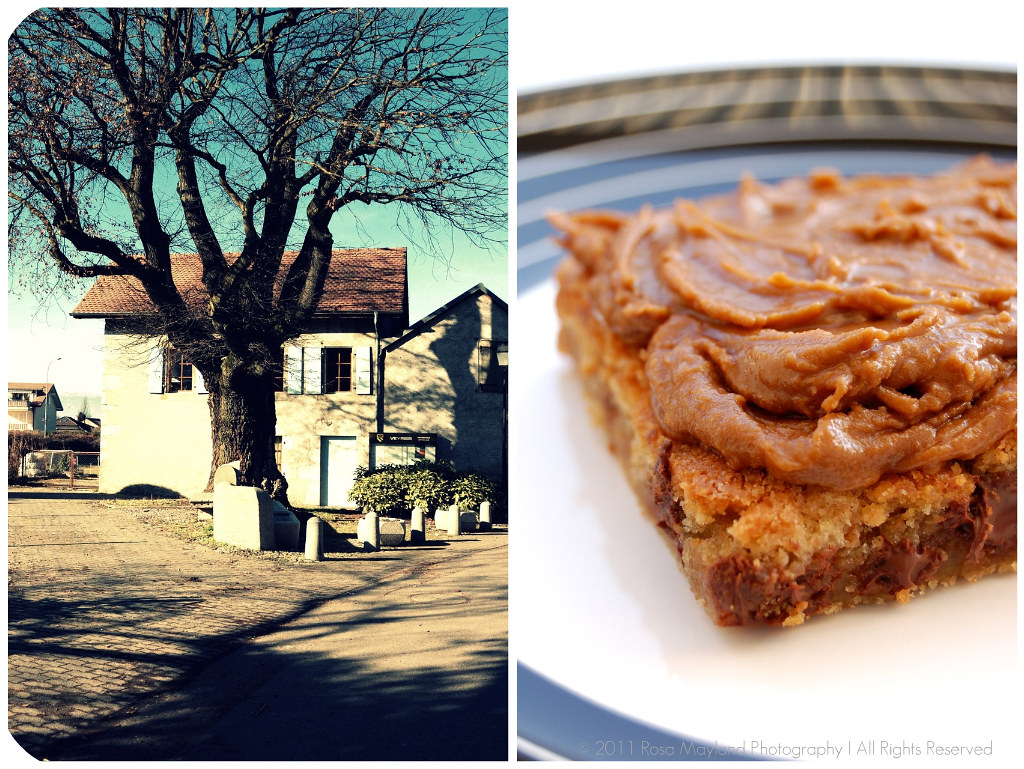
So when I bought my first pot of this delightful substance after a few months of abstinence I knew that I was going to celebrate this event by baking something decadent with it. After flipping through my newly received "The King Arthur Flour's Cookie Companion" cookbook I found what I was looking for: "Peanut Butter Smoothies". As the original recipe was not immoral enough for me I decided to top each slice with additional coffee frosting.

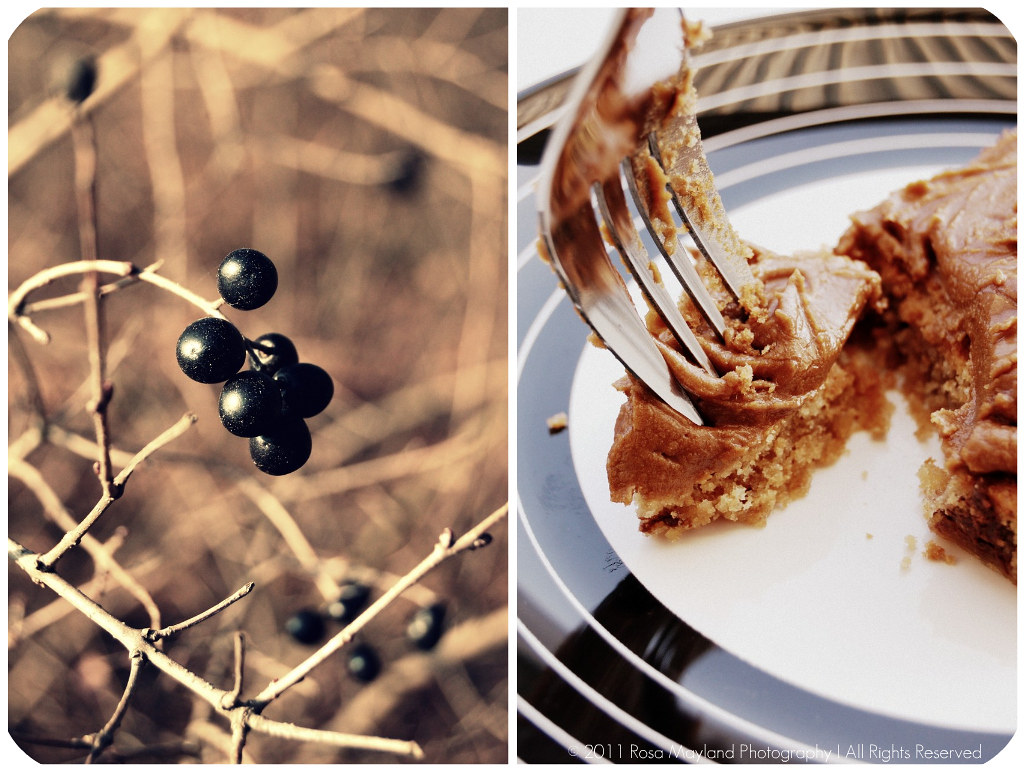
Needless to point out that those infamous blondie-like cookie bars were incredibly soft, visciously gooey and dangerously calorific (the sweetness alone could kill a horse or make an elephant sleep/weak). My "Peanut Butter Chocolate Chips Cookie Bars With Coffee Frosting" are down-right delectable and guaranteed to send you to the heaven's above with a sugar coma and an overdose of pleasure!

PB Cookie Picnik collage 3 bis
~ Peanut Butter Chocolate Chips Cookie Bars With Coffee Frosting ~
Recipe adapted from "The King Arthur Flour's Cookie Companion" cookbook.

Makes 12 slices.

Ingredients For The "Bars":
6 Tbs (90g) Unsalted butter, at room temperature
1/2 Cup (143g) Natural smooth peanut butter
1 Cup (210g) Crystallized sugar

1/4 Cup (60g) Light brown sugar, packed
2 Big eggs

1 Tsp Natural vanilla extract
1 Cup (128g) Unbleached white flour
1/3 Tsp Sea salt
1 Tsp Baking powder
1 Cup (180g) Chocolate chips (bittersweet)

Ingredients For The "Coffee Frosting":
1 Tbs Instant coffee powder
1 Tbs Hot water
3/4 Cup (90g) Powder sugar, sieved
2-4 Tbs Double cream (35% fat)


Method For The "Bars":
1. Preheat the oven to 180° C (350° F).
2. Butter a 20 x 20cm (8 x 8 inches) brownie pan.
3. Mix together the flour, salt and baking powder. Set aside.
4. In a medium bowl, cream the butter and peanut butter together until smooth and
homogenous.

PB Cookie 3 bis
5. Whisk in the sugars until the mixture is light and smooth.
6. Add the eggs, one at a time, whisk well and scrape down the bowl after each addition.
7. Stir in the vanilla.
8. Add the the flour mixture and stir well until combined.
9. Incorporate the chocolate chips.
10. Spread the batter into the prepared pan.
11. Bake for about 30-32 minutes until the edges pull away slightly from the pan.
12. Cool completely before cutting and frosting.

Method
For The "Coffee Frosting":
13. Meanwhile, in a small bowl dissolve the coffee in the hot water.
14. Add the powder sugar and enough cream (in order to get a spreadable mixture). Mix well.

Remarks:
You can replace the bitterwseet chocolate chips by dark, semi-sweet chocolate chips or peanut butter chips.
You can ommit the frosting if you find that those bars are rich enough without it.

Serving suggestions:
Serve for afternoon tea or as an in-between sweet treat with some whipped cream or a scoop of vanilla ice cream and a cup of tea or coffee.

~~~~~~~~~~~~~~~~~~~~~~

PB Cookie Picnik collage 5 bis
~ Barres Au Beurre De Cacahuète, Chocolat Et Glaçage Au Café ~
Recette adaptée du livre "The King Arthur Flour's Cookie Companion".

Pour 12 tranches.

Ingrédients Pour Les "Barres":
90g de Beurre non-salé, à température ambiante
143g de Beurre de cacahuète (sans morceaux)
210g de Sucre cristallisé
60g de Sucre brun clair
2 Gros Oeufs

1 CC d'Extrait de vanille pure
128g de Farine blanche
1/3 CC de Sel de mer fin
1 CC de Poudre à lever
180g de Pépites de chocolat (à 60% de cacao)
Ingrédients Pour le "Glaçage Au Café":
1 CS de Café instantané
1 CS d'Eau chaude

90g de Sucre en poudre, tamisé
2-4 CS de Crème double (35% de mat. grasses)

Méthode Pour Les "Barres":
1. Préchauffer le four à 180° C.
2. Beurrer un moule à brownie de 20 x 20cm.
3. Mélanger ensemble la farine, le sel et la poudre à lever. Mettre de côté.

PB Cookie Picnik collage 4 bis
4. Dans un bol moyen, battre le beurre et le beurre de cacahuète en pommade (le mélange doit être homogène).
5. Ajouter les sucres et battre jusqu'à ce que le mélange soit léger.
6. Ajouter les oeufs, un à un et bien mélanger (nettoyer les bords à l'aide d'une langue de chat après chaque ajout).
7. Incorporer la vanille.
8. Puis incorporer le mélange farine/sel/poudre afin d'obtenir une pâte homogène.
9. Ajouter les pépites de chocolat et bien mélanger.
10. Etaler la pâte dans le moule.
11. Cuire pendant 30-32 minutes, jusqu'à ce que les bords se détachent légèrement du moule.
12. Laisser refroidir complètement avant d'étaler le glaçage.

Méthode Pour le "Glaçage Au Café":
13. Pendant ce temps, dans un petit bol, dissoudre le café instantané dans l'eau chaude.
14. Ajouter le sucre, assez de crème (afin d'obtenir un glaçage étalable) et mélanger.


Remarques:
Vous pouvez remplacer les pépites de chocolat à 60% par des pépites au chocolat au lait ou des pépites de beurre de cacahuète.
Si vous pensez que ces barres sont assez assez riches comme ça, alors il vous est possible d'omettre le glaçage.

Idées de présentation:
Servir pour votre quatre heures ou comme snack et accompagner avec de la crème fouettée, une boule de glace vanille ainsi qu'avec du thé ou du café.

PB Cookie Picnik collage 1 bis

Saturday, October 16, 2010

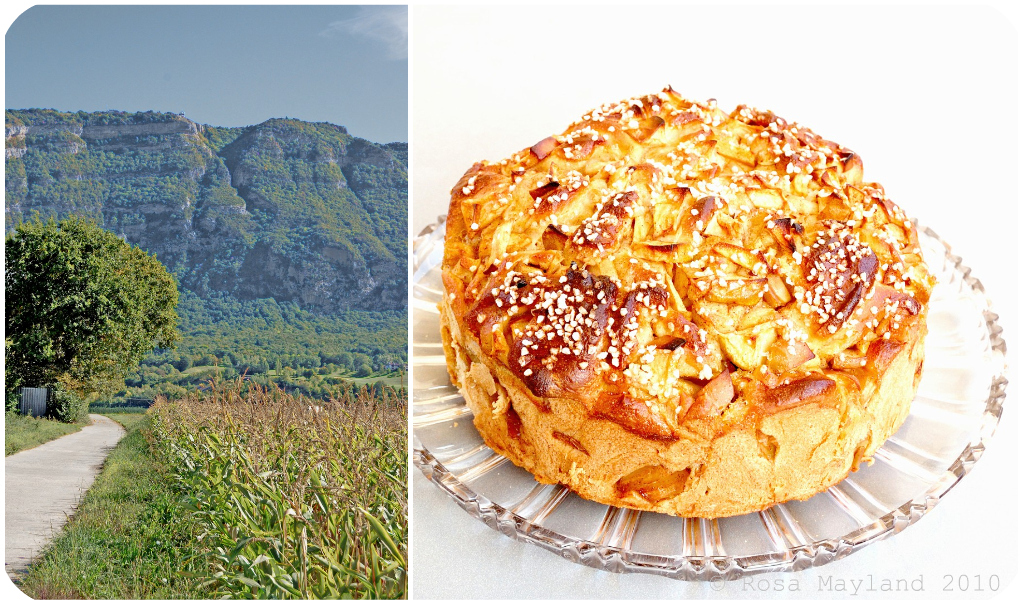
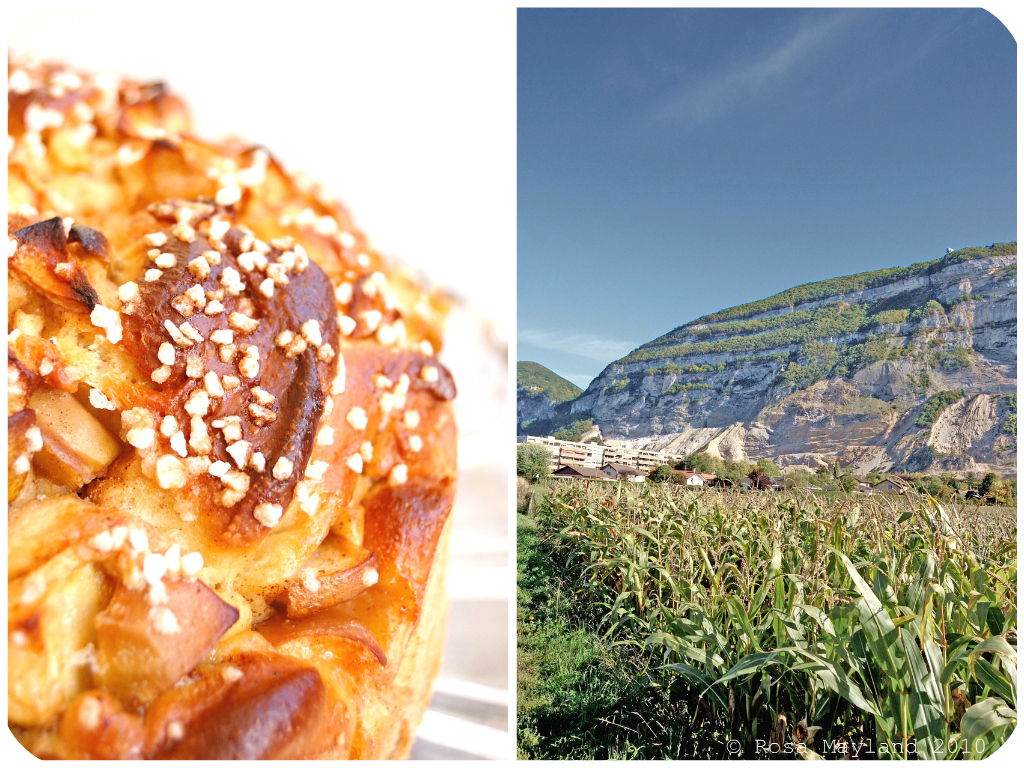
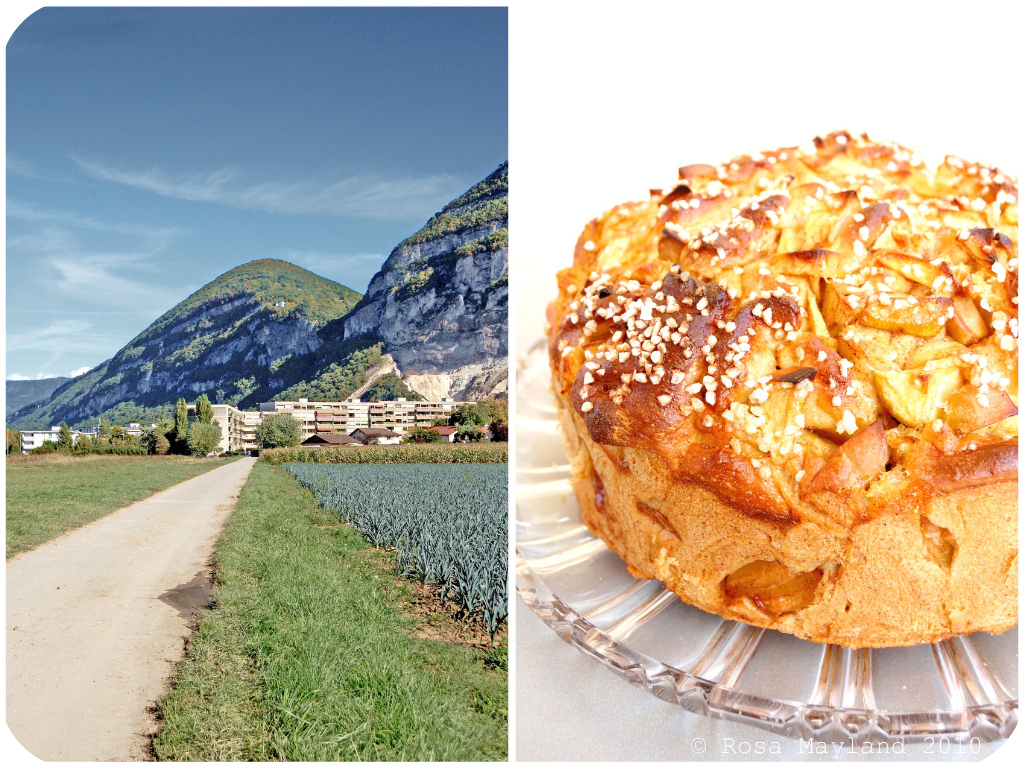
HARVEST APPLE CHALLAH - WORLD BREAD DAY 2010

Apple Challah Picnik-Collage 5 bis
This week I was once again facing another of my famous recipe crisises. I felt inspired, but could not find the bread I wanted to make for Zorra's "World Bread Day" annual event and roundup....

I knew that I wanted to bake something sweet, with apples and with some originality. I didn't want to propose a bread I had already blogged about so that limited my choice. You have to know that, as strange as it might seem, there aren't that many different recipes that combine brioche-type dough and apples. Apart from "Apple Cinnamon Rolls" (not enough apple in them), "Apple Danish Braids" (I had already made that speciality once - with apricots), "Apple Buns" (delicious, but not delicate enough and too rustic, in my opinion) and "Apple Pizzas/Focaccias" (I've already written a lot about fruit-based pizzas or focaccias) there isn't much choice when it comes to associating that fall fruit with bread dough (yes, I know, I am a terribly finicky person).

World Bread Day 2010 (submission date October 16)
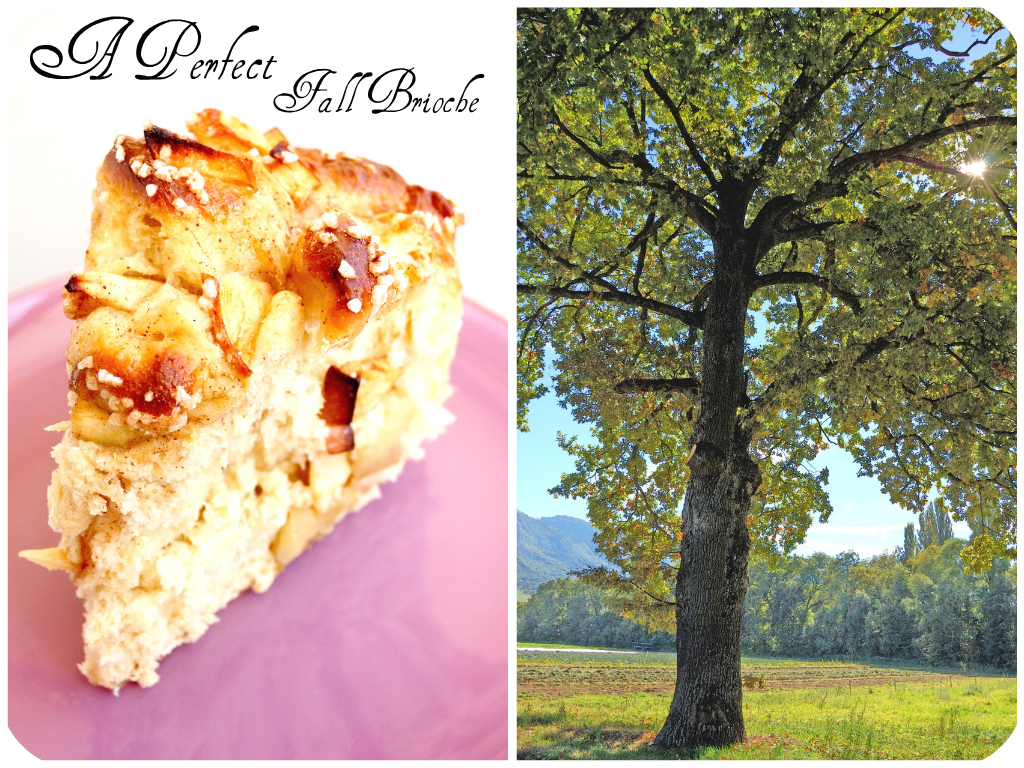
It is only after a good hour of roaming through the net and getting slighty overheated (My anger was boiling. I felt like a pressure cooker ready to explode!) by my unsuccessful quest that I finally stumbled upon what I was looking for. I was going to bake a "Harvest Apple Challah". A not overly rich brioche bread that contains enough apples to satisfy my fruit cravings and which has a load of personaliy.

What is ironic about that recipe is that I found it nowhere else than on one of my fav
orite and most regularly visited pages on the net: the King Arthur Flour website. I had to google and surf crazily like a spastic (no harm meant to people suffering fom cerebral palsy) in a frenzy in order to end up finding my recipe on a site I know more than well. I could have saved a lot of time if I knew that at the end I was going to choose a recipe from them!!!

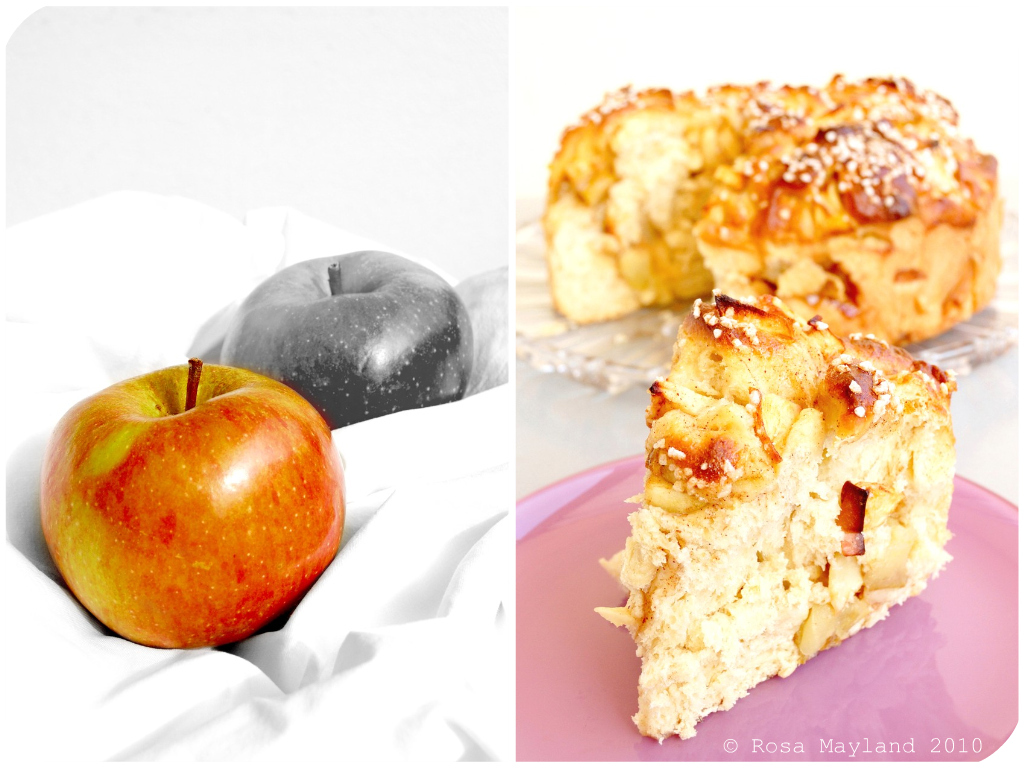
This "Harvest Apple Challah" is very different from the traditional Challahs we all know (plain, braided or coiled and with sesame or poppy seeds). This non-orthodox Challah is prepared like "Monkey Bread", spiced with cardamom, vanilla as well as orange peel puree and stuffed with sweetened cinnamon and rum scented apple chunks. In fact, it is called Challah just because the dough is made exactly like that of this wonderful festive Jewish bread.

The dough is rather painless and straightforward to prepare; nothing very difficult here (Unless you've never made bread that is...). The filling is also easy peasy. The only messy part in this recipe is when you have to cut the big apple-filled dough pillow in 16 pieces and place each of them in the round cake pan. Then, it gets kind of dirty, chaotic and extremely untidy. You'll have apples falling out, slippery wet dough refusing to get tamed, syrup juice oozing out of every opening and you'll think that it all went terribly wrong. But don't stick to that impression. You are actually doing the right thing. Don't panic, breathe deep and forget about the disastrous appearance of your unbaked Challah and your post-atomic bomb looks of your work surface. It will indeed look picture perfect once it comes out of the oven!

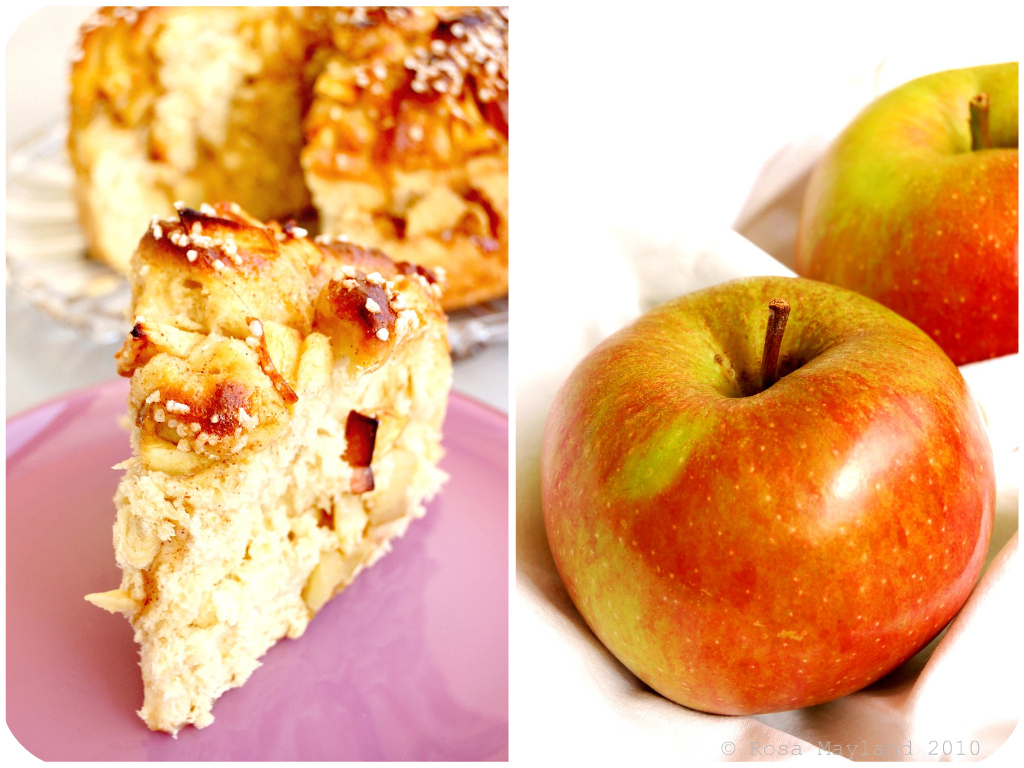
The smooth Challah dough contains fragrant honey, spices (my addition), some eggs and sunflower oil (no butter is ever used in this briochy treat). This particular combination confers an incredibly tender, fluffy and delicate texture as well as a divinely aromatic flavor to this bread. For the apple filling (to which I added a little rum), I chose not to use apples that are commonly employed when making desserts or cooking (Golden, Granny Smith, Gala, Jonagold, etc...) as in my opinion they either lack oomph, sharpness or fragrance. I decided upon choosing one of my favorite apples, the Dutch Belle de Boskoop. This large, lumpy, dull reddish green-brown apple might not be as pretty as it's other apple counterparts (I find it beautiful, though) and might look a little rustic as well as not prone to be presented on stalls, but believe me it has one of the most mouthwatering aromas I have ever come upon. And is the best ally when baking as it stands up well to cooking (As you have gathered now, I am a BIG fan of this apple!). Needless to say that the sharp filling was just perfect and contrasted wonderfully with the light sweetness of the bread.

This KAF "Harvest Apple Challah" is just simply to die for so do yourself a favor and BAKE IT without delay!!!!

This bread is getting yeastspotted by Susan’s Yeastspotting!

Apple Challah Picnik-Collage 3 bis
~Harvest Apple Challah ~
Recipe adapted from King Arthur Flour.


Ingredients for the "Dough":

1/2 Cup (4oz) Water, lukewarm

6 Tbs Vegetable oil (sunflower or peanut oil preferred)
1/4 Cup Runny honey

2 Large eggs
4 Cups (17oz) Unbleached all-purpose flour
1 1/2 Tsp Sea salt
1/2 Tsp Ground cardamom
1 1/2 Tsp Pure vanilla extract
1 Tsp Orange peel puree zest
1 Tbs (7g) Dried/instant yeast

Ingredients for the "Apple Filling":
2 Medium-to-large Apples (not peeled), cored and diced in 3/4" chunks
1 Tsp Ground cinnamon

1/4 Cup (2oz) Light brown sugar
1 Tbs Dark rum (optional)
Ingredients for the "Glaze":
1 Large egg
1 Tbs Water

Pearl sugar (optional)

Method for the "Dough":
1. Combine all of the dough ingredients. Mix and then knead them, using a mixer or by hand (or bread machine), until you have a soft, smooth and elastic dough (about 8-10 minutes).
2. Put the dough in a oiled/buttered bowl and let it rise, covered, for 2 hours or until it's puffy and nearly doubled in size (If you've made the dough in a bread machine, allow it to rise in the machine for an extra hour after the dough cycle is completed.).
3. Lightly grease/butter a 9inch round cake pan that's at least 2inch deep (or grease a 9inch or 10inch springform pan).
Method for the "Apple Filling":
4. Toss the apple chunks with the sugar, cinnamon and rum.

5. Gently deflate the dough, transfer it to a lightly greased work surface, and flatte n it into a rough rectangle, about 8 x 10 inches.
6. Spread half the apple chunks in the center of the dough (see remarks for details).

7. Fold a short edge of the dough over the apple in order to cover it, patting firmly to seal the apples and spread the dough a bit.
8. Spread the remaining apple atop the folded-over dough.
9. Cover the apples with the other side of the dough, again patting firmly (Basically, you've folded the dough like a letter, enclosing the apples inside.).
10. Take a long knife and cut the apple-filled dough into 16 pieces. Cut in half, then each half in halves, etc ... (This will be very, VERY messy; the dough is slippery, apples will fall out, sugar syrup will ooze... it's not pretty. Don't worry, and don't stress about making all the pieces the same size).
11. Lay the dough chunks into the pan (Crowd them so that they all fit in a single tight layer - barely. Lots of apple chunks will fall out during this process; just tuck them in among the dough pieces, or simply spread them on top.).
12. Cover the challah gently with lightly greased plastic wrap or a humid towel and let it rise for about 1 hour, until it's a generous 2inches high (It should just crest the rim of a 9inch round cake pan). Twenty minutes before the end of the rising time, preheat the oven to 325° F (170° C).

Apple Challah Picnik-Collage 4 bis
Method for the "Glaze":
13. Whisk together the egg and 1 tablespoon water. Brush the dough with the egg mixture, and sprinkle heavily with the pearl sugar, if desired.
14. Place the bread in the lower third of the oven. Bake it for 55 minutes, or until the top is at least light golden brown all over and has no white spots (Some of the higher-rising pieces will actually char; that's OK.).
15. Remove the challah from the oven, and after 5 minutes loosen the edges and carefully transfer it to a rack.
16. Let cool or serve warm.

Remarks:
I made my challah with Boskoop apples.

Be sure to use good-quality honey and oil in this recipe. Since they play such a major part, they have to taste good.
Use neutral-flavored oil. Canola oil can produce off flavors in baking, so best not to use it here.
If you want to see a picture tutorial of that recipe go over to the KAF site.

Serving suggestions:
Serve the bread warm or at room temperature.
Drizzle with honey just before serving, if desired or serve with honey for dipping.


~~~~~~~~~~~~~~~~~~~~~~

Apple Challah Picnik-Collage 6 bis
~ Challah Aux Pommes ~
Recette adaptée de King Arthur Flour.


Ingrédients pour la "Pâte":
120ml d'Eau à température ambiante
6 CS (90ml/g) d'Huile végétale (tournesol ou arachide)
90ml/g de Miel liquide
2 Gros oeufs (63g)
510g de Farine blanche/fleur

1 1/2 CC de Sel de mer
1/2 CC de Cardamome en poudre
1 1/2 CC d'Extrait de vanille pure
1 CC de Zeste d'orange en purrée

1 CS (7g/1 sachet) de Levure sèche (en granulés)
Ingrédients pour la garniture aux "Pommes":
2 Moyennes à larges pommes (non pelées), nettoyées et coupées en morceaux de 1cm

1 CC de Cannelle en poudre
60g de Sucre brun clair
1 CS de Rhum foncé (en option)
Ingrédients pour le "Glaçage":

1 Gros oeuf
1 CS d'eau
Sucre perlé (en option)

Méthode pour la "Pâte"
1. Mettre tous les ingrédients pour la pâte dans un bol. Mélanger et pétrir (pendant environ 8-10 minutes) à la main ou avec un robot (ou bien avec votre MAP), jusqu'à obtention d'une pâte douce et élastique.
2. Mettre la pâte dans un bol huilé, la couvrir avec un linge ou du film plastique et laisser lever pendant 2 heures ou jusqu'à ce qu'elle ait presque doublé de volume (Si vous avez préparé cette pâte dans votre MAP, alors laissez-la lever une heure supplémentaire après que le cycle se soit terminé.).
3. Légèrement beurrer/huiler un moule à cake de 23cm et de 6cm de haut (ou un moule à charnière de 23cm).
Méthode pour la garniture aux "Pommes":
4. Mélanger les pommes avec le sucre, la cannelle et le rhum.
5. Faire dégonfler la pâte, la transférer sur un plan de travail légèrement huilé et l'applatir afin d'obtenir un rectangle approximatif de 20 x 25cm.
6. Mettre la moitié des pommes au centre de la pâte (sur la largeur - voir remarques pour la méthode illustrée).
7. Replier le côté plus étroit sur le pommes pour les recouvrir et bien applatir afin de bien répartir les pommes.
8. Répartir les pommes sur le partie repliée.
9. Couvrir les pommes avec l'autre bord et applatir à nouveau (En fait, vous aurez replié la pâte telle une lettre, en renfermant les pommes à l'intérieur).
10. A l'aide d'un couteau, couper ce "chausson" en 16 morceaux. Cou
per en deux, puis encore en deux, etc... (Cette étape est très salissante; la pâte est glissante, les pommes s'échappent de leur enveloppe et du jus coule... C'est pas beau, mais pas de panique, c'est normal. Il n'y a pas besoin non plus que les morceaux soient égaux.).
11. Placer les morceaux dans le moule (Faire une seule couche et bien les coller ensemble/serrer. Certains morceaux de pomme tomberont durant cette étape; il suffira juste de les coller/presser sur le dessous du pain.).
12. Couvrir votre challah avec du film plastique huilé ou un linge humide et la faire lever pendant environ 1 heure, jusqu'à ce qu'elle ait atteint une hauteur de 5-6cm (La pâte devrait juste dépasser le bord du moule.). Vingt minutes avant la fin du temps de levée, préchauffer le four à 170° C.

Apple Challah Picnik-Collage 1 bis
Méthode pour le "Glaçage":
13. Battre ensemble l'oeuf et la cuillère à soupe d'eau. Badigeonner la pâte avec ce mélange et saupoudrer généreusement avec le sucre perlé.
14. Mettre le pain dans le tiers inférieur du four et le cuire pendant 55 minutes, ou jusqu'à ce que le dessus soit doré (Certaines parties plus élevées seront peut être caramélisées; c'est OK.).
15. Sortir la Challah du four. Après 5 minutes dégager les bords et la sortir du moule afin qu'elle refroidisse sur une grille.
6. Laisser la Challah refroidir complètement ou la manger encore chaude.

Remarques:
J'ai utilisé des pommes boskoop.

Choisir un miel et de l'huile de bonne qualité pour cette recette car la saveur en dépend grandement.
Utiliser de l'huile au goût neutre. L'huile de colza peut donner un mauvais petit arrière-goût à votre Challah, alors c'est préférable de ne pas en utiliser pour cette recette.

Sur le site KAF vous trouverez la recette en photos. Cela vous aidera à comprendre comment replier la pâte afin de créer un "chausson" (étapes 6 à 9).

Idées de présentation:
Servir ce pain chaud ou à température ambiante.
Arroser avec du miel liquide ou tremper votre tranche de brioche dans du miel.

Apple Challah Picnik-Collage 2 bis

Friday, May 14, 2010

ITALIAN WINE BISCUITS - BISCUITS AU VIN


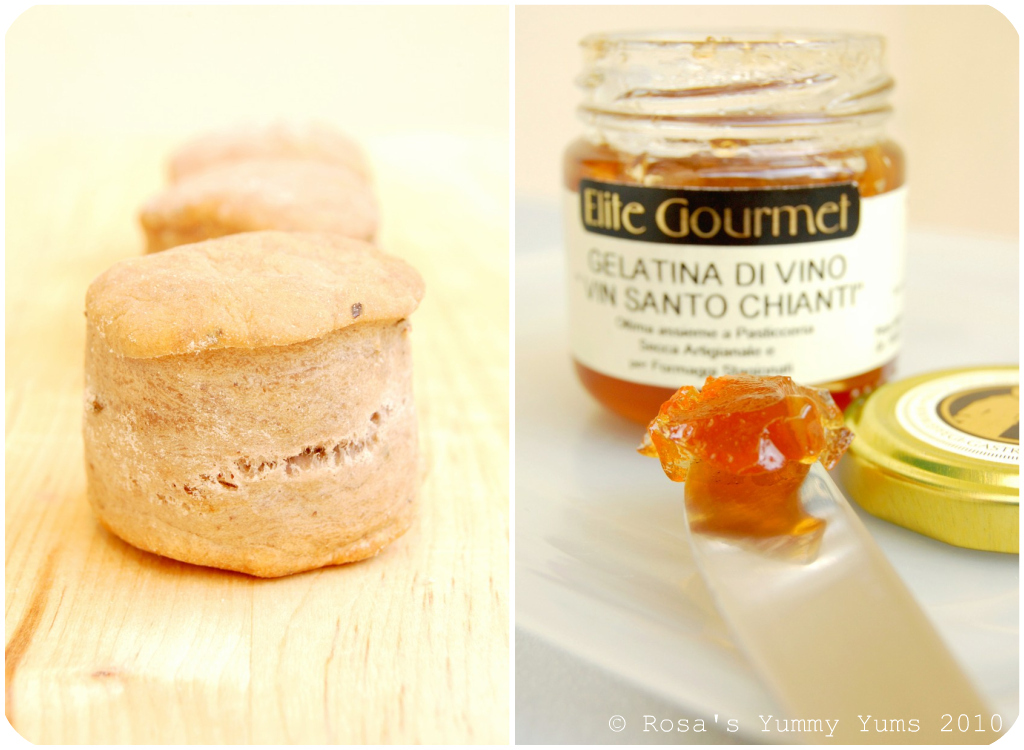
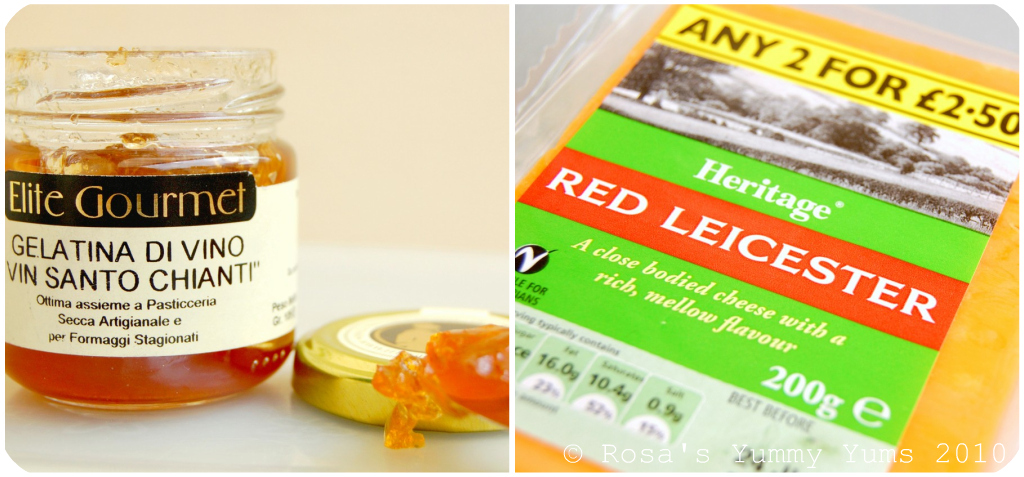
Not long ago, I bought a couple of cheeses (Red Leicester & Welsh Mature Cheddar) from "Jim's British Market", a British supermarket situated in neighboring France (Saint Genis-Pouilly). As it is not a delicacy we can eat on a weekly basis, we wanted to enjoy those yummy cheeses with a good glass of wine and the appropriate accompaniment...

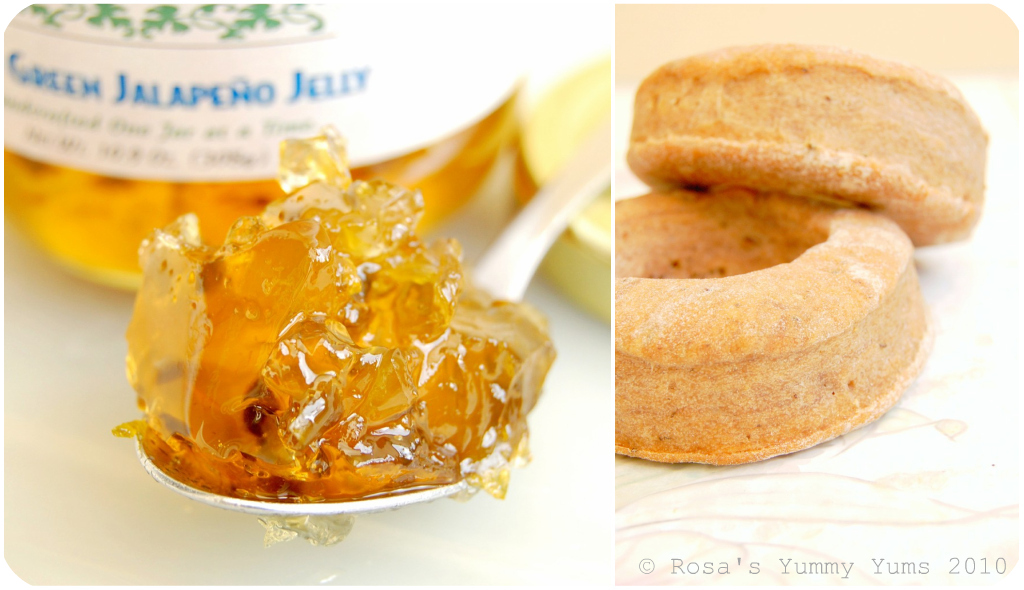
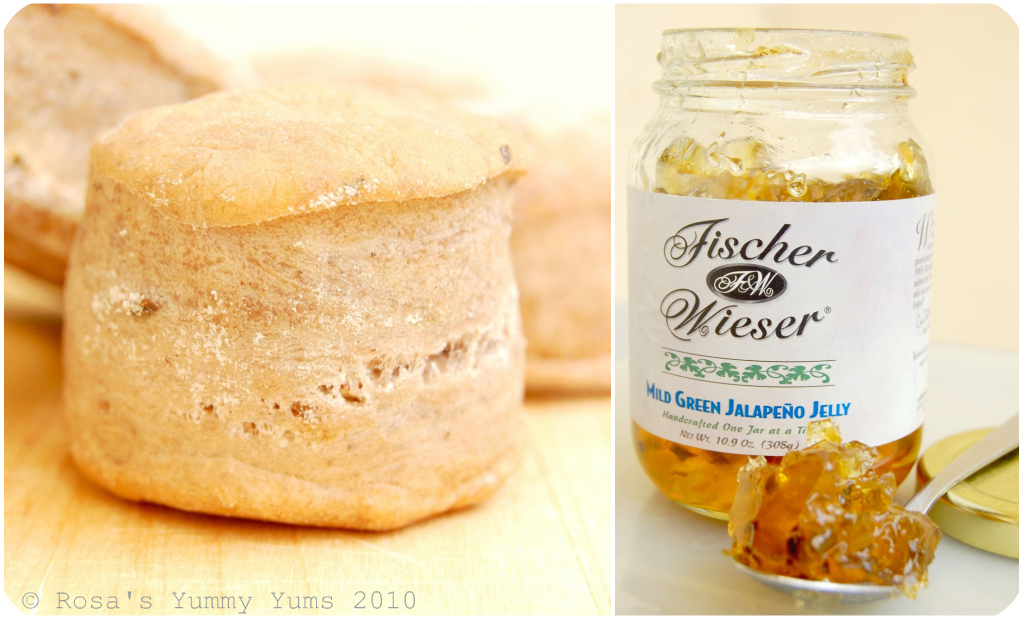
I also had two wonderful jellies - Green Jalapeño Jelly From Texas, USA
& Vin Santo Jelly from Italy - that I wanted to serve together with some good semi-hard gourmet cheese, it was the perfect opportunity to bake savory lush crackers. So, knowing that my "The King Arthur Flour Baker's Companion: The All-Purpose Baking Companion" contains many great cracker/biscuit ideas, it was without surprise that I found what I was looking for. As expected, the baked goods I made were very successful and turned out right; KAF's recipes are always a safe bet,

Considering the fact that pepper and Porto go very well with Cheddar-style cheeses, it was self-evident that KAF's sophisticated "Italian Wine Biscuits" ("Biscotti Di Vino" in Italian) would be the perfect pairing. Needless to say that we were delighted by their wonderful taste and pleasant texture.

Those dense and bready "Italian Wine Biscuits" are a bit like a cross between crackers (not as hard and flat, though) and scones (not as soft and fluffy either). They are crisp, semisweet biscuits which have a addictive, yet non overpowering peppery fragrance, subtle flavors of red wine and a delicate touch of salt. Terrific!

~ Italian Wine Biscuits ~

Recipe by The King Arthur Flour.


Yields about 32 biscuits.

Ingredients:
2 1/2 Cups (10 5/8 ounces) King Arthur Unb
leached All-Purpose Flour
2 Tsp Coarsely ground black pepper
4 to 6 Tbs (1 3/4 to 2 1/2 ounces) Sugar, to taste
1 Tsp Sea salt
2 Tsp Baking powder
1/2 Cup + 2 Tbs (5 ounces) Good dry red wine, such as Cabernet Sauvignon (non-alcoholic is fine)
1/4 Cup (1 3/4 ounces) Vegetable oil

Method:
1. In a medium-sized mixing bowl, combine the flour, pepper, sugar, salt and baking powder.
2. In a separate bowl, whisk together the wine and vegetable oil.
3. Add the liquid ingredients to the dry ingredients and mix well till the mixture is smooth, about 1 minute (see remarks).

4. Place the dough in plastic wrap and refrigerate it for at least 1 hour, or overnight.
5. Break off a piece of dough about the size of a walnut (about 3/4 oun
ce), and roll it into a ball. Poke a hole in the middle of the ball to make a small "bagel-shaped" biscuit.
6. Place it on a lightly greased or parchment-lined baking sheet. Repeat with
the remaining dough.
7. Bake the biscuits in a preheated 180° C (350° F) oven for 35 to 40 minutes, o
r until they're golden brown (they'll actually look kind of purple; that's OK).
8. Remove them from the oven, and cool completely on a wire rack.

Remarks:
The greater amount of sugar will make a biscuit which is just about as sweet as a cookie; the lesser amount will yield a more "savory-type" biscuit.
I added a little more wine to the mixture which turned out to be a bit too dry.
You can also just roll the pastry (
1.3cm/0.5 inch) and cut out rounds or squares.
Store those biscuits (at room temperature) in airtight containers for 3-4 days.

Serving suggestions:
Serve with cheese (perfect with Cheddar, Fontina or Pecorino), jalapeño jelly and with wine, grape juice spritzer, lemon-scented club soda or sangria.

~~~~~~~~~~~~~~~~~~~~~~

~ Biscuits Italiens Au Vin Rouge ~
Recette par The King Arthur Flour.


Pour 32 biscuits.

Ingrédients:
320g Farine blanche

2 CC Poivre noir, moulu grossièrement
4 à 6 Tbs (60 à 90g) de Sucre, selon goût
1 CC de Sel de mer
2 CC de Poudre à lever
150g/ml Vin rouge sec de qualité (Cabernet Sauvignon/sans alcool convient aussi)
53g d'Huile végétale


Méthode:
1. Dans un bol moyen, mélanger ensemble la farine, le poivre, le sucre, le sel et la p
oudre à lever.
2. Dans un autre bol, battre ensemble le vin avec l'huile.
3. Ajouter le mélange liquide au mélange sec et mélanger vigoureusement pendant 1 minute afin d'obtenir une pâte souple (voir remarques).
4. Emballer la pâte dans un film plastique et mettre au frigo pendant 1 heu
re ou toute une nuit.
5. Abaisser la pâte (1.3cm épaisseur) et découper des ronds (7cm) avec un emporte-pièce. Vous pouvez aussi découper des biscuits en forme de "bagel".
6. Mettre les biscuits sur la plaque de cuisson recouverte de papier sulfurisé.
7. Cuire les biscuits à 180° C (350° F) dans un four préchauffé pendant 35 to 40 minutes, ou jusqu'à ce que les biscuits soient joliment "dorés".
8. Retirer du four et faire refroidir sur une grille.


Remarques:
Si vous utilisez 90g de sucre, alors vos biscuits seront aussi sucrés que des cookies. Si vous ajoutez très peu de sucre vos biscuits seront plus salés (tels des crackers). a vous de choisir la quantité de sucre désirée.
J'ai dû rajouter un peu de vin car la pâte était un peu sèche.
Ces biscuits se conservent très bien 3 à 4 jours dans une boîte hermétiquement fermée.

Idées de présentation:
Ces biscuits sont délicieux avec du fromage (parfaits avec du Cheddar, de la Fontina ou du Pecorino) et de la gelée de piment jalapeño ou servis à l'apéritif avec du vin, de la sangria ou des cocktails.