As much as I love my blog, adore my followers and appreciate communicating my enthusiasm for all things culinary with the world, I have to admit that it is always very difficult to get back on track after having been on holiday and away from my virtual "baby" (yes, that's how I call it). Blogging offers a great deal of fun, but is also a full-time "job" if you are a dedicated and serious perfectionist like me.
There are some moments when I wish I would be less enslaved to Rosa's Yummy Yums, feel less under pressure and less "obligated" to make my faithful readership happy by offering regular updates on a weekly basis. Stress is negative and can really be destructive as it tends to kill the enjoyment this divertissement is supposed to bring and transforms it into a chore and a heavy responsability. It is exactly what you want to avoid and it is then that you have to unplug yourself before you wreck yourself and hate your hobby. In that case, a break is highly recommended
Having gone through a rough and emotionally draining phase lately, I had to interrupt my rat race routine with a lovely staycation. During two blissful weeks, I enjoyed relaxing my body, intellect and soul. Finally, I could breathe, sleep, stop looking at the clock, be as silly and snail-like as I wanted, yet I somehow missed putting my thoughts down on paper and sharing my vision of things as well as my latest gastronomical discoveries with you (addiction it is called - LOL).
On the one hand it might be an energy-consumming activity to feed such a site, but on the other hand, the pleasure and joy it gives to the person behind the keyboard is immeasurable and compensates for the endless exhausting and strainful photography sessions as well as every unnerving hour spent wracking my brains in order to find clever words, original ideas and dishes of interest that I can display here.
The positive news is that eventhough my batteries have not been entirely reloaded during the course of this small interlude, I am nonetheless back on the saddle once more and ready to kick some ass again! Hopefully you have savored that momentarily calm period during my absence. Aaahhh, what a relief! Finally free of my writing deliriums, photographic experiments, cunning points of view and my sinful as well as everlastingly tempting food.
Well, as I didn't want to leave you totally unoccupied while I was not visibly present (don't worry, just like a stalker or undercover agent, I followed each of your tweets, post and facebook movements as I'm an online junkie - LOL), two of my wonderful colleague bloggers (Tanvi and Peter) entertained you thanks to their delightful guest posts delivered with much warmth, charm, verve and talent.
But let me tell you, despite the fact that you might have the impression I have spent my vacation doing absolutely nothing and being lazy like a maggot, in no way have I been procrastinating or innactive. All on the contrary. I didn't publish any recent articles, that's true, but nevertheless, in my corner, I was calmly preparing my return and future features just like a tactician getting ready for war.
On the one hand it might be an energy-consumming activity to feed such a site, but on the other hand, the pleasure and joy it gives to the person behind the keyboard is immeasurable and compensates for the endless exhausting and strainful photography sessions as well as every unnerving hour spent wracking my brains in order to find clever words, original ideas and dishes of interest that I can display here.
Well, as I didn't want to leave you totally unoccupied while I was not visibly present (don't worry, just like a stalker or undercover agent, I followed each of your tweets, post and facebook movements as I'm an online junkie - LOL), two of my wonderful colleague bloggers (Tanvi and Peter) entertained you thanks to their delightful guest posts delivered with much warmth, charm, verve and talent.
But let me tell you, despite the fact that you might have the impression I have spent my vacation doing absolutely nothing and being lazy like a maggot, in no way have I been procrastinating or innactive. All on the contrary. I didn't publish any recent articles, that's true, but nevertheless, in my corner, I was calmly preparing my return and future features just like a tactician getting ready for war.
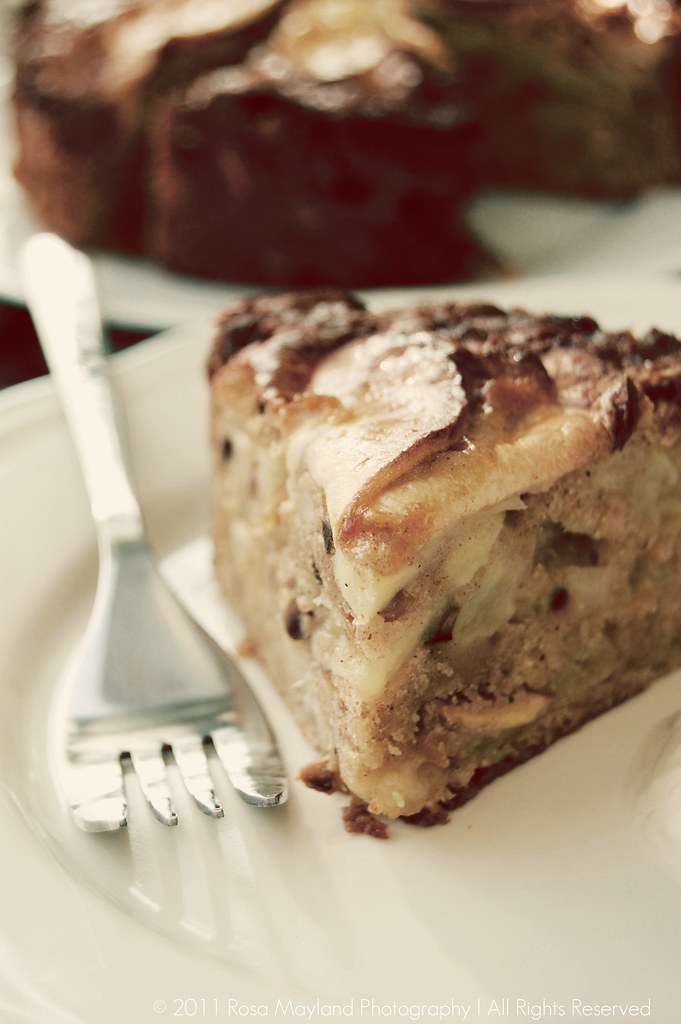
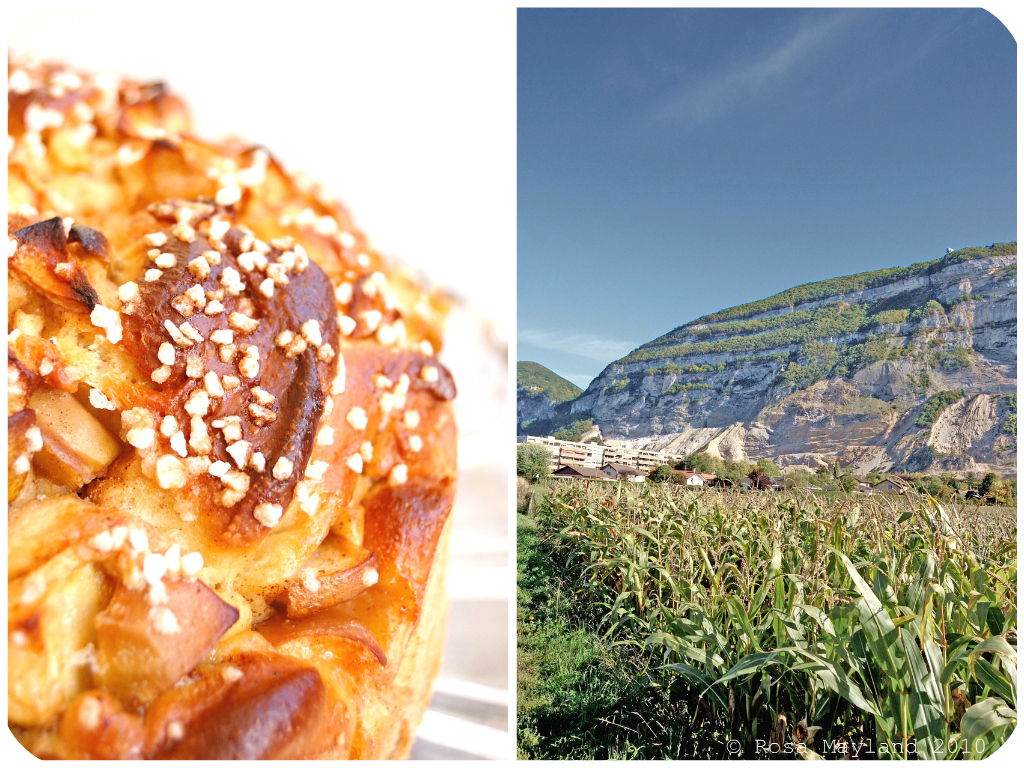
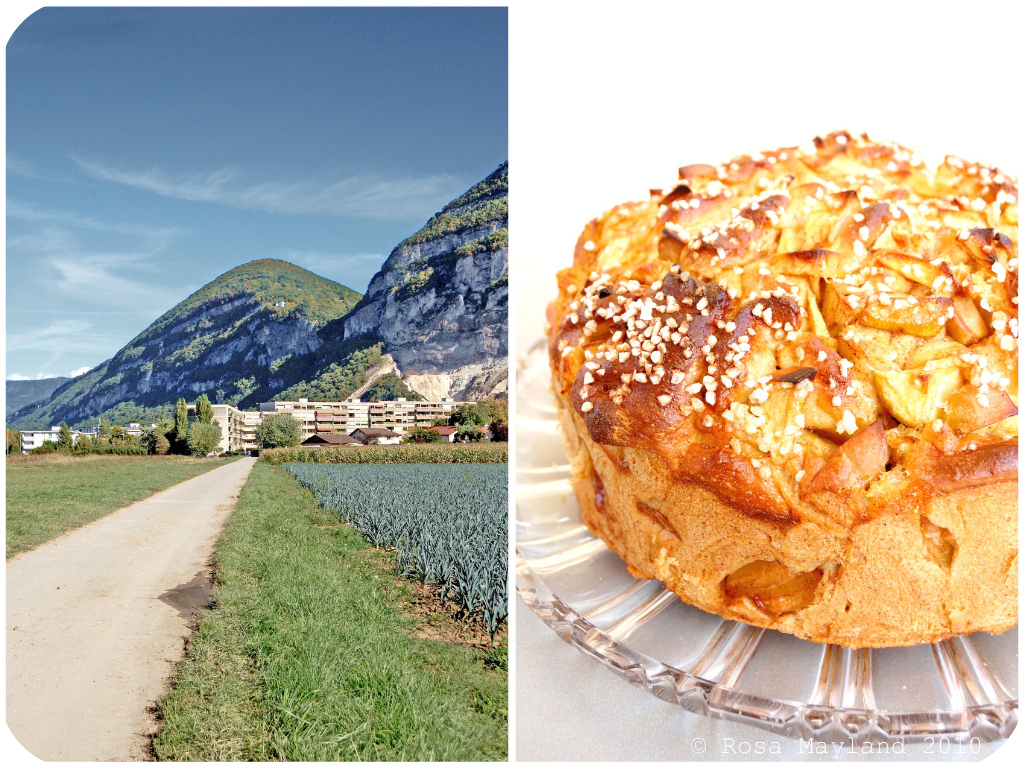
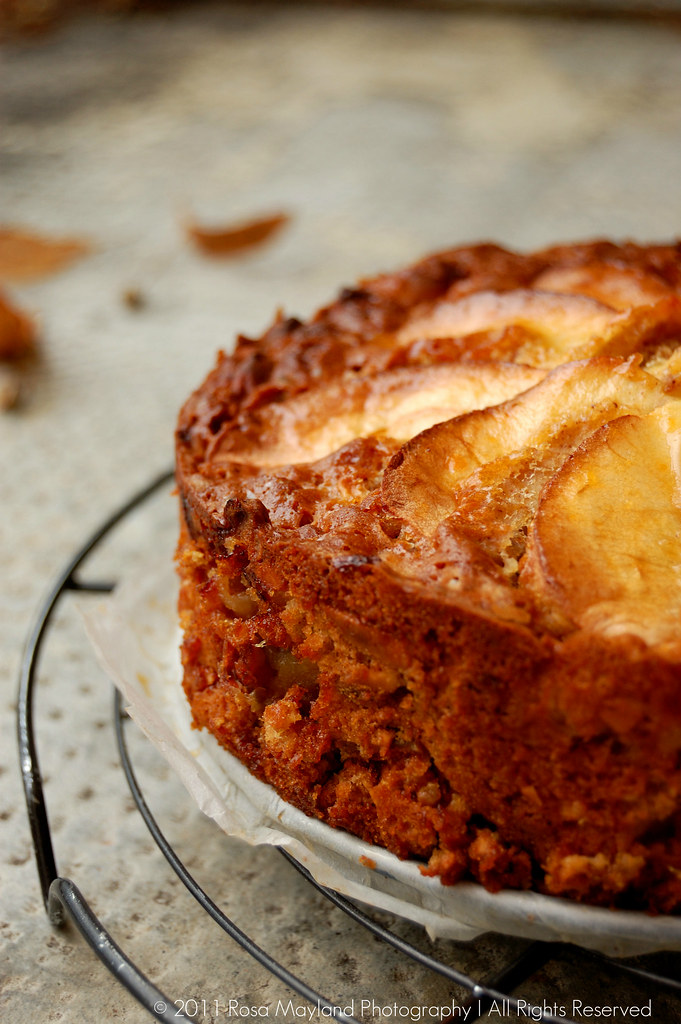
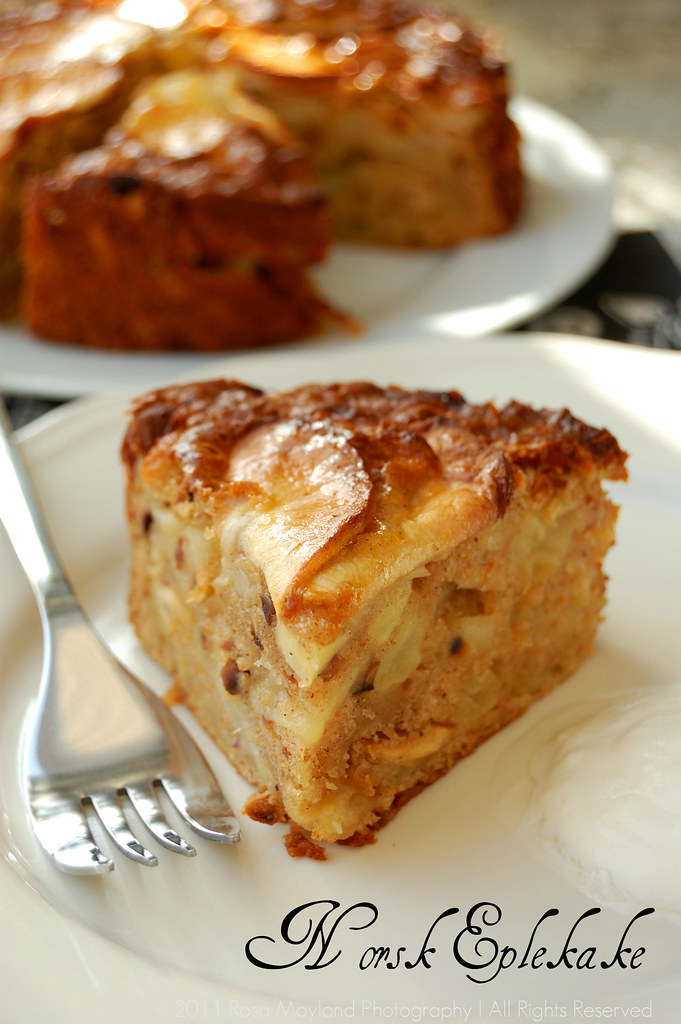
This Scandinavian goodie is ridiculously simple and fast to put together, nonetheless it is far from being characterless, boring or bland gustatively speaking. The warm spices pair admirably with the sweet tartness of the fruits and the toasted almonds add a gorgeously nutty note to the whole. A luscious and morish treat that is sticky, extra moist, super smooth in texture, mighty gratifying and somehow reminds me of pudding. Heavenly!
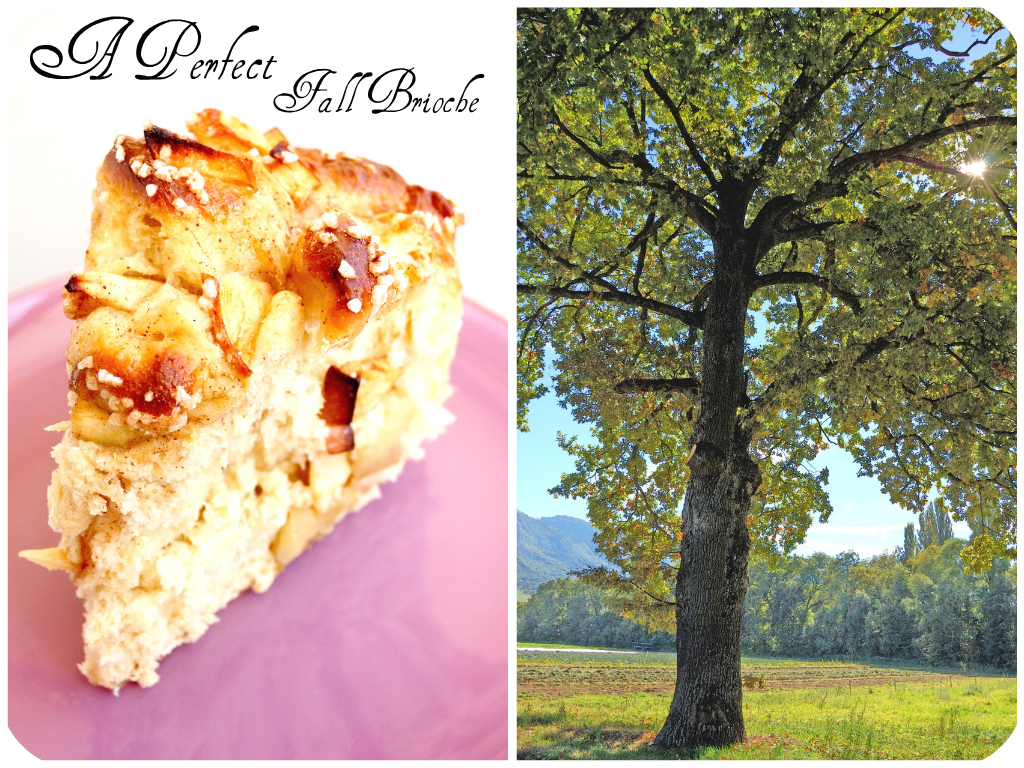
I have freely adapted the recipe from Beatrice Ojakangas' marvelous and highly recommended bestseller "The Great Scandinavian Baking Book". I operated a few small changes to it as I believed it could be slightly improved (not that it really needed any enhancement, though). My version uses ground cardamom, vanilla extract and roasted almond sticks. An addition which doesn't alter the über-nordisk and preciously old-fashioned flavors of that succulent torte.
Recipe adapted from Beatrice Ojakangas' "The Great Scandinavian Baking Book".
Ingredients:
1 Egg (63g)
2 Tbs Milk
3/4 Cup (158g) Castor sugar
1 Tsp Pure vanilla extract
1 Tsp Baking powder
1/3 Tsp Fine sea salt
1/3 Tsp Fine sea salt
1 Tsp Ground cinnamon
1/3 Tsp Ground cardamom
1 Cup + 2 Tbs (158g) All-purpose flour
1/2 Chopped almonds/or almond sticks (50g), toasted
3 Medium-sized tart apples
Directions:
1. Preheat the oven to 180° C (350° F), line a 18cm (7-inch) springform cake pan with baking paper and then butter it.
2. Peal, core, and dice the apples.
 3. Stir all the ingredients together (the mixture will be similar to that of muffins).
4. Spread into the pan.
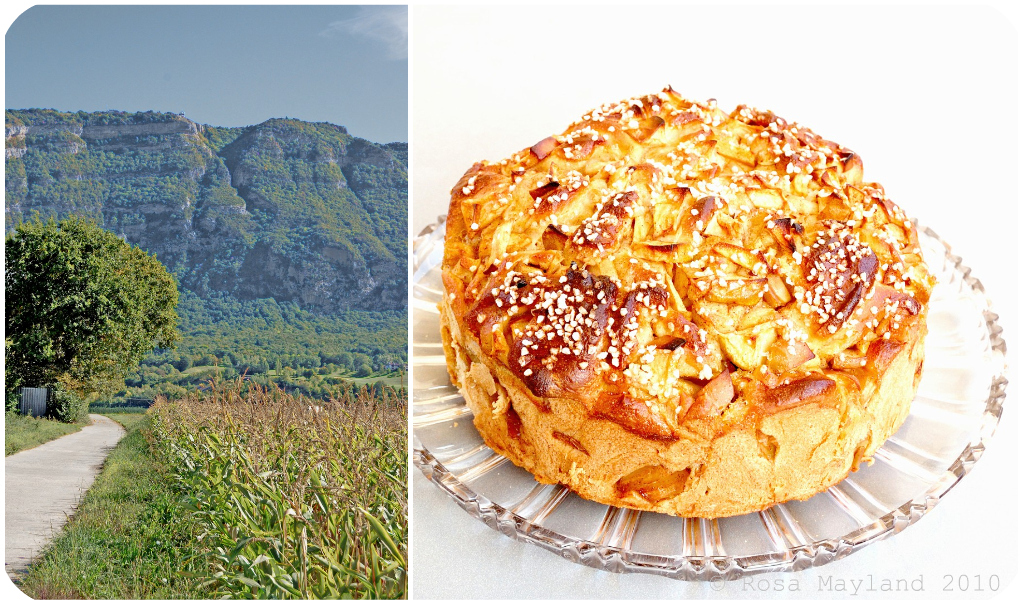
5. Bake for 50-60 minutes, or until browned and a toothpick inserted in the center comes out clean.
6. After 1 minutes, run delicately a knife along the side of cake to loosen, then remove from the side of springform pan.7. Place a cooling rack upside down over the cake. Turn rack and cake over. Remove the bottom as well as the baking paper of the springform pan. Place back on the rack.
8. Cool completely before serving.
Comments:
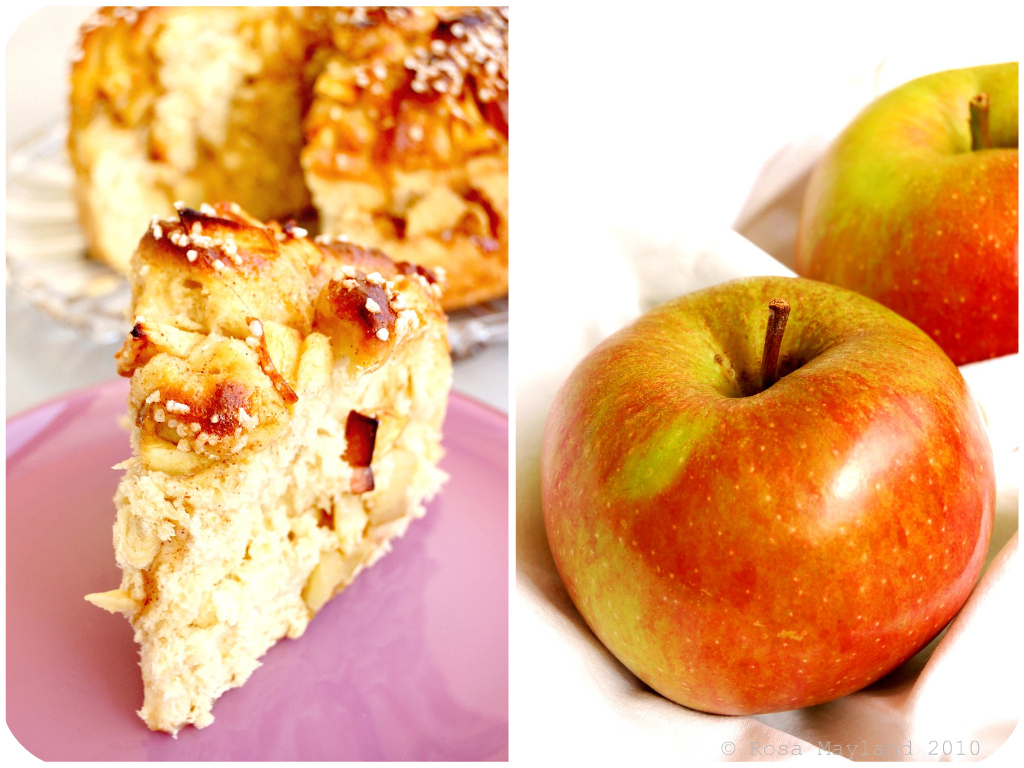
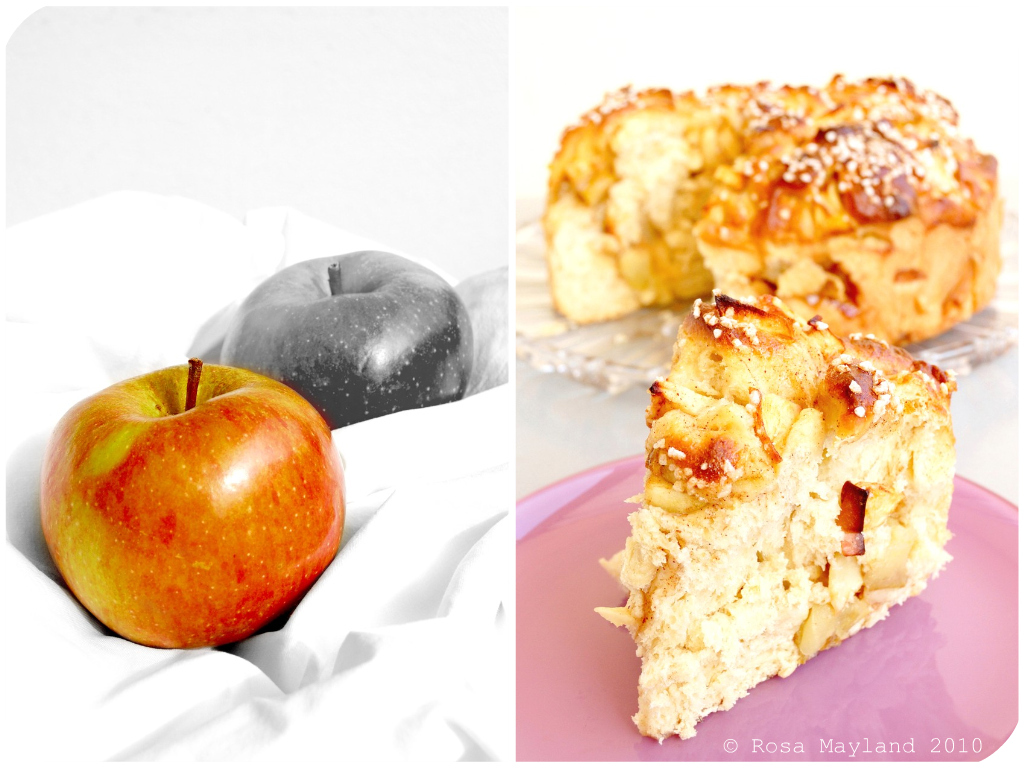
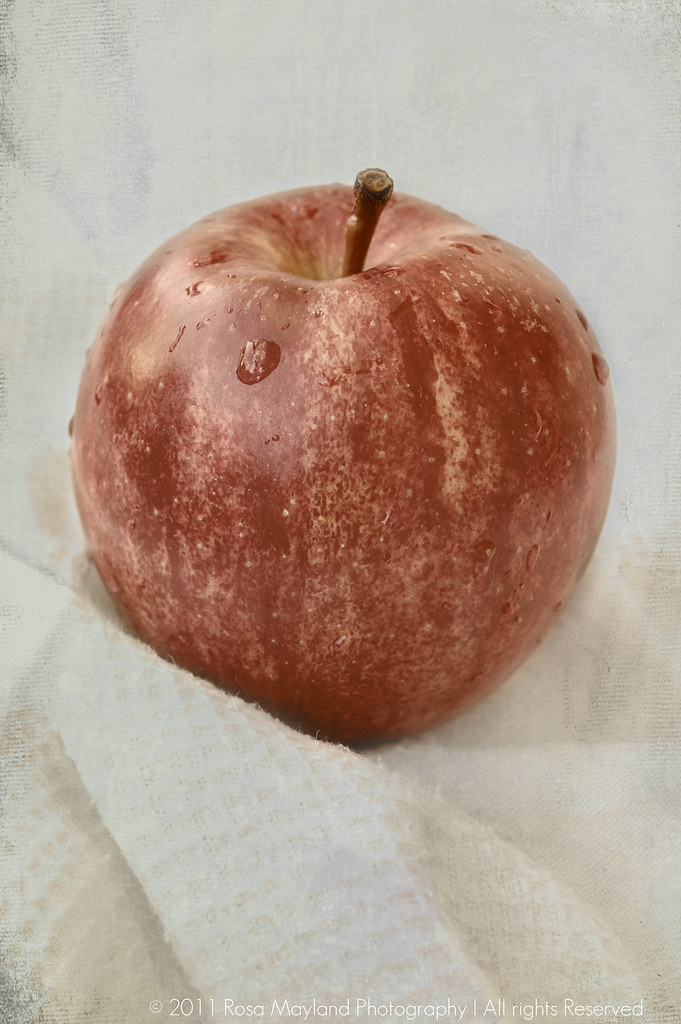
I used Belle de Boskoop apples (my favorite eating and baking apple) for this cake, but Bramley, Reine Des Reinettes, Braeburn, Granny Smith, Gravenstein apples, etc... are also ok.
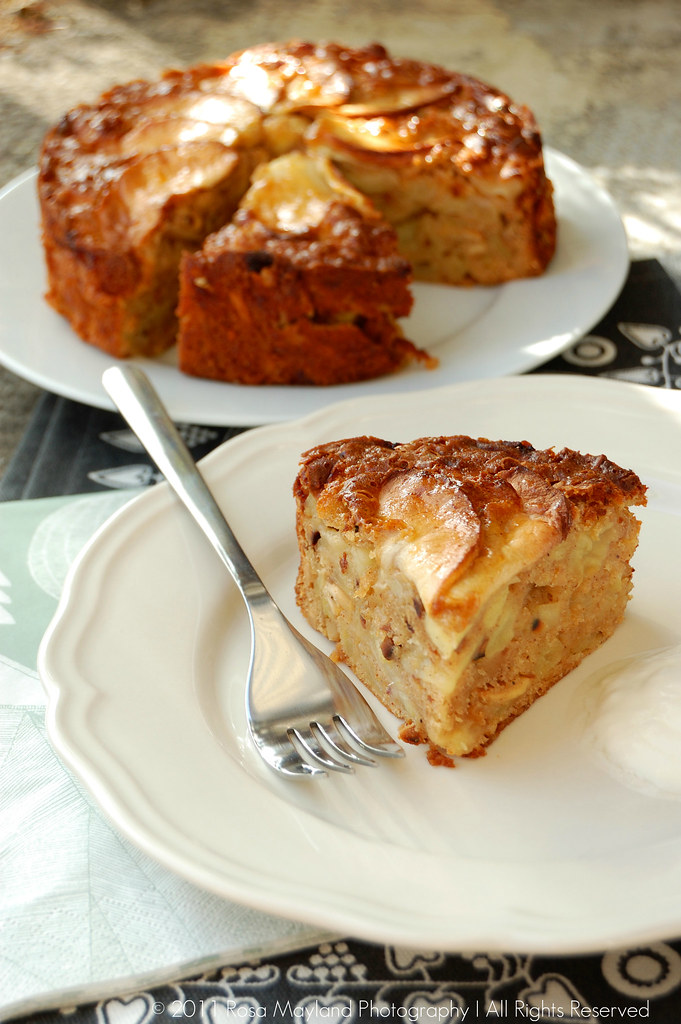
Serving suggestions:
Cut into wedges and serve with either sweetened whipped cream, sweetened thick yogurt or ice cream.
~~~~~~~~~~~~~~~~~~~~~
 ~ Gâteau Norvégien Aux Pommes ~
Ingrédients:
1 Oeuf (63g)
2 CS de Lait
158g de Sucre cristallisé
1 CC d'Extrait de vanille pure
1 CC de Poudre à lever/pâte
1/3 de CC de Sel de mer fin
1 CC de Cannelle en poudre
1/3 CC de Cardamome en poudre
158g de Farine
50g d'Amandes hachées, torréfiées
3 Pommes (moyennes) acidulées
Méthode:
1. Préchauffer le four à 180 ° C (350 ° F), recouvrir le fond d'un moule à charnière de 18cm avec du papier sulfurisé et le beurrer.
2. Peler les pommes, les nettoyer et les couper en dés.
3. Mélanger tous les ingrédients ensemble (le mélange sera épais, mais tout de même légèrement coulant, comme une pâte à muffin).
4. Étaler la pâte dans le moule.
5. Cuire au four pendant 50-60 minutes ou jusqu'à ce que le cake soit doré et qu'un cure-dent inséré au centre en ressorte propre.
6. Dix minutes après avoir sorti le cake du four, passer un couteau le long des côtés du gâteau, puis déserrer et retirer le moule à charnière.7. Enlever le fond du moule ainsi que le papier sulfurisé.
8. Laisser refroidir complètement avant de servir.
Commentaires:
J'ai utilisé des pommes Boskoop (mes pommes à manger et à cuire préférées) pour ce gâteau, mais les pommes reine des reinettes, braeburn, granny smith, gravenstein, etc .. feront également l'affaire.
Idées de présentation:
Couper en tranches et servir soit avec la crème chantilly, du yaourt grecque sucré ou de la glace.