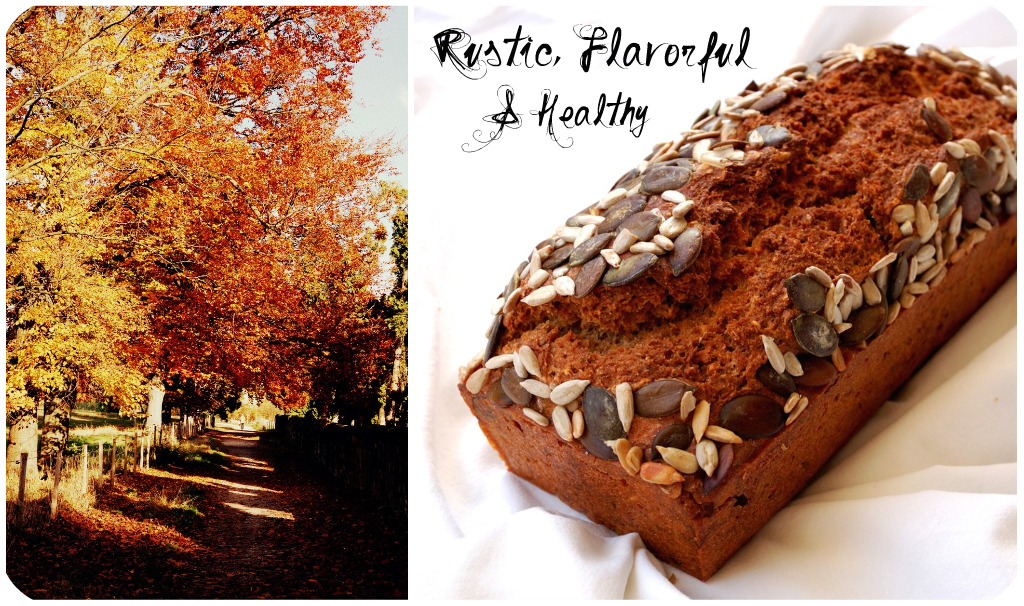
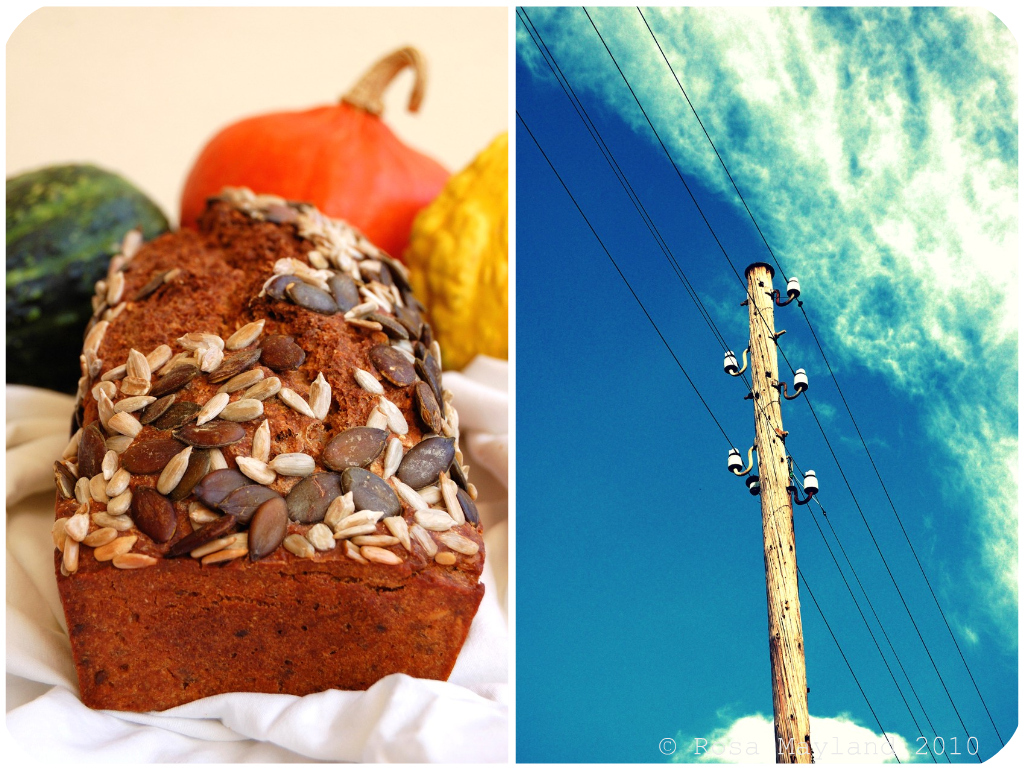
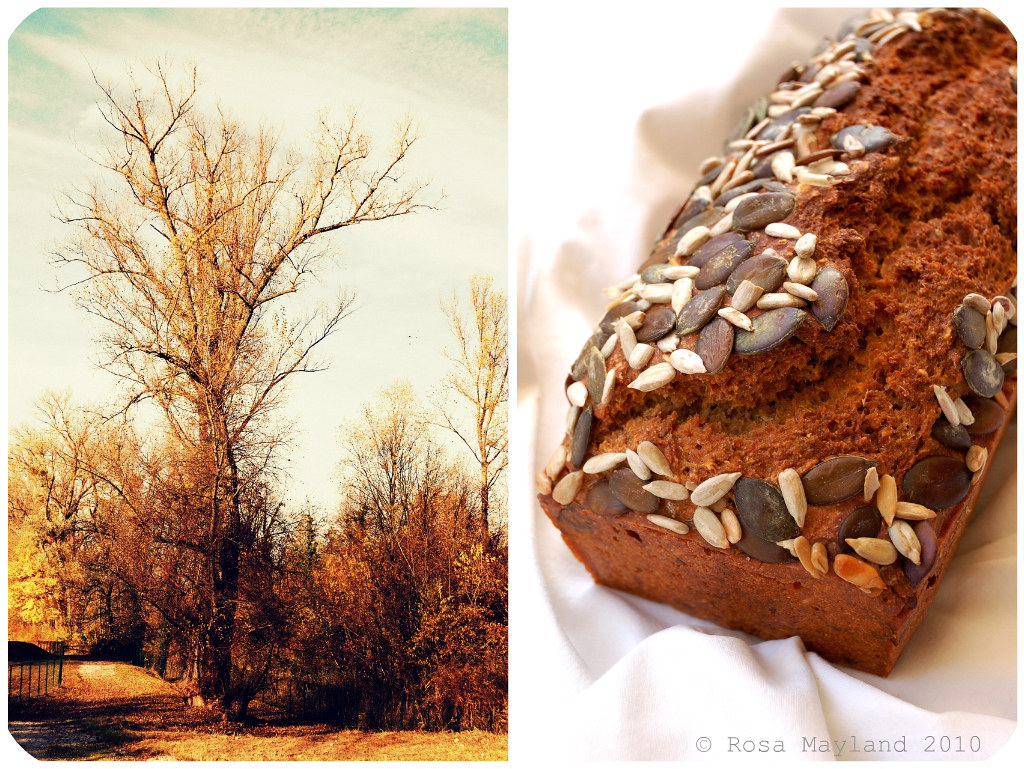
Last Saturday I really had no desire to spend more than 2 hours baking bread. It was a sunny and warm day, and there was no way I was going to stay in the apartment considering the fact that the weather prognoses for Sunday were dreadfully awful.
So, as I am in a very Scandinavian- (music, culture & films) and healthy-oriented period at the moment it is not surprising that my attention was captured by Nigella Lawson's "Norwegian Mountain Bread" recipe while I was surfing on expat Siri's blog ("The Transplanted Baker").
I dare you to find a more uncomplicated and rapid bread recipe! There is absolutely no kneading, rising or shaping involved (the loaf rises in the oven). The only thing you have to do is weigh and mix all the ingredients together, pour the dough into the baking pan, put it in the oven and then keep an eye on the clock and the thermostat knob. Magic, no?
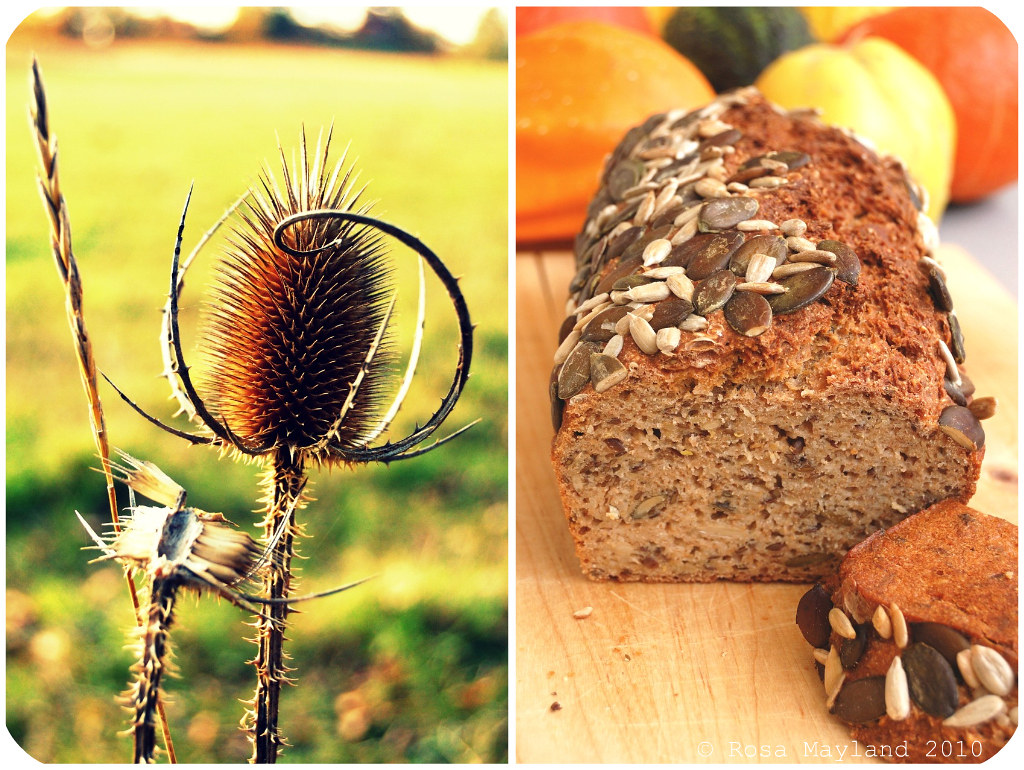
For such an inelaborate and rustic bread the result was remarkable. It was very flavorful, aromatic, pleasantly moist, wonderfully seedy, interestingly dense/compact, slightly sweet and so enjoyable. It somehow reminded me of Valais Rye Bread (Walliser Roggenbrot), German Pumpernickel, Swedish Rägbröd or Danish Ruggbrød, only without the sourness (since it is not made with sourdough).
This excellent "Norwegian Mountain Bread" is perfect when served with cheese, smoked salmon, Gravlax or cured meats such as Pastrami or corned beef. I'm sure you'll be delighted by this bread's unique aroma and texture.
This bread is getting yeastspotted by Susan’s Yeastspotting!
~ Norwegian Mountain Bread ~
Recipe adapted from Nigella Lawson's "How To Be a Domestic Goddess".
Makes one medium-sized loaf.
Ingredients:
1 Cup plus 2 Tbs (250ml) Milk or buttermilk, lukewarm
1 Cup plus 2 Tbs (250ml) Water, lukewarm
2 Cups (255g) Whole-wheat flour
1/2 Cup (64g) Rye flour
2 1/4 Tsp (1/4 oz./7 g) Active dry yeast
1/4 Cup (50g) Rolled oats (not instant)
1 1/2 Tsp Fine sea salt
1 Tbs Light brown sugar
8 Tbs Blend of any of the following (preferably all)
- Wheat germ
- Sunflower seeds
- Flaxseeds (linseeds)
- Pumpkin seeds
- Wheatbran
Method:
1. Mix the milk, water and yeast together in a measuring jug and let rest for about 10 minutes. Combine all the other ingredients in a large bowl.
2. Pour the liquid into the dry ingredients, stirring all the while to make a sticky mixture. Then beat for about 2-3 minutes.
3. Butter your loaf pan well, pour the dough into the pan, sprinkle a few extra seeds and oats over the surface of the bread, and place in a cold oven (middle).
4. Turn the on oven to 100° C (225° F). After 30 minutes, turn it up to 175° C (325° F) for one hour (see remarks).
5. When the loaf begins to get nice and brown, take it out of the oven, run a butter knife along the sides of your pan and let rest for 5 minutes, then carefully remove the bread from the pan.
6. Allow the bread to cool thoroughly on a rack in order to prevent the insides from getting gummy.
As I had no wheatbran or wheat germ, I used 3 tbs sunflower seeds, 3 tbs flaxseeds and et 2 tbs pumpkin seeds.
Nigella recommends poking the bread with a cake tester or fine skewer to make sure it's done, ie: the skewer will come out clean. You may wish to return the loaf to the oven for an extra 10-15 minutes if you judge that it hasn't baked enough (that's what I did).
Serving suggestions:
Slice thinly and serve with cheese, dry, cured or cold cooked meat, smoked salmon, Gravlax or smoked herring/mackerel.
~~~~~~~~~~~~~~~~~~~~~~
~ Pain Rustique Norvégien ~
Recette adaptée de "How To Be a Domestic Goddess" par Nigella Lawson.Pour un pain moyen.
Ingrédients:
250ml de Lait ou de babeurre, tiède
250ml d'Eau, tiède
255g de Farine complète
64g de Farine de seigle
2 1/4 CC (7g) de Levure sèche
50g de Flocons d'avoine
1 1/2 CC de Sel de mer fin
1 CS de Sucre brun clair
8 CS d'un mélange des ingrédients suivants (tous)
- Germes de blé
- Graines de tournesol
- Graines de lin
- Graines de courge
- Son de blé
Méthode:
1. Dans un récipient, mélanger ensemble le lait, l'eau et la levure et laisser de côté pendant 10 minutes. Dans un grand bol, mélanger ensemble tous les ingrédients restants.
2. Verser le liquide dans les ingrédients secs tout en mélangeant bien afin d'obtenir une pâte collante, puis la battre pendant 2-3 minutes.
3. Beurrer un moule rectangulaire de taille moyenne et verser la pâte dedans. Saupoudrer avec des flocons d'avoine et des graines et placer dans le four froid (milieu).
4. Régler le four à 100° C. Après 30 minutes, augmenter la température à 175° C et continuer à cuire le pain pendant 1 heure (voir remarques).
5. Quand le pain commence à devenir brun et qu'il a une belle croûte, le sortir du four et le dégager des bords du moule avec un couteau. Puis, après 5 minutes le sortir du moule et le poser sur une grille.
6. Faire refroidir le pain complètement avant de le consommer (afin d'éviter que l'intérieur soit "gommeux").
Remarques:
J'ai utilisé 3 CS de graines de tournesol, 3 CS de graines de lin et 2 CS de graines de courge car je n'avait pas de son de blé ou de germes de blé.
Nigella recommande de tester le pain avec la pointe d'un couteau afin d'être bien sûr que le pain soit cuit (dans ce cas la lame en ressort propre). Il vous faudra alors peut-être remettre le pain dans le fourra pendant 10-15 minutes (si vous jugez que le pain est pas assez cuit - ce que j'ai fait).
Idées de présentation:
Couper en tranches très fines et servir avec du fromage, de la viande séchée, de la charcuterie ou du roastbeef froid, du saumon fumé, du Gravlax ou du maquereau/harreng fumé.


Awww that bread looks lovely!!! I love the photo of the Cardère laciniée.
ReplyDeleteOhhh that loaf looks really yummy and tasty....great pics Rosa...I love to watch your pics ;)))
ReplyDeleteYour bread looks so tasty. What I wouldn't give for a nicely toasted slice right now.
ReplyDeleteLooks amazing! Love the topping!
ReplyDeleteLooks fantastic and delicious,Yum!
ReplyDeleteQuelles belles photos Rosa!!
ReplyDeleteTon pain est tellement beau, il m'a l'air bien bon et nourrissant!
Bon vendredi à toi:)
This bread is packed with great flavors!! I would love to have it with cheese and some wine :)
ReplyDeleteWell, I just happened to be in the neighborhood...and I'm so glad I stopped by.
ReplyDeleteThis bread looks incredibly-rustic and delicious!
Rosa, I'm sorry you've been so tired, but I have to admit, I love when you drag yourself into the kitchen.
I have that book, how can I miss the recipe? Thanks for finding it for us Rosa. It looks so delicious that I must say I want to make it too.
ReplyDeleteThis sounds like a great, quick and easy bread. I'll have to try it real soon.
ReplyDeleteIt looks delicious! Bread with lots of seeds is my favorite, I need to make some!
ReplyDeleteQuel beau pain Rosa! Tes photos m'épatent toujours :)
ReplyDeleteBonne journée ma chère :)
Il me plaiit ce pain, tu c'rois que je peux utiliser un lait végétal a cause de mon intolérance au lactose ??
ReplyDeleteWhat a beautiful loaf, it looks so hearty!
ReplyDeleteI like all your photos too!
This looks wonderfully easy and delicious Rosa...must try! Now where's the butter?
ReplyDeleteCheeky wuaua, awesome work.
ReplyDeleteThat loaf looks really yummy and tasty.
Your photos breathtaking.
Have a great weekend ♥
yes, it is genius bread! very beautiful with the seeds decorating it, perfect for autumn
ReplyDeletethis looks yummy! i love all those seeds on the top.
ReplyDeleteThis must be the simplest bread recipe I came across!
ReplyDeleteI'd never imagined something so delicious could be so simple. I love making bread but sometimes the effort seems too much. Your photos show a lot of colour and are comforting in these grey and rainy days. Have a great weekend Rosa!
ReplyDeleteVraiment très beau, on dirait un cake !
ReplyDeleteEt merci pour ces photos superbes ! Un bonheur !
Bisous
I always love your picture and your bread look really yummy!
ReplyDeleteOh Rosa...it's really fabulous to have foodie friends like you who is thinking magic for herself on a lazy day...and then turns around and shares the recipe with people like myself who seeks this type of no-fuss bread.
ReplyDeleteThe loaf turned our stunningly gorgeous and of course those pics lure us right into your world ;o)
Enjoy as much great weather as you possibly can...have a great weekend.
Ciao for now,
Claudia
BRIGITTE: OUi, je pense. Il ne doit pas y avoir de problème...
ReplyDeleteSuperbe, belle recette ! Merci ! :-)
ReplyDeletewonderful looking bread...
ReplyDeleteWhat a wonderfully hearty bread. Great job!
ReplyDeleteOh this is gorgeous rosa, I wish I could pop some in my oven stat. Lovely lovely on top, I like just to look at it.
ReplyDeleteThat's the most nutritious bread recipe I've ever read.
ReplyDeleteBeautiful bread..baked to perfection!
ReplyDeleteUS Masala
what a delicious looking top!
ReplyDeletehave a nice time,
Paula
I could eat tons of it....with some cheese and red wine, better ;D
ReplyDeleteThanks for the recipe
Rosa, this sounds so easy that you're right - it must be magic. Absolutely gorgeous bread.
ReplyDeleteSam
J'aime beaucoup les pains bien denses. Je les adore au petit déjeuner parce qu'ils sont bien consistant! en plus, quand ils sont si faciles à faire, il n'y a pas de raison de s'en passer:)
ReplyDeleteSounds fantastic with smoked salmon, and I love the seeds on top!
ReplyDeletea wonderful piece of bread, and lovely photos, cheers!
ReplyDeletetrop beau ton pain, il a les couleurs de l'automne :-)
ReplyDeleteExcellent choice of bread! Love the look of it.... a great recipe for a quick breakfast... practical and healthy :--)
ReplyDeleteSawadee from Bangkok,
Kris
Aa... you know me, this is my kind of bread...love all the "marching" seeds :)
ReplyDeleteBuonissimo pane, mi piace tanto! Mi prendo una nota della ricetta:) Grazie
ReplyDeleteBacione
Lovely post with beautiful photos! I should try to bake this bread because it looks wonderful!
ReplyDeleteI can't wait to try this Rosa! Your description makes me want to bake it tomorrow!
ReplyDeleteThis bread sounds so nice!! Bookmarked. Thanks for sharing!
ReplyDeleteThat looks awesome, Rosa! I love seedy breads....hard to believe how simple it is to make!
ReplyDeleteThe seeds scattered over the top are a lovely touch. What a great bread to start the day with.
ReplyDeleteno kneading, rising or shaping skills needed. Thats a bread for me !
ReplyDeleterustique mais plein de bonnes saveurs !!pierre
ReplyDeleteOuah les photos sont toujours aussi belles!
ReplyDeleteJe t'en pique une tranche au passage..
Bise & Bon week-end
That is one healthy and delicious looking bread, Rosa. I love the way the seeds 'surround' the perimeter of the nread. Beautiful job as always!!
ReplyDeleteA lovely bread and lovely fall images rosa!
ReplyDeleteBises
Ronelle
Ohhhh WOW! I am speechless! this bread is fantastic!!!! wow I have to say I am amazed.. I love baking bread and this one has made an impression for me!
ReplyDeleteI don't bake often but since you have given me a really easy recipe, I just may try it. It looks lovely and I love all the seeds.
ReplyDeleteThis recipe looks amazing, I esp love the seeds on the top, and since my bf is Norwegian I should probably make it for him. :) I dont know if I have any rye flour, but I could probably just sub it? Great recipe Rosa, thanks so much for sharing!
ReplyDeleteMerveilleuses photos
ReplyDeleteet
savoureuses recettes dans cet article
Love this recipe, thank you!! It looks so gorgeous and healthy, how can it be so easy? hehe. Lovely.
ReplyDeleteHeidi xo
Love the rustice look of this bread! Simply beautiful!
ReplyDeleteHave a great day, Rosa!
Cheers, Kristy
I love this sort of bread with all the grains and seeds, especially with some yummy cheese. I'll be trying to make this one soon! Cannot wait.
ReplyDeleteWhat a fantastic looking bread, Rosa! Very hearty and healthy!
ReplyDeleteCe pain se marie très bien avec tes photos; je le trouve merveilleux avec ses couleurs sombres et chaudes et les graines parsemees dessus sont bien a ;eur places.
ReplyDeleteTres beau, tres automnal aussi - un vrai succes!
ReplyDeleteoh Rosa, I almost wanted to reach out to grab the loaf....and your photography is excellent!
ReplyDeleteBeau, gourmand et tout à fait de saison!
ReplyDeleteGorgeous photos, Rosa! Of both the bread and scenery. I'd like a slice of warm bread with cold butter on it to munch on while I admire your photos.
ReplyDelete~ingrid
Ooh this loaf looks like a proper weekend treat! Delicious.
ReplyDeleteThat bread looks so delicious!
ReplyDeleteI agree with everyone--your pictures are stunning. I love how you paired pictures of the bread with fall pictures--it brings out the rustic beauty of that loaf. Thanks for the recipe!
ReplyDeleteThis bread looks so great. Similar to what my Grandma use to make but it took much longer. I love Nigella too...she is just so practical and nonsense!
ReplyDeleteSuch a great looking loaf. All of the nuts and seeds add nice crunch.
ReplyDeleteHi Rosa!
ReplyDeleteYour bread looks so beautiful! I made it today, but after rising for a while it fell while baking, so it is not as beautiful. Please tell me what I could do next time. Thanks!
Ruchi
I've always wanted to make this recipe! :D
ReplyDeleteThis looks delicious and very impressive looking. I am amazed how simple it is to prepare. Thank your for sharing it:)
ReplyDeleteThe bread looks amazing and perfectly baked.
ReplyDeleteIl est magnifique ce pain Rosas. Je retiens le lait ribot. Un plus non négligeable. Bises
ReplyDeleteIl est superbe ton pain avec les graines!
ReplyDeleteUn régal tartiné de beurre salé!
I must look in my Nigella books for this recipe, I don't think I've come across it before. Looks great!
ReplyDeleteThe bread is beautiful and looks great! I love the dense, chewy texture and can just imagine it as the backdrop for cheeses or smoked fish or meat. Gorgeous!
ReplyDeletethis bread looks amaizing...the seed toppings are a lovely addition. thank you for sharing this.
ReplyDeleteTrès tentant ce pain,surtout avec toutes ces graines.
ReplyDeleteBisous.
Caro
This bread is absolutely beautiful and if it's easy and uncomplicated that's even better!
ReplyDeleteRUCHIRA: Sorry to hear that! Strange... It should not happen. That bread rises in the oven for 30 minutes at 100° C and then bakes at 175° C. Did you let it rise before you put it in the oven? It sounds as if it has risen for a too long period of time.
ReplyDeleteRosa, the bread sure look very tasty and healthy. Love the idea of the seed on it. beautiful pictures as always :-)
ReplyDeleteThis bread is very eye-appealing! And with smoked herring could be heavenly!
ReplyDeleteCheers,
Gera
This loaf looks so yummy! I like that it's whole wheat and ultra healthy.
ReplyDeleteThanks for sharing!
Delizioso pane , grazie ciao
ReplyDeleteI don't experiment enough with different grains in breads ... this beautiful loaf looks like it will change all that for me!
ReplyDeletenigella does it again! what a terrific, hearty batch of bread. :)
ReplyDeleteWhat a perfect bread to make on a busy day. It looks wonderful.
ReplyDeleteAny yeast bread is adventurous in my book;) Plus, this one is really beautiful!
ReplyDeleteGood stuff here. I've been enjoying what I've been reading!
ReplyDeleteI adore the texture of the seeds and rustic quality of this bread - would be fantastic with gravlax and cheese. The simplicity of no kneading, no rising, no shaping reminds me Irish Soda Bread. My kind of baking!
ReplyDeletec'est un régal pour les yeux ce pain; je retiens la recette.
ReplyDeletewaouh il est trop beau ton pain..je sens que je vais tester ça avec mon nouveau robot!
ReplyDeleteGorgeous & well seed Mountain Bread Rosa!! We need a few loaves here :)
ReplyDeleteThat bread looks beautiful! I really miss bread when I read your bread posts!
ReplyDeleteLike the other posters, I have to agree that the pic's make the bread look wonderful and enticing... however, I wonder if anyone had tried making it.
ReplyDeleteI made it yesterday - 27 Feb. 2011 - using my KitchenAid stand mixer ...followed the instructions exactly, using all fresh ingredients and the loaf came out as dense as a brick - it actually looked like a brick too - It looked more like a Quick Bread than a yeast bread...barely rose. I tried eating the end piece before passing judgment and I'm sorry to say it was terrible.
This recipe is from a cookbook by Nigella Lawson... makes me wonder if it was ever pretested.
BARBARA43: Thanks for passing by and for leaving a comment! I am so sorry to hear that you bread didn't turn out as well as mine. I must say that I don't really know what happened as I make mine on a regular basis and it always end up being perfect. It is a dense bread (very much like pumpernickel) which does't rise much, though. I generally make it by hand and don't overbeat it. Other people on the net have baked it and loved it (http://transplantedbaker.typepad.com/the_transplanted_baker/2010/01/lazy-mans-bread.html)... I cannot find an explanation to why yours was not edible. :-( Cheers.
ReplyDeleteHi Rosa,
ReplyDeleteThanks so much for responding.
I checked the "transplanted baker" site that you mentioned.
I made my bread using your recipe which differs somewhat from the other site.
They say to "stir to make a sticky dough" - start at 225F, then increase the temperature to '350F' for 1 hour.
Your recipe says to "stir to make a sticky dough, then beat 2-3 minutes" - start at 225F, then increase the temperature to '325F'
for 1 hour.
Unfortunately, I beat it in my KitchenAid for 3 minutes and baked it at the lower temperature of 325F...which was probably the reason for the "brick" I ended up with.
I love Pumpernickel bread, seeded breads, and all European breads for that matter, so I will continue to bake those breads and learn from my mistakes. Now that I know it was me and not the recipe that was at fault, I'll give it another try. Thank you Rosa.
Have a wonderful weekend.
Barbara
Hi Rosa,
ReplyDeleteI tried making the bread too - but it failed to rise at all, and then it became a pretty flat, superwet (on the inside, anyway) loaf of bread. :-( I am not sure if I stirred too much, or.. is that really enough yeast? And can it really rise at 100C? When I tried some of the bread anyway, it did taste really good, but it was too wet to eat, really. Alternatively, could I let it rise outside the oven and just bake it shorter? Thanks! Valerie
BARBARA43: You are welcome! Yes, it is better to make the bread by hand. That is also how I proceed. Better not overwork it or use the Kitchen Aid. I hope you'll get a better result next time....
ReplyDeleteCheers.
VALERIE: I'm so sorry to hear about that! Well, this bread is meant to be dense and only rise a little. If it is too wet add a little flour (no more than 1/4 cup)... But it should not give a dough that can be kneaded. It has to be wet. Therefore you have to bake it longer and test it's doneness with a skewer.
There is enough yeast (I've even added a little more compared to Nigella). It rises perfectly at 100°C.
I guess you could try letting it rise outside of the oven and baking and skip the first part (no rising at 100° C for an hour).
I hope it'll work better next time. :-)
Cheers.
So glad there's another bread maker out there who mixes the dough by hand - how else would you know when it's ready unless you get your hands in it? This recipe is great for novice bread makers - no kneading or shaping - how simple can that be? I'm making this today - hope it turns out as lovely as your loaf.
ReplyDeleteAfter reading some of the comments, I let the dough rest for 30 minutes before proofing in the warm oven. It rose as much as I expected and baked up perfectly within about 50 minutes - this was a great bread to make on this busy sunday - thanks so much for the recipe, will definitely make again
ReplyDeleteWith coveted time in the kitchen at a premium these days I would love to try this Norwegian quick bread Rosa. As others mentioned this is perfect for the newbie bread bakers among us.
ReplyDeleteRosa, what a bread this is! You make a fantastic point about being so uncomplicated that even on a lazy weekend one could tackle it
ReplyDeleteI am going to be away for a couple of weeks, but once I come back I want to get this bread done.... I just know Phil will love it, and I will too
LOVE that bread and as usual images are gorgeous :))
ReplyDelete