
Dear folks, the 27th of the month has arrived and - drum roll - that means that today is the official Daring Bakers challenge reveal day. A very exciting time for us all reckless amateur bakers!
The September 2010 Daring Bakers’ challenge was hosted by Mandy of “What the Fruitcake?!” who challenged everyone to make "Decorated Sugar Cookies" based on recipes from Peggy Porschen and The Joy of Baking.
The September 2010 Daring Bakers’ challenge was hosted by Mandy of “What the Fruitcake?!” who challenged everyone to make "Decorated Sugar Cookies" based on recipes from Peggy Porschen and The Joy of Baking.
Another short month has gone by and once again I have failed to follow my promise to bake my Daring Bakers' challenge at least two weeks before the deadline. Instead of making my recipes calmly and without being stressed by time I prefer to start thinking about it at the very last minute and panicking because I haven't bought all the ingredients as well as the ustensils needed and I realize that the trial is in fact a lot less simple than I imagined it to be...
Mostly I overestimate the quantity of work needed in order to make whatever baked good is asked for us to create and I generally freak out thinking that the challenge is far too complicated for me when in fact it is not the case. This time though I thought to myself "that challenge is damn too simple to be true". Oh, how wrong was I to assume that!
I believed that it would be an effortless task to make those "Decorated Sugar Cookies". By thinking so I forgot that I hate anything that is linked to pastry decorating and fear that kind of activity. I am not too skilled in that area as I am a total beginner and have clumsy fingers. In theory it sounded good, but in reality it was quite the opposite.
The cookies were a no brainer to prepare (a straight forward and basic job), but on the other hand decorating them felt like a real torture due to lack of material (in Switzerland such items like powdered food color and good piping nozzles are rare and quasi-inexistent - I wish I lived in the US or the UK) and experience in that domain. It took me about 4 hours to decorate my cookies. After having been very tense (trying to concentrate) and having not sat down during the whole process I felt totally drained and knackered. In the evening I fell in bed like a dead corpse and slept like a grizzly so much I was tired!
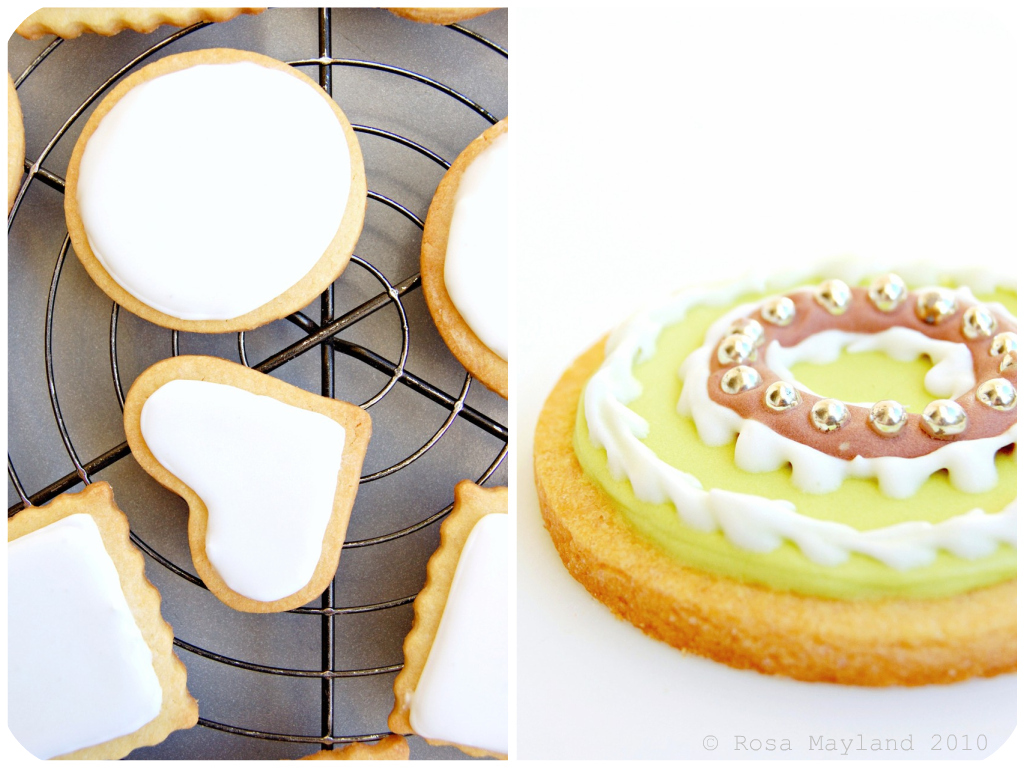
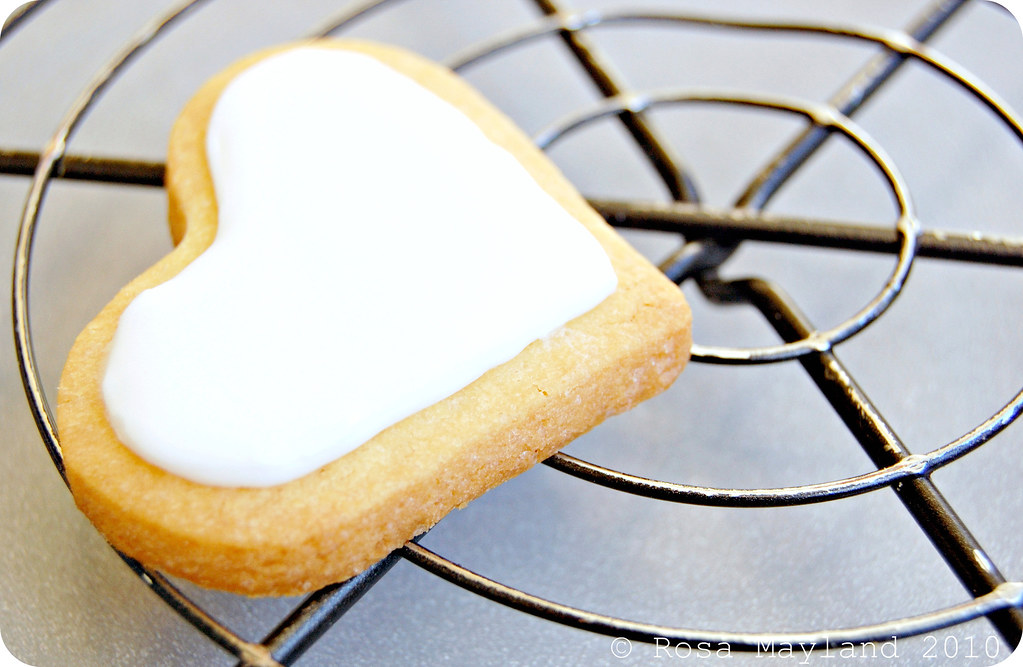
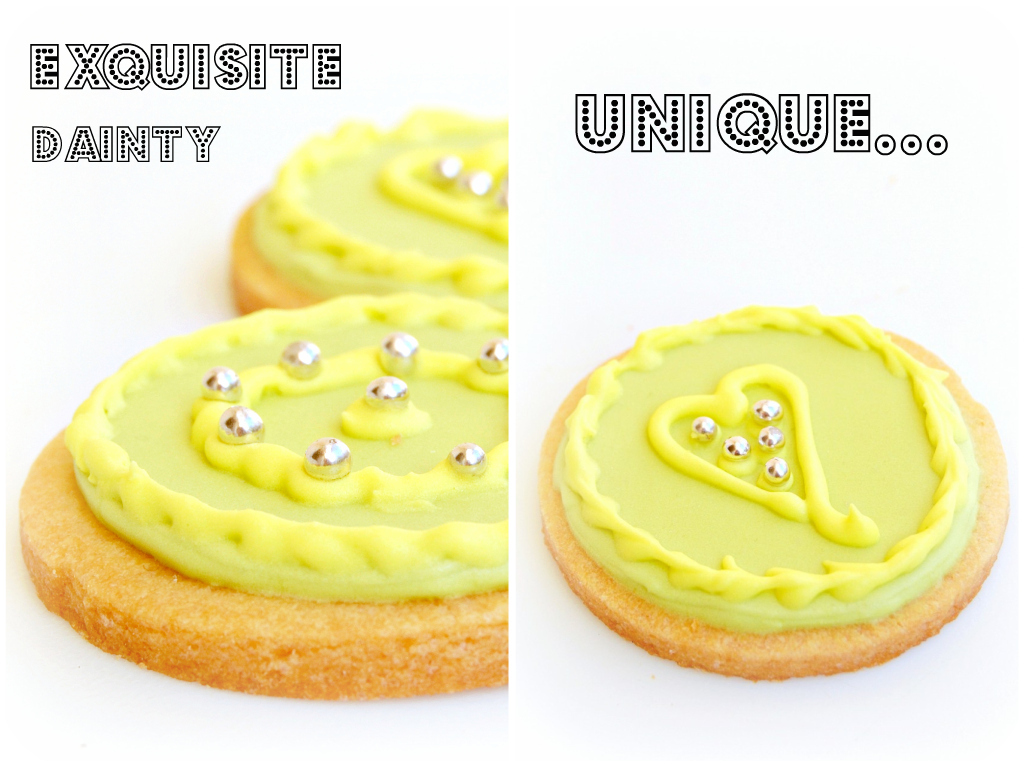
Anyway, I was determined to not let myself get taken over by my stress or influenced by bad constalletations. I refused to call it a day no matter how difficult the job was going to be. I wanted to succeed and offer no fugly cookies. And I must admit that even if my "Decorated Sugar Cookies" are far from being perfect they nonetheless look pretty good and presentable ("not bad" as my Pop would have said).
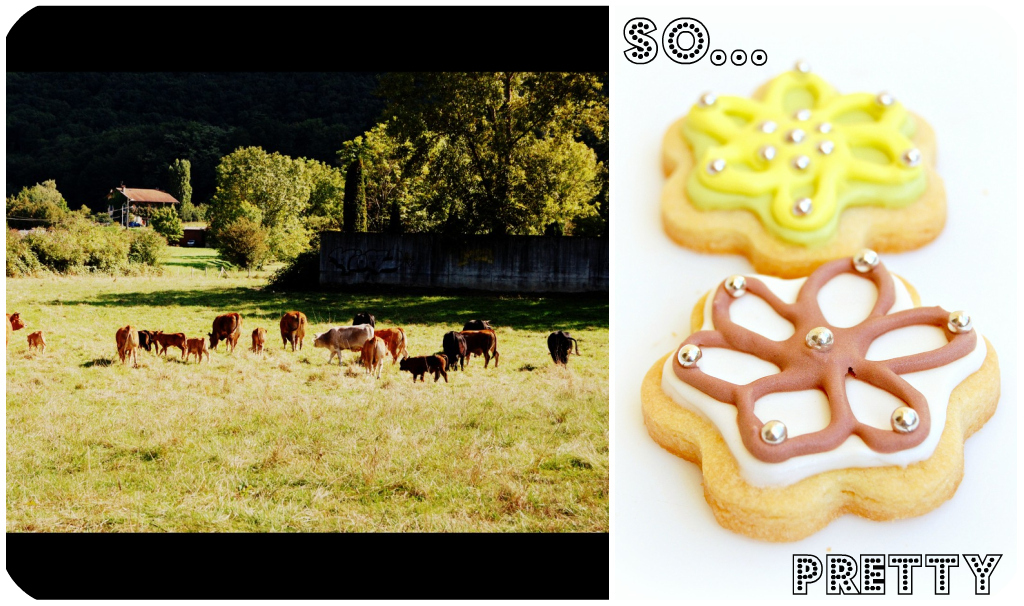
The theme of my cookies is "colorfulness", "glitter", "joy" and "flightiness". In difficult times and with the psychological effect the change of season has on us it is always good to be in high spirits. We all need a little craziness, glee and humor in our existence, something that brings us to life and makes us forget about our daily chores, misfortune and trials. We should not get caught up in the gloominess of this world we live in and in the swirls of negativity. Positivity is what keeps us going and not feeling totally hopless...
I wish to thank Mandy for having chosen that awesome challenge. Thanks to her I have discovered that I am not such a bad cookie decorator and that I even have a certain hidden artistic side to my personality. Now, I am really looking forward to developping my decorating skills in the near future!“Mirth is like a flash of lightning, that breaks through a gloom of clouds, and glitters for a moment; cheerfulness keeps up a kind of daylight in the mind, and fills it with a steady and perpetual serenity.”
- Joseph Addison, English essayist, poet, playwright and politician
~ Decorated Sugar Cookies ~
Preparation Time:
30 minutes: Making dough & rolling
1 hour min: Refrigeration
8-15 minutes: Baking per tray depending on size of cookies
Equipment Required:
- Parchment paper
- Rolling pin
- 5mm guide sticks (optional)
- Cookie cutters or sharp knife
- Baking trays
- Wire cooling rack
- Spatulas
- Mixing bowls
- Measuring cups/spoons or weighing scale
- Sieve
- Icing bags / Parchment Cones
- Sizes 1 to 5 plain icing tips (2 and 4 being the most common to use)
- Star icing tips (optional)
- Couplers (optional)
- Toothpicks
- Elastic bands
~~~~~~~~~~~~~~~~~~~~~~
BASIC SUGAR COOKIESMakes Approximately 36x 10cm (4inch) Cookies.
Ingredients:
200g (7oz/1/2 Cup + 6 Tbs) Unsalted butter, at room temperature
400g (14oz/3 Cups + 3 Tbs) All purpose flour (plain flour)
200g (7oz/1 Cup) Caster sugar (superfine sugar)
1 Large egg, lightly beaten (63g)
5ml (1 Tsp) Pure vanilla extract (or seeds from 1 vanilla bean)
Method:
1. Cream together the butter, sugar and any flavourings you’re using. Beat until just becoming creamy in texture.
Tip: Don’t over mix otherwise you’ll incorporate too much air and the cookies will spread during baking, losing their shape.
2 Beat in the egg until well combined, make sure to scrape down the sides of the bowl. Add the sifted flour and mix on low until a non sticky dough forms.
Tip: I don’t have a stand mixer so I find it easier to switch to dough hooks at this stage to avoid flour flying everywhere.
3. Knead into a ball and divide into 2 or 3 pieces.
4. Roll out each portion between parchment paper to a thickness of about 5mm (1/5 inch/0.2 inch).
5. Refrigerate for a minimum of 30mins.
Tip: Recipes commonly just wrap the whole ball of dough in clingwrap and then refrigerate it for an hour or overnight, but by rolling the dough between parchment, this shortens the chilling time and then it’s also been rolled out while still soft making it easier and quicker.
6. Once chilled, peel off parchment and place dough on a lightly floured surface.
7. Cut out shapes with cookie cutters or a sharp knife.
8. Arrange shapes on parchment lined baking sheets and refrigerate for another 30mins to an hour. Tip: It’s very important you chill them again otherwise they’ll spread while baking.
9. Re-roll scraps and follow the above process until all scraps are used up.
10. Preheat oven to 180°C (160°C Fan Assisted/350°F/Gas Mark 4).
11. Bake until golden around the edges, about 8-15mins depending on the size of the cookies. Tip: Bake same sized cookies together otherwise mixing smaller with larg er cookies could result in some cookies being baked before others are done.
Rotate baking sheets half way through baking if your oven bakes unevenly.
12. Leave to cool on cooling racks.
13. Once completely cooled, decorate as desired.
Tip: If wrapped in tinfoil/cling wrap or kept in airtight containers in a cool place, un-decorated cookies can last up to a month.
~~~~~~~~~~~~~~~~~~~~~~
ROYAL ICING
Ingredients:
315g - 375g (11oz – 13oz/2 1/2 - 3 Cups) Icing sugar, unsifted
2 Large egg whites
10ml (2 Tsp) Lemon juice
5ml (1 Tsp) Almond extract, optional
Method:
1. Beat egg whites with lemon juice until combined.
Tip: It’s important that the bowls/spoons/spatulas and beaters you use are thoroughly cleaned and grease free.
2. Sift the icing sugar to remove lumps and add it to the egg whites.
Tip: I’ve listed 2 amounts of icing sugar, the lesser amount is good for a flooding consistency, and the larger amount is for outlining, but you can add even more for a much thicker consistency good for writing. If you add too much icing sugar or would like to make a thinner consistency, add very small amounts of water, a few drops at a time, until you reach the consistency you need.
3. Beat on low until combined and smooth.
4. Use immediately or keep in an airtight container.
Tip: Royal Icing starts to harden as soon as it’s in contact with air so make sure to cover containers with plastic wrap while not in use.
~~~~~~~~~~~~~~~~~~~~~~
DECORATING YOUR COOKIES
“Flooding” a cookie is a technique used when covering a cookie with Royal Icing.
1. You outline the area you want to flood which helps create a dam.
2. Then fill or flood inside the area you’ve outlined.
What You'll Need:
- Piping bags / Parchment Cones / Ziplock Bags
- Elastic bands
- Piping tips (between sizes 1 & 5)
- Couplers
- Glasses (handy for standing your piping bags in)
- Clean clothes, dry & damp
- Toothpicks
- Gel or paste food colouring
The most important thing when it comes to decorating with Royal Icing is the consistency. There are two ways of flooding your cookies. Some like to do the outline with a thicker icing and then flood with a thinner icing. Some like to use the same icing to do both which saves time and you don’t have to have two different piping bags for each colour you’re using.
The Same Consistency Method:
1. Mix your royal icing according to the recipe/instructions.
2. Drag a knife through the surface of the Royal Icing and count to 10.
3. If the surface becomes smooth between 5 & 10 seconds, the icing is at the correct consistency. Tip: If your icing is too thick, thin it by adding a few drops of water. Mix, do the 10 second test, then if it’s still too thick, add a few more drops of water, repeat, etc. To thicken your icing, add small amounts of icing sugar until thick enough for the 10 second test.
Two Different Consistencies Method:
1. Mix your royal icing according to the recipe/instructions.
2. Separate into 2 different bowls, one lot of icing for outlining, the other for flooding.
3. For the outlining icing, drag a knife through the surface of the Royal Icing.
4. If the surface becomes smooth at around 10 seconds, the icing is at the correct consistency. Tip: If your icing is too thick, thin it by adding a few drops of water. Mix, count to 10 seconds, then if it’s still too thick, add a few more drops of water, repeat, etc. To thicken your icing, add small amounts of icing sugar until thick enough for the 10 second test.
5. For the flooding/filling icing, drag a knife through the surface of the Royal Icing.
6. If the surface becomes smooth at around 3-4 seconds, the icing is at the correct consistency. Tip: If your icing is too thick, thin it by adding a few drops of water. Mix, count to 3-4 seconds, then if it’s still too thick, add a few more drops of water, repeat, etc. To thicken your icing, add small amounts of icing sugar until thick enough for the 3-4 second test.
Colouring:
1. Separate Royal Icing into separate bowls for each colour you plan on using.
Tip: Make sure to cover the bowls with cling film or a damp cloth to prevent the top from setting and then making lumps.
2. Using a toothpick, add gel or paste colouring to each bowl and mix thoroughly until desired colour is reached.
Tip: You can use liquid food colouring but you might not be able to get the desired strength of colour, liquid colouring will also thin out the icing so you’ll need to add more icing sugar to thicken it again.
Prepping and Filling Your Bag:
1. Attach your icing tips to the piping bags using couplers.
Tip: You don’t need to use a coupler but it makes it easier if you want to change tip sizes.
A size 1 tip is best for doing intricate details. A size 2 tip is good for some details and outlining. Fill or flood with sizes 2 – 5.
You don’t need a piping bag, you can use a parchment cone or ziplock bag with a tiny bit snipped off the corner. I would however recommend getting a piping set if you don’t have one as it will be much easier and more precise.
2. Stand the piping bags in glasses with the tops of the bags folded over the top of the glass.
3. Fill your icing bags with each coloured icing.
4. Tie the ends of the piping bags with elastic bands.
Decorating: Outlining:
1. Fit the piping bag with a size 2 or 3 tip.
Tip: Or snip a very small bit of the corner off of a parchment cone or Ziploc bag.
2. Hold the piping bag at a 45 degree angle above the cookie where you want to start the outline. 3. Gently squeeze the piping bag and start moving in the direction you want to outline the cookie.
4. Start lifting the piping bag away from the cookie so that the flow of icing falls onto the cookie, making it an even and neater outline.
5. As you start to reach the beginning of the outline, bring the piping tip closer to the surface of the cookie to meet the start of the icing outline.
Tip: If you’re doing an intricate cookie, like a snow flake, you won’t be able to lift the tip as far away from the cookie.
6. If you’re doing a different colour border, eg a black border, let the outline dry before flooding. If using the same colour for the outline as you’re flooding with, begin flooding after doing the outline.
Decorating - Flooding:
1. Fit the piping bag with a size 2-5 tip, the bigger the area being filled, the bigger the tip.
Tip: Or cut slightly more off the corner of a Ziploc bag to create a slightly larger opening. • Quickly zigzag back and forth over the area you want to fill.
You need to be quick when flooding the cookie so don’t worry too much if it’s not filled in neatly.
2. Using a toothpick or clean paintbrush, push the icing around into the gaps that are still remaining.
3. Either pick up the cookie and tip it from side to side to even out the filling, or lightly bang the cookie down on your kitchen counter.
Decorating - Melding Colours:
1. If you would like to add lines or dots to the base colour that you flooded the cookie with so that they meld and dry as a smooth surface, you need to add the lines/dots/patterns as quickly as possible after flooding and smoothing the surface of the cookie.
Tip: Make sure to have all the colours you’re planning on using ready and close by so that you can switch between colours quickly.
2. Simply pipe other colours onto the flooded surface in patterns or lines which you can either leave as that or then drag a toothpick through to make marbling patterns.
Decorating - On top of flooding:
1. If you’d like to do other patterns/outlines or writing on top of the flooded surface so that they are raised above the flooded background, simply allow the icing to dry, preferably over night.
2. Fit the piping bag with tip sizes 1-3.
3. Pipe patterns or write on top of the dry icing.
Tip: For writing, the consistency of your icing should be thicker rather than thinner, drag a knife through your icing and when the surface smoothes around 12-15 seconds, the consistency is correct.
~~~~~~~~~~~~~~~~~~~~~~
PACKAGING & STORING
Once fully decorated, allow cookies to dry for 24 hours in a cool and dry area.
• Stack cookies in an airtight container, from largest cookies at the bottom, to smallest and more intricate at the top, with parchment or wax free paper in between the layers.
• Store in a cool and dry area with the container’s lid firmly sealed.
• Will last for about a month if stored this way.
~~~~~~~~~~~~~~~~~~~~~~
REMARKS REGARDING THE ICING
• Keep a damp cloth handy while decorating your cookies so that if you’re switching between different icing bags, you can keep the tips covered with the damp cloth so that the icing doesn’t dry and clog them.
• If your icing tips do clog, use a toothpick or pin to unclog them.
• Always pipe a little bit of royal icing onto a board/paper towel before you begin to make sure there are no air bubbles.
• Remember to always cover bowls containing royal icing wither cling wrap, a damp cloth or sealable lid so that the surface doesn’t dry.
• Don’t store anything decorated with royal icing in the fridge otherwise the royal icing will become tacky.
~~~~~~~~~~~~~~~~~~~~~~
C'est pourquoi je vous suggère de vous rendre sur le blog mentionné ci-dessous. Vous y trouverez cette recette en version française.
Chez Isa de "Les Gourmandises d'Isa" (Canada)
Chez Vibi de "La Casserole Carrée" (Canada)


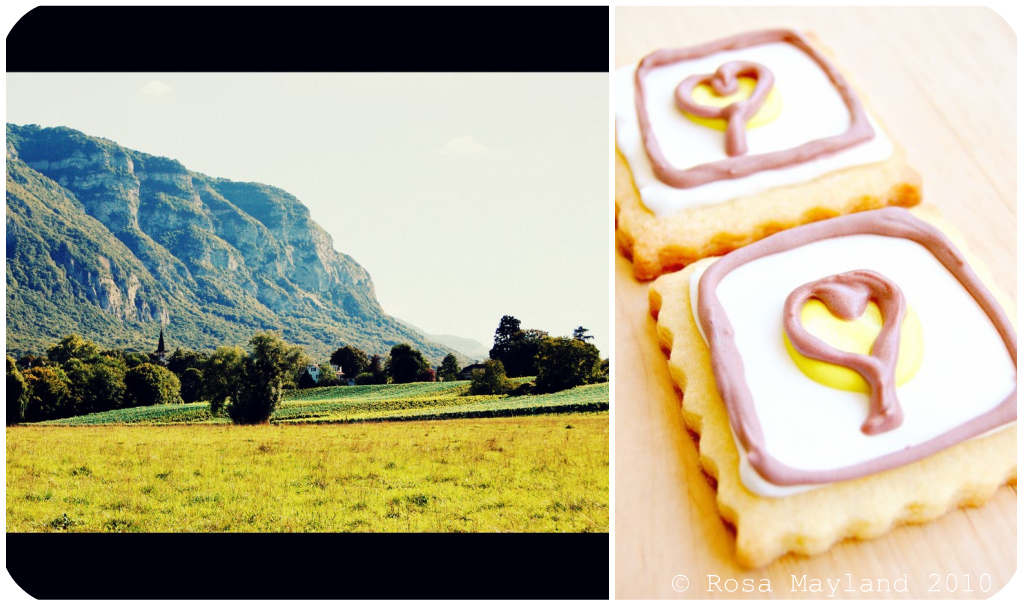

Well, seems like the limited assortment of cookie making supplies did not affect your final results! Gorgeous cookies!
ReplyDeletewow,your cookies looks fabulous!
ReplyDeleteThey look absloutely beautiful, i love the silver balls on top too.
ReplyDeleteI love your cookies! They are adorable!!! Where did you find the pretty jewels that you used?? I definitely understand your frustration finding certain baking goods... the ingredient I am currently missing the most is Nestlé semi-sweet chocolate chips....Will def. be shopping a lot next time I am back in the US!
ReplyDeleteRosaaaaaa,
ReplyDeleteSont TOUS trop choux, impossible de choisir entre toutes ces Très Chouettes Photos : Bravo à toi !
Bonne semaine et Bizzz ;)
yummy yums's yummy cookies.nice colors and decoration.
ReplyDeleteYou have done a great job! Pretty cookies!
ReplyDeleteAww...so pretty indeed and I adore how you decorate them in layers :)
ReplyDeleteThey look so pretty! I wish I could be more patient and make some too.
ReplyDeleteThese are lovely Rosa!
ReplyDeleteLovely cute cookies!! Great photos too!
ReplyDeleteOui je confirme, ils sont vraiment "So Pretty" ces petits gâteaux!
ReplyDeleteBravo pour tout ce travail!
Bise & Bonne journée
these look totally impressive. love the pictures! nice job!
ReplyDeleteThey remind me of hansel and gretel!
ReplyDeleteQuelle minutie dans la décoration! Je suis admirative! Et je suppose qu'ils doivent être délicieux!
ReplyDeleteNicely decorated. Loved the colors. Good job!
ReplyDeleteRosa, this so impressive! So much work and is worth it though! They are super cute & gorgeous! And thank you so much for the tips. I bookmarked this as my reference. Thank you again.
ReplyDeleteCheers, Kristy
Awesome decorating skills, Rosa!
ReplyDeletelovely decorative cookies, all of these look so yum
ReplyDeleteYour sugar cookies are gorgeous Rosa. It may be too early to think about Christmas but these would be perfect!!
ReplyDeleteNice job Rosa..awesome looking cookies..
ReplyDeleteYour cookies are beautiful Rosa! I love the theme you chose for them too! :)
ReplyDeleteReally cool job Rosa. Your cookies are gorgeous. I'm with Val. These would be great for Christmas.
ReplyDeleteSam
Rosa, your cookies are indeed very pretty. I knew it when you said you were happy with them. :)
ReplyDeleteGreat for the spirit, the eyes and the tastebuds. :D
sehr hübsch, dennoch gefallen mir die Kühe besser, die sind auch ohne Deko hübsch.
ReplyDeleteTrès girly, mes filles adoraient. Il faut faire preuve de patience pour la déco.
ReplyDeleteTrès joli ces décorations !
ReplyDeleteTrès bon lundi,
Bisous, Doria
Très jolies ces décorations, très féminines, j'adore !
ReplyDeleteBisous et bonne semaine
Tes biscuits sont vraiment très mignons!
ReplyDeleteYou managed to conjured up the most exquisite decorated cookies. Well done once again.
ReplyDeleteSuch pretty cookies! Wonderful job on the challenge!
ReplyDeleteAmazing decorations, absolutely fabulous!
ReplyDeleteWow everything is gorgeous...with the scenic pictures it looks damn cute...
ReplyDeleteVery pretty looking cookies, beautifully decorated.
ReplyDeleteWonderful wonderful, I can't wait to see your stuff! Lovely
ReplyDeleteThese cookies are too pretty eat!
ReplyDeleteBeautiful job, Rosa! Send some cookies over!
ReplyDeletewhoah!!! pure sophistication! great work xoxo
ReplyDeleteI love how yours turned out, Rosa. I must confess to be a total failure at decorating cookies and cakes. (I really should take a course in it!)
ReplyDeleteSo consider me impressed with your results!
LOL. Are you psychic? I was totally cooing "sooo preeetty..." in my head when I got to your photo with a very similar caption. You rocked this challenge for sure, Rosa!
ReplyDeleteSugar cookies are my favorite! And, yours look fantastic. Great job decorating them!
ReplyDeleteSugar cookies are my favorite! And, yours look fantastic. Great job decorating them!
ReplyDeleteOH! such pretty cookies. SO festive!
ReplyDeleteI love the decorations, wish I could bake as well ( or even half as well).
Rosa, I have a question, i have a ton of bread flour, can that be used to make cookies or will that bomb?
Superbes.Bravo.
ReplyDeleteBisous.
Caro
Rosa, your posts always, always make me smile. I love the thought and the theme behind these beautiful, perfect cookies! Just stunning! And I loved baking these "together".
ReplyDeleteTrop cute ces cookies Rosa! Presque top jolis pour les manger :)
ReplyDeleteCiao Rosa ! I found itd it difficult too first because I used plastic bags and second because there was no way of decorating the cookies without the kids !! Yours are adorabili !
ReplyDeleteLe "Daring Baker" tout comme le "Thueday with Dorie" sont deux events de la blogosphère que je suis régulièrement. J'aimerais bien en faire partie, malheureusement, les contraintes liées à ces challenges ainsi qu'un emploi du temps trop imprévisible ne me le permettent pas.
ReplyDeleteC'est dommage car c'est très enrichissant.
Encore bravo pour tes cookies. Même au dernier moment tu sais te surpasser !
Bien à toi
verO
Man, if I just saw those pictures without reading, I would never know that you don't love decorating and that you had any difficulty finding equipment/ingredients. Those are some beautiful cookies you made.
ReplyDeleteThose are very nicely done, I love the silver dragees on top. Great job and beautiful pictures!
ReplyDeleteHoney, I have paste colours you are welcome to use (which I found in Switzerland too!). I will vouch for your talents at decorating!
ReplyDeleteYour cookies are just beautiful!!
ReplyDeleteWow !!! they are magnificent..People think decorating cookies is easy...It is not!! You are a pro !!!!
ReplyDeleteNo matter what ups and downs are experienced by you...I can always count on the fact that you come out blossoming like the Rosa you are ;o)
ReplyDeleteI thought your cookies were adorable ;)
Ciao for now,
Claudia
Ciao Rosy,
ReplyDeletebelli questi decorazioni! Brava:))
Un bacione
Rosa, such an amazing job, especially, given all your constraints!! Am amazed that Switzerland is so short on baking supplies! aren't baked sweets much a part of the cuisine??
ReplyDeleteBeautiful cookies and I love the pictures of Switzerland in the Spring.
ReplyDeleteYour cookies look great. You certainly persevered beautifully amid your lack of supplies and nervousness in decorating...!
ReplyDeleteGreat work!!
Aww these are so gorgeous-bravo Rosa! I really like the colours and layering-that takes patience :D
ReplyDeleteLove love love your cookies Rosa. "Colorfulness", "glitter", "joy" and "flightiness" ... cookies that get better with each bite, written and otherwise! They are beautiful my friend! Really really nice!
ReplyDeletequelle dexterite et patience....on peut les croquer quadn même???
ReplyDeletethese cookies are lovely and coming from your kitchen I did not expect anything less. Great job Rosa
ReplyDeletethey look darn cute!
ReplyDeleteUS Masala
Very, very pretty final results Rosa. Well done.
ReplyDeleteGreat job and lovely cookies Rosa!
ReplyDeleteOn dirait des bijoux !!!! Merci !
ReplyDeletewow rosa! amazing details and description of the whole process. i rarely (never) make cookies but this post is inspiring me... my kids will be thrilled! love from athens, demetra
ReplyDeleteTrès mignons ces biscuits décorés!!
ReplyDeletede jolis bijoux !
ReplyDeleteVery cute cookies:))))))))))
ReplyDeleteThe lack of tools sure doesn't show, your cookies look wonderful!
ReplyDeleteSo pretty!
ReplyDeleterosa, you never ever miss on DB. great job.
ReplyDeleteMy fav is your pistachio green square cookies... so elegant!
ReplyDeleteSawadee from bangkok,
Kris
ur cookies r too cute..lovely challenge!
ReplyDeleteIls sont absolument adorables Rosa. Pour avoir deja decore des gingerbread, je sais que c'est un vrai challenge, pas facile du tout.
ReplyDeleteBeautifully delectable cookies! Precious decorations ... too cute to eat!
ReplyDeleteComme c'est joli, fin, léger, craquant... Beaucoup de clarté aussi dans ces photos si tentantes... Bises
ReplyDeleteI love your cookies and the photos!
ReplyDeletePaz xoxoxo
I love your cookie designs! They are so pretty!
ReplyDeleteI think your cookies are so pretty! And I love your themes - so cheery :)
ReplyDeleteHi Rosa, just tried to catch up reading your blog posts. Your decorated cookies look awesome, I have bought some decoratives but did not get round to try yet.
ReplyDeleteLike edible works of art. ;)
ReplyDeleteI miss seeing those silver dragees! I think they are no longer sold here for some reason. I love the colors of your cookies they are so summery and look delicious.
ReplyDeletesuch beautiful cookies! too beautiful to eat!
ReplyDeleteLovely cookies!
ReplyDeleteGreat job Rosa:)
Wow!! Impressionnant ma chère Rosa!! Ils sont Superbes:)
ReplyDeleteYour cookies look great! I too had a crick in my back after bending over my cookies for a few hours while decorating. Nice job on the challenge!
ReplyDeleteI can totally relate to your frustration about the lack if baking stores and equipment outside the UK and US. In Berlin it's no better but you're far too hard on yourself Rosa. Those cookies are stunning and I don't believe you're clumsy and have no talent for pastry. Congrats!
ReplyDeleteThese look fantastic, I love the way you decorated them, look really lovely yummy, good luck with the challenge :)
ReplyDeleteRosa, WOW WOW WOW, your cookies are little jewels of perfection! Those silver dragess are so shiny and perfect. Whenever I use them in baking, I inevitably dull them with my battered, cookie or cake fingers LOL Gorgeous job!
ReplyDeleteYou are a daring baker & I always enjoy seeing these posts. Such hard work. Glittery cookies indeed-they look amazing.
ReplyDeleteGreat job Rosa with decoration. I don't have the patience.
ReplyDeleteCute colors! And I love the shapes!
ReplyDeleteI allways let my DB for the last minute too! And making decorated cookies isn't a fast work! So, I know exactly how you feel... Let's try the next month!
MANASI: Thanks! You should only use all-purpose flour when making cookies. Bread flour contains too much gluten.
ReplyDeleteI love these festive cookies and your inspirational photos!
ReplyDeleteoh these are so pretty.. they look really fab!
ReplyDeleteI'm not sure how I got behind on your fabulous blog, but I did. I love and have always loved decorated cookies, just something about them makes me smile. What a great post.
ReplyDeletethank's a lot for this great post
ReplyDeleterecette tiramisu frameboise
Thank you for this post! I love it! Great article!
ReplyDelete